
Parts that survive a full saloon race distance
Circuit saloons ask a lot from the car in traffic, under heat, and through repeated braking zones. The usual starting point is not a power gain, it is keeping the car alive and consistent when tyre wear, brake temperature and fluid movement all build up over a race distance.
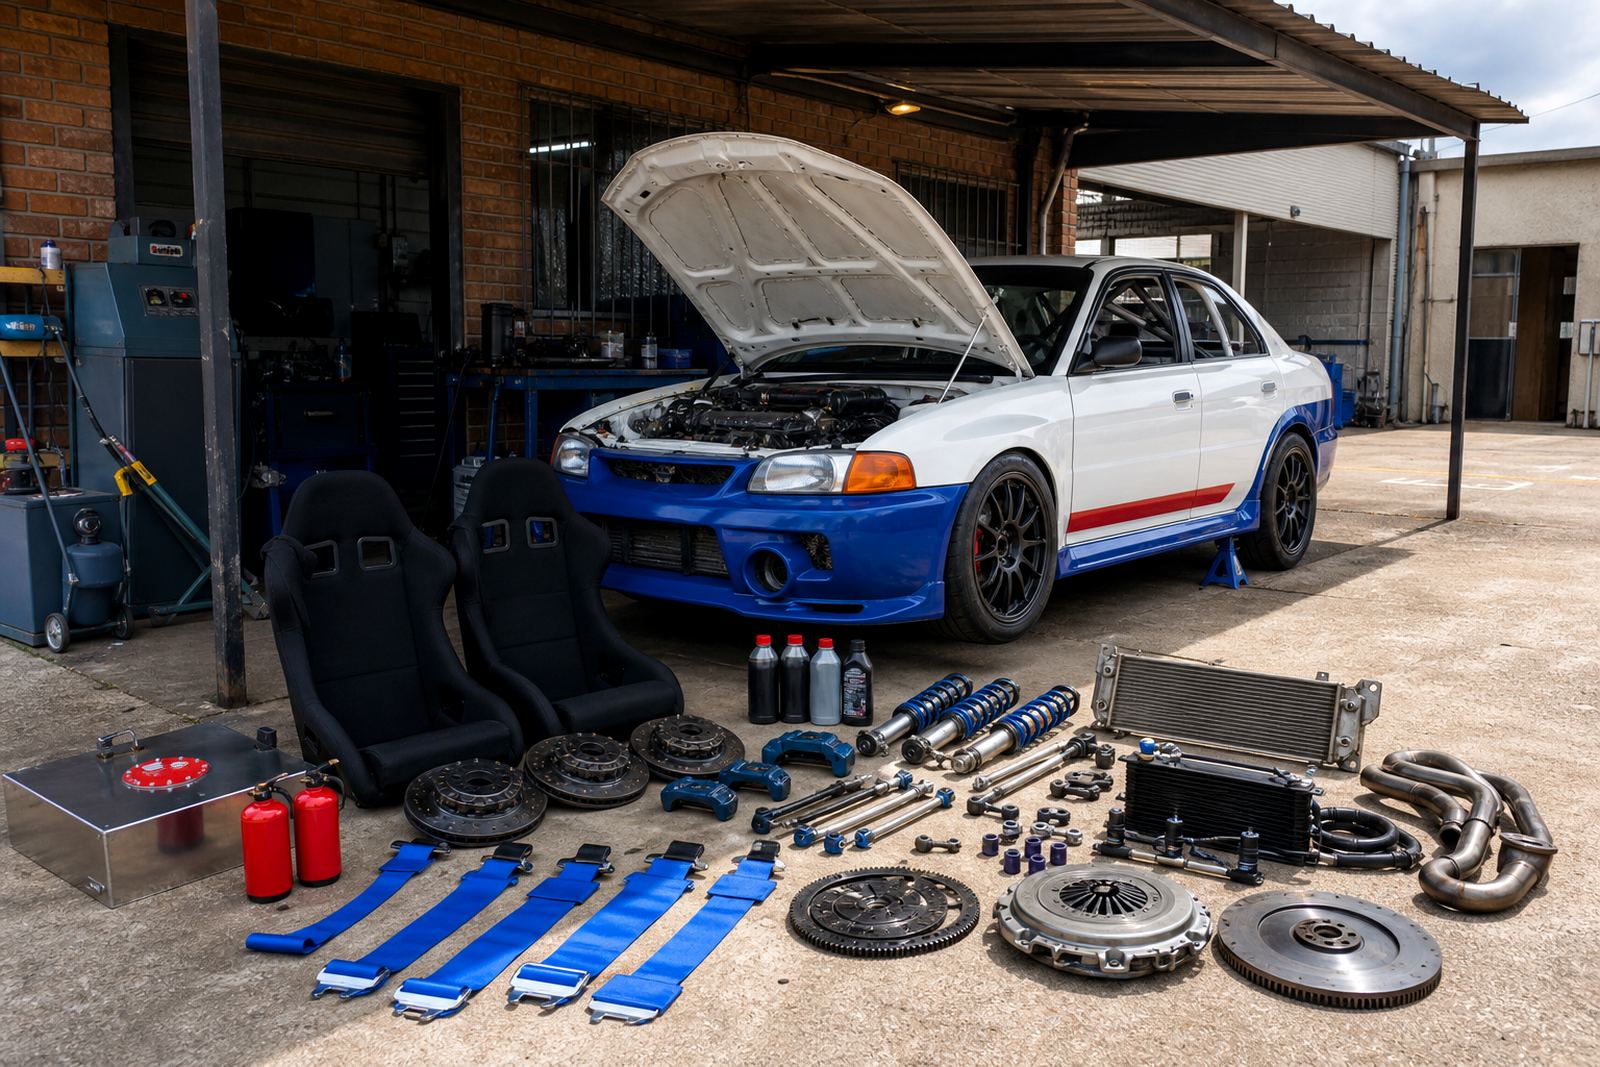
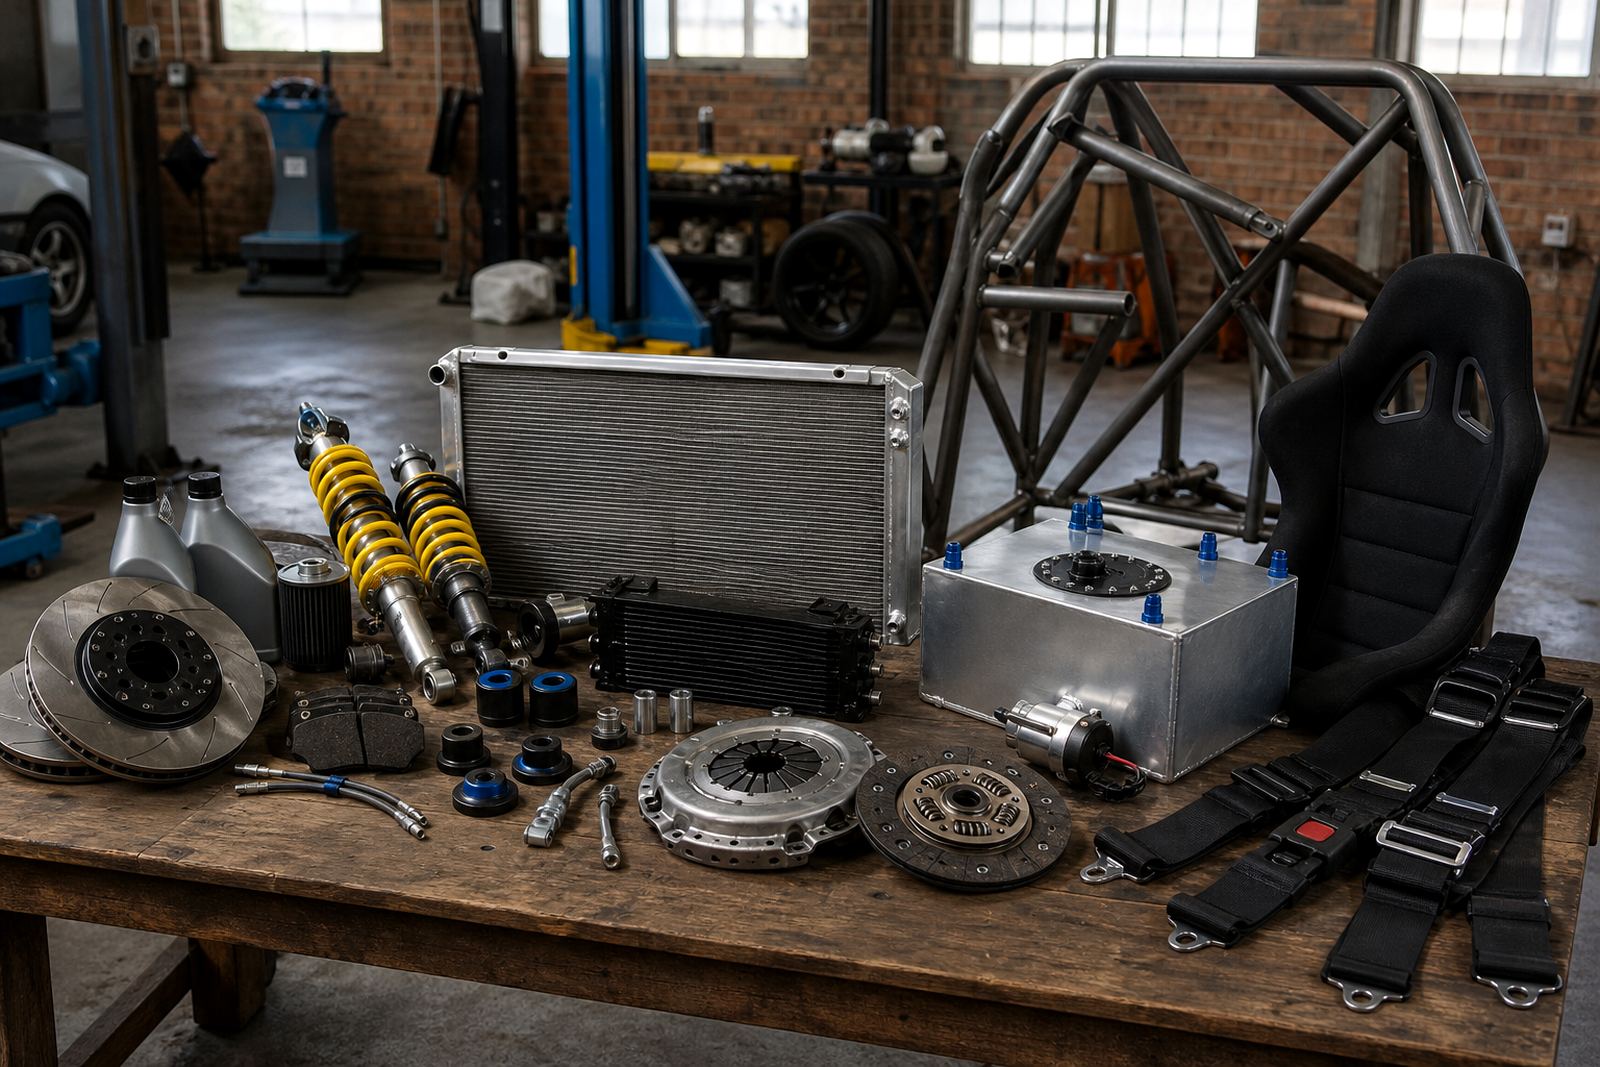
For this use case, the parts list usually leans toward bigger cooling capacity, stronger brake control and driveline pieces that can take repeated shifts. That may mean performance brake pads and fresh fluid, a larger radiator, an oil cooler, firmer bushes, a tighter clutch and a seat position that keeps the driver still under load.
- Brake pads matched to the track and car weight
- High temperature brake fluid for repeated stops
- Radiators and oil coolers sized for circuit running
- Clutches that hold cleanly under race starts and shifts
- Seats and harnesses that hold the driver in one place
What a saloon race car usually needs first
Most saloon builds reach a sensible point faster when the order is clear. Cooling and braking usually come before chasing extra power, because heat and stopping stability decide whether the car stays useful over the whole distance. If the driver is moving around in the seat or the pedal feel changes lap by lap, the lap time starts to wander too.
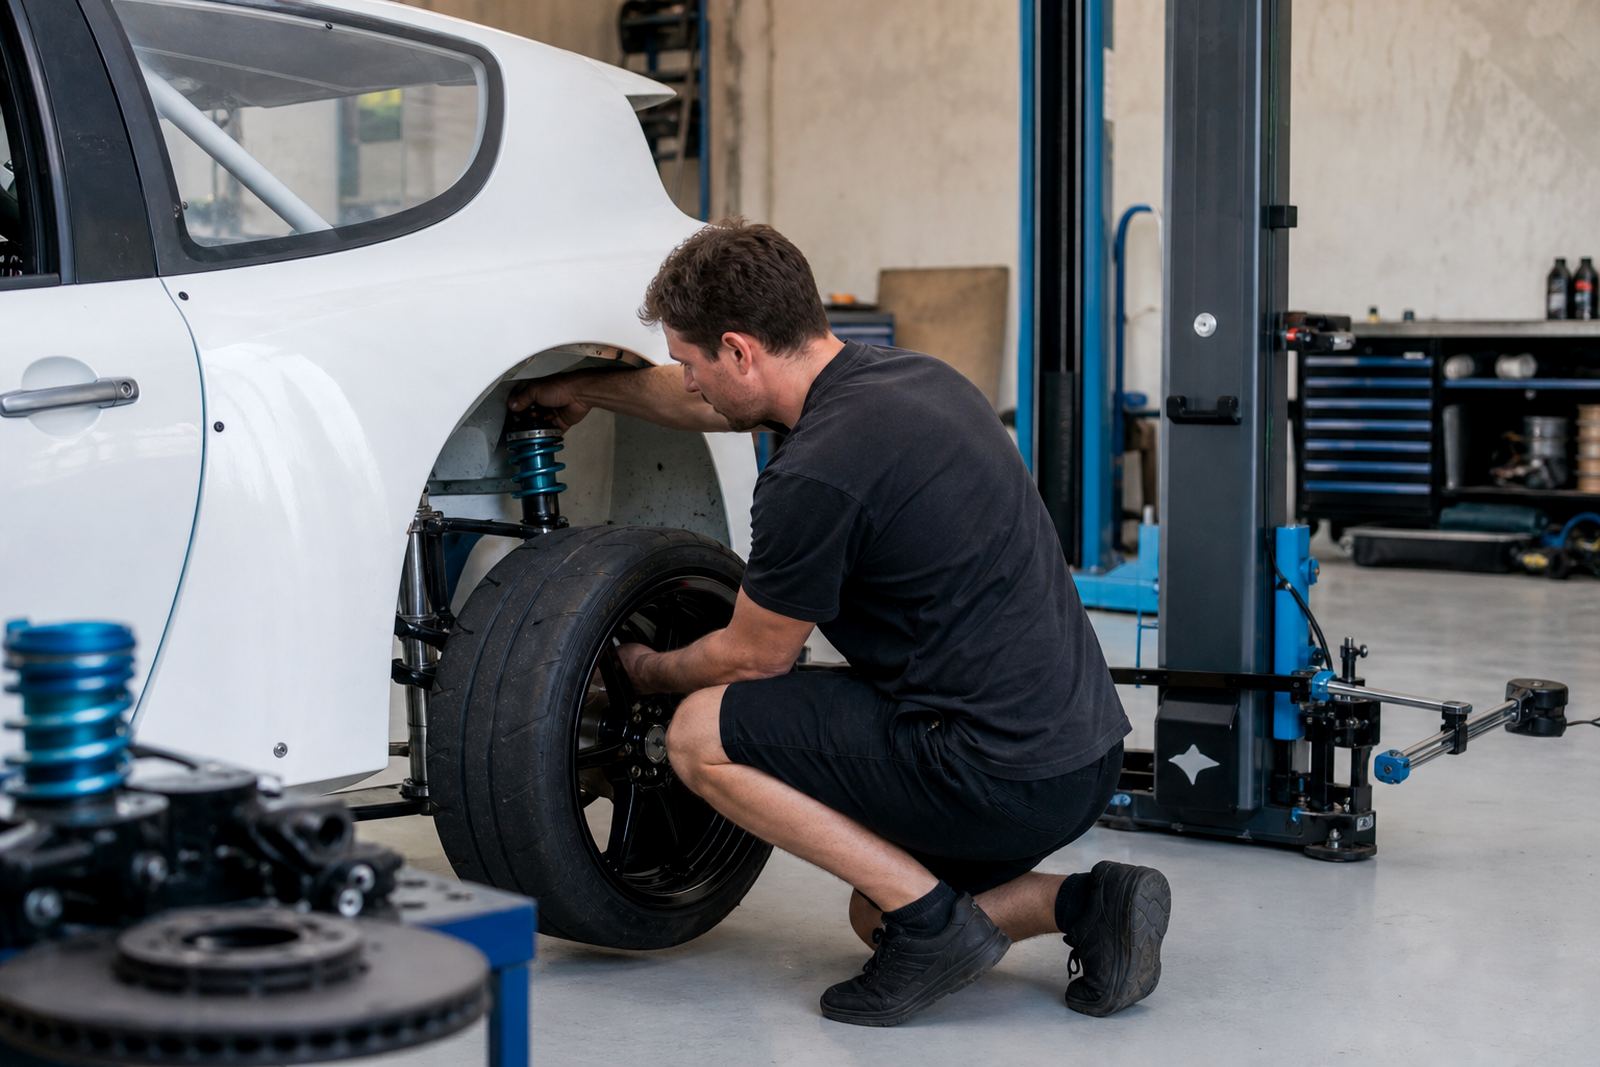
A practical build often begins with a brake upgrade plan, a cooling system check and a suspension look over. Then the team works through coilover setup, alignment checks and corner weighting so the car sits properly under braking and through long sweeping corners. On many saloons, a clean setup gives more lap confidence than another small engine change.
- Brake bias and pedal feel checked before adding power
- Coilover settings matched to tyres and circuit use
- Alignment checked for toe, camber and straight-line stability
- Corner weighting used to settle left-right balance
- Cooling passages kept open around radiator and oil cooler
Safety layout that fits the driver and the cage
In saloon racing, safety gear has to work with the shell, the seat and the cage, not against them. A seat that sits too high can compromise helmet clearance, while a harness mounted at the wrong angle can let the driver move too much. The aim is a fixed driving position that stays clear under load and still leaves space for proper control of the wheel, pedals and gear lever.
RaceHouse looks at seat positioning, harness fitment checks and roll cage fit advice as a single layout problem. That matters when the shell is a production saloon with limited room around the roofline, door bars and tunnel. If the seating point is wrong, the rest of the setup starts to fight the driver instead of supporting them.
- Seat height set for helmet and steering wheel clearance
- Harness angles checked against the seat shell and mounting points
- Door bar, roof bar and shoulder room reviewed together
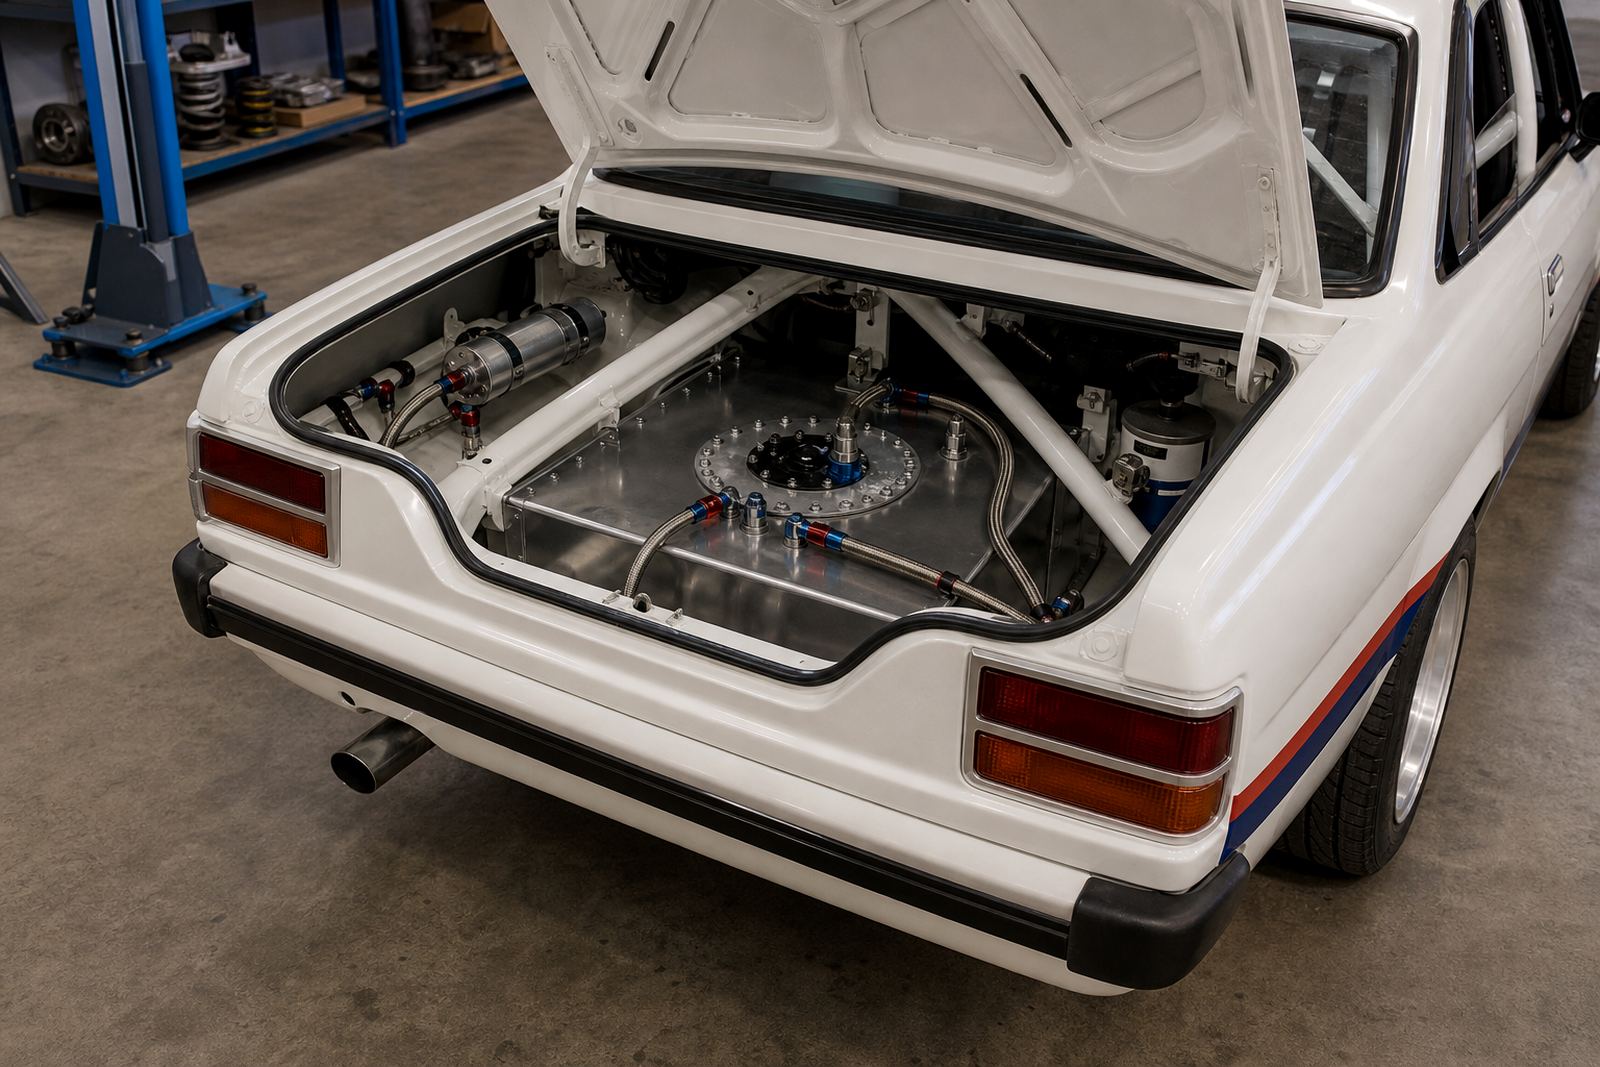
- Fire-friendly access kept in mind around fuel system layout
Driveline pieces that keep the car calm under heat
Full race distances expose weak links in the driveline quickly. A clutch that bites unevenly or fades under heat can make the car awkward out of slow corners. The same goes for bushes that let the rear axle or front end move around more than expected, because that movement turns into inconsistent traction and awkward shifts.
For saloons, the layout often includes a clutch and shift setup check, bush condition review and a look at engine-side heat management near the gearbox tunnel. On front-wheel-drive cars, that can be the difference between a tidy exit and a wheelspin-heavy scramble. On rear-drive saloons, the same attention keeps the car settled through longer stints.
- Clutch choice matched to torque and race start use
- Shift throw and lever feel checked for clean changes
- Subframe and suspension bushes reviewed for movement
- Heat shielding considered where drivetrain parts run close together
Budget ranges in Rand for a saloon build
Budgets move around with the shell, the class rules and how far the car already is from race-ready. A modest saloon refresh can start with brake fluid, pads and a basic cooling check, while a more serious circuit build adds dampers, bushes, seat and harness work, plus better thermal control around the engine bay.
As a rough planning guide, small reliability jobs can sit in the low thousands of Rand. Mid-level circuit preparation often lands in the R15,000 to R45,000 range once suspension, cooling and safety items are added. Heavier brake, drivetrain and safety packages can sit well above that, especially if the shell needs more fabrication or the setup needs repeated measuring.
- Entry work: fluid, pads and inspection items
- Mid-range work: cooling, suspension and seating changes
- Higher spend: cage-related fit advice, driveline work and repeated setup changes
Track-side habits that save parts and time
Saloon cars often lose pace through small mistakes rather than one large failure. Overfilled cooling systems can push fluid where it should not go. Brake pads that were fine for sprint use may fade in longer races. A seat mounted for comfort instead of control can make the driver tense, which shows up in lap times and tyre wear.
Track setup days help catch those issues before they turn into a weekend problem. At a good session, the team will check brake bleed quality, look at tyre wear patterns, adjust alignment if needed and note whether the car is bottoming or rolling too much. That kind of work matters in Johannesburg, Kyalami, Pretoria, Durban, Cape Town and Port Elizabeth, where track conditions and weather can differ a lot.
- Do not mix old fluid with fresh race fluid
- Do not chase stiffness before checking tyre contact
- Do not mount the seat without checking harness lines
- Do not ignore oil temperature when fitting a bigger radiator