
Why wheel studs earn attention before the first session
On a race car, wheel studs do more than keep a wheel mounted. They take repeated tightening, heat and vibration, then they are put straight back into service after each pad inspection, tyre change or alignment check. In Midrand, where many cars move between workshop floors, trailers and circuit paddocks, that regular use can expose weak threads and worn nuts quickly.
A wheel that felt fine last month can still be a problem if the stud engagement is short or the nut has started to gall. That is especially true on cars fitted with spacers, wider wheels or different hub hardware for track use. The fixing point may look neat from outside, but the real test is how much thread is actually carrying the load.
We look at wheel studs as part of the wider safety chain, along with brake hardware, suspension condition and the car’s current alignment. If the wheel fixing is wrong the rest of the setup does not matter much on a hard brake zone or through a kerb-heavy corner.
Thread bite, stud length and the parts people forget
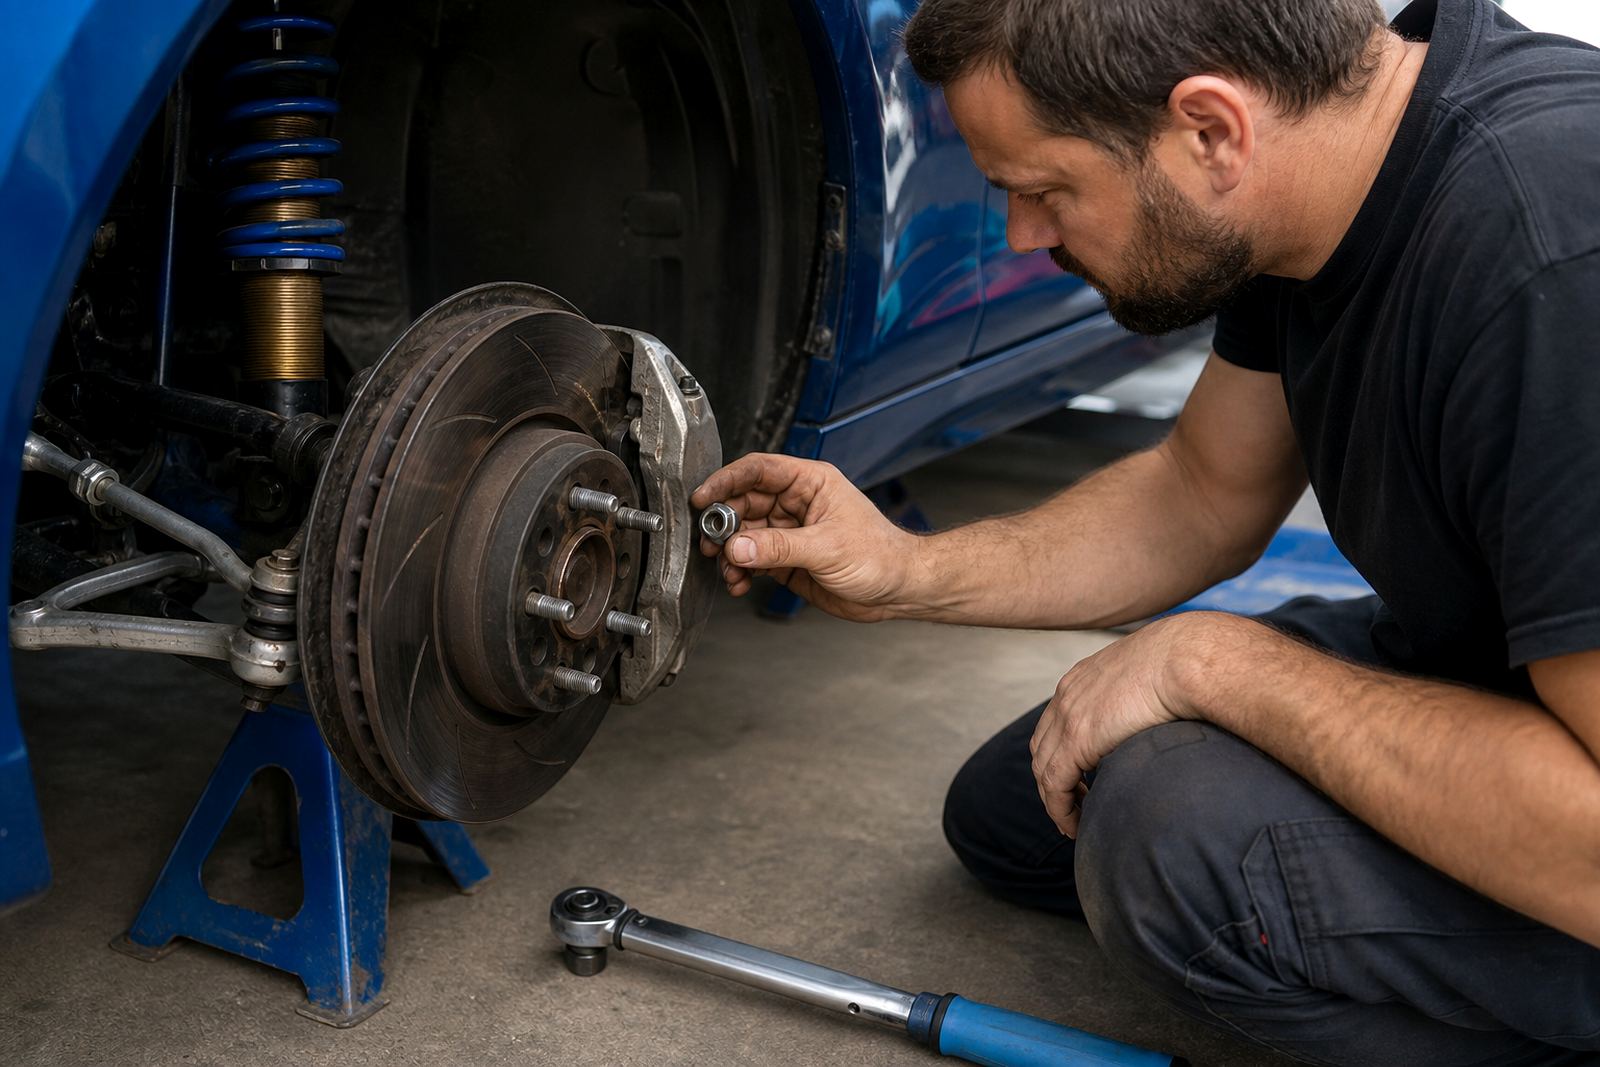
Wheel swaps go wrong when a quick pit change gets the same habits as a full rebuild. A nut can seat properly and still leave too little thread engaged. That happens when the stud is short for the wheel thickness, when a spacer has been added, or when a damaged nut has started to chew the thread instead of clamping it cleanly.
- Check that the nut runs down smoothly by hand before any wrench goes on.
- Look for flattened or pulled threads near the outer end of the stud.
- Make sure open-ended nuts are not hiding a shorter-than-needed bite.
- Inspect the hub face for dirt, paint, corrosion or burrs.
- Confirm that spacers and wheel centres are matched to the actual stud length.
In practical terms, a few missing threads can turn into movement under load. Once that starts, the wheel can work against the nut and the stud will not stay happy for long. A careful check takes far less effort than replacing damaged hubs and fixing a wheel that has started to wander on the car.
What repeated wheel changes do to the hardware
Club racing cars often see more wheel swaps than road cars do in a year. That means the same studs, nuts and hub faces get used over and over, often while hot, dusty or full of brake residue. Add a wet Kyalami morning, then a hot afternoon, and the metal sees more change than a normal road car would.
Repeated wheel changes can round off nut seats, stretch tired studs and leave inconsistent clamp load across the wheel face. If one corner has a slightly longer or shorter engagement than the others, it may not show in the paddock but it can show up later as movement, noise or a loose feel after a session.
Watch for these signs after repeated swaps:
- One nut takes noticeably more force to remove or fit.
- The wrench feels uneven before full torque is reached.
- There is rust, powdery debris or galling on the thread.
- The wheel face no longer sits flush against the hub.
- The nuts need constant correction after every outing.
When those signs appear, the problem is often not the wheel itself. It is the sum of small wear points that have been ignored for too long.
Torque practice that suits motorsport use
Wheel studs are only useful when the clamp load is consistent. That starts with clean mating faces and the correct nut type for the wheel. It also means tightening in a proper pattern and using the same torque approach every time, not the nearest guess in the pit lane.
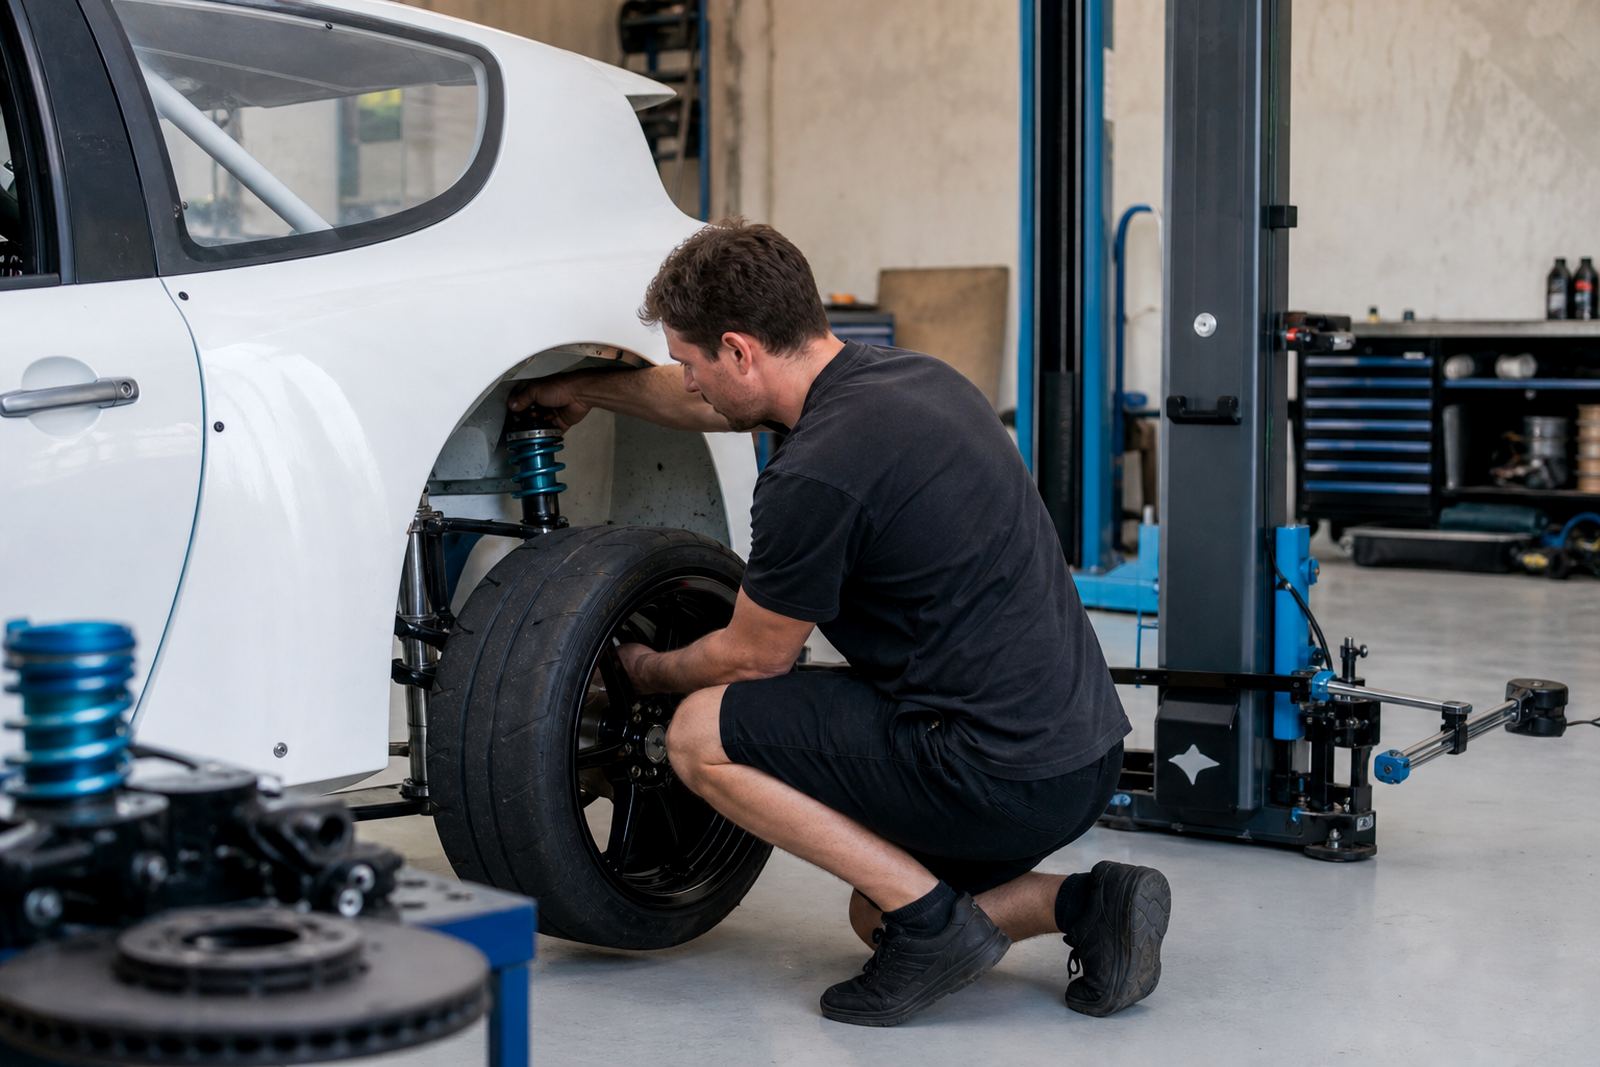
On track cars we keep the process practical. The wheel is seated, the nuts are started by hand and the final tighten is done in stages. After the car has been driven, heat and vibration can settle the assembly, so a re-torque check after a session or after wheel removal is part of good workshop routine.
- Use the correct pattern so the wheel seats evenly.
- Start all nuts by hand to avoid cross-threading.
- Inspect the stud tips after tightening for fresh damage.
- Recheck torque after the wheel has seen load and heat.
- Replace any stud that shows stretch, pitting or thread loss.
For a car that sees regular event work, this is not extra fuss, it is basic control of a part that carries the whole corner. A wheel that clamps evenly is easier on the hub, safer under braking and steadier when the driver leans on it through a fast change of direction.
Studs on a car that races most weekends
A typical case in Midrand is a club-racing car that runs different wheel sets for practice and race weekends. One set may be on thicker wheels with spacers for clearance, while another set uses a thinner rim with a different nut seat. After a few swaps the driver notices a slight shake and one front corner keeps needing attention.
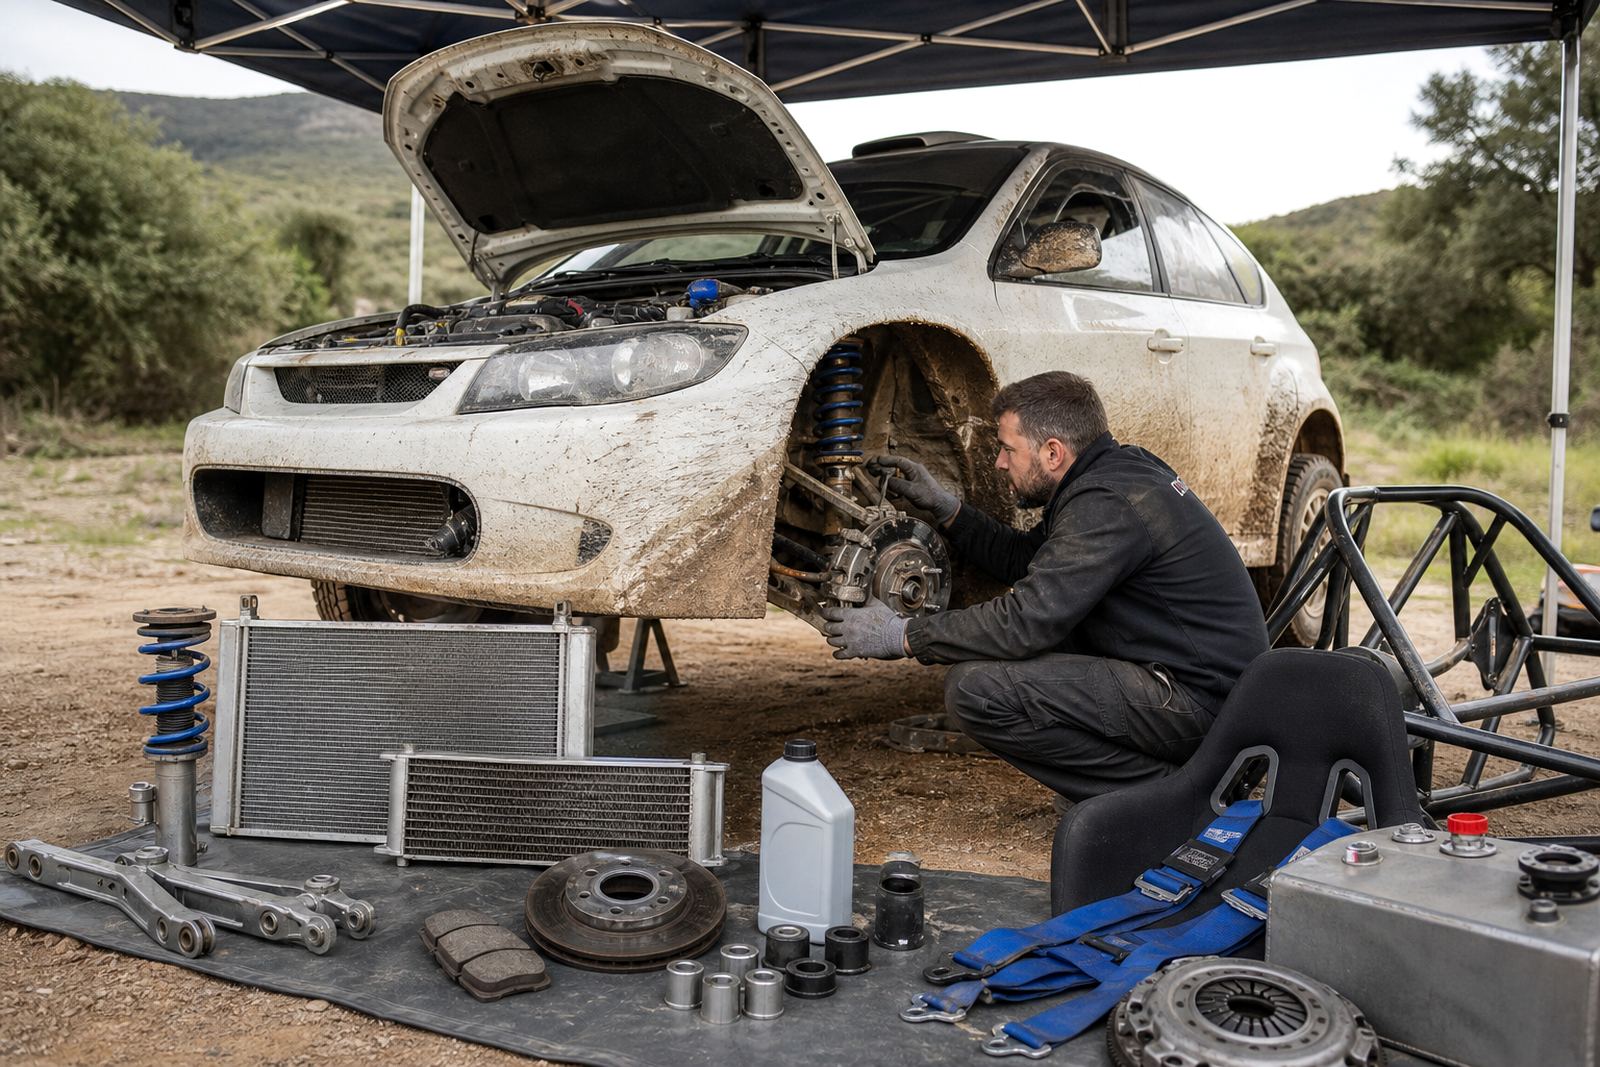
That is usually where the stud check starts. We look at how much thread is actually left, whether the nuts are matching the wheel seat, and whether the hub face has picked up dirt or marks. If the car also needs brake bleeding, coilover setup or alignment checks, the wheel issue gets dealt with alongside the rest of the package so the car leaves the workshop with one clear setup.
For cars running between Johannesburg, Pretoria, Kyalami and Centurion, this kind of check saves a lot of middle-of-the-week confusion. It is the sort of practical detail that matters when a car is being stripped and rebuilt more than once in a month.
When a stud needs to be replaced, not just watched
Some studs can be cleaned and reused, but others are finished. If the thread is damaged, if the shank has been stretched or if the nut no longer runs cleanly, replacement is the safer call. A part that has already lost material will not improve with another torque cycle.
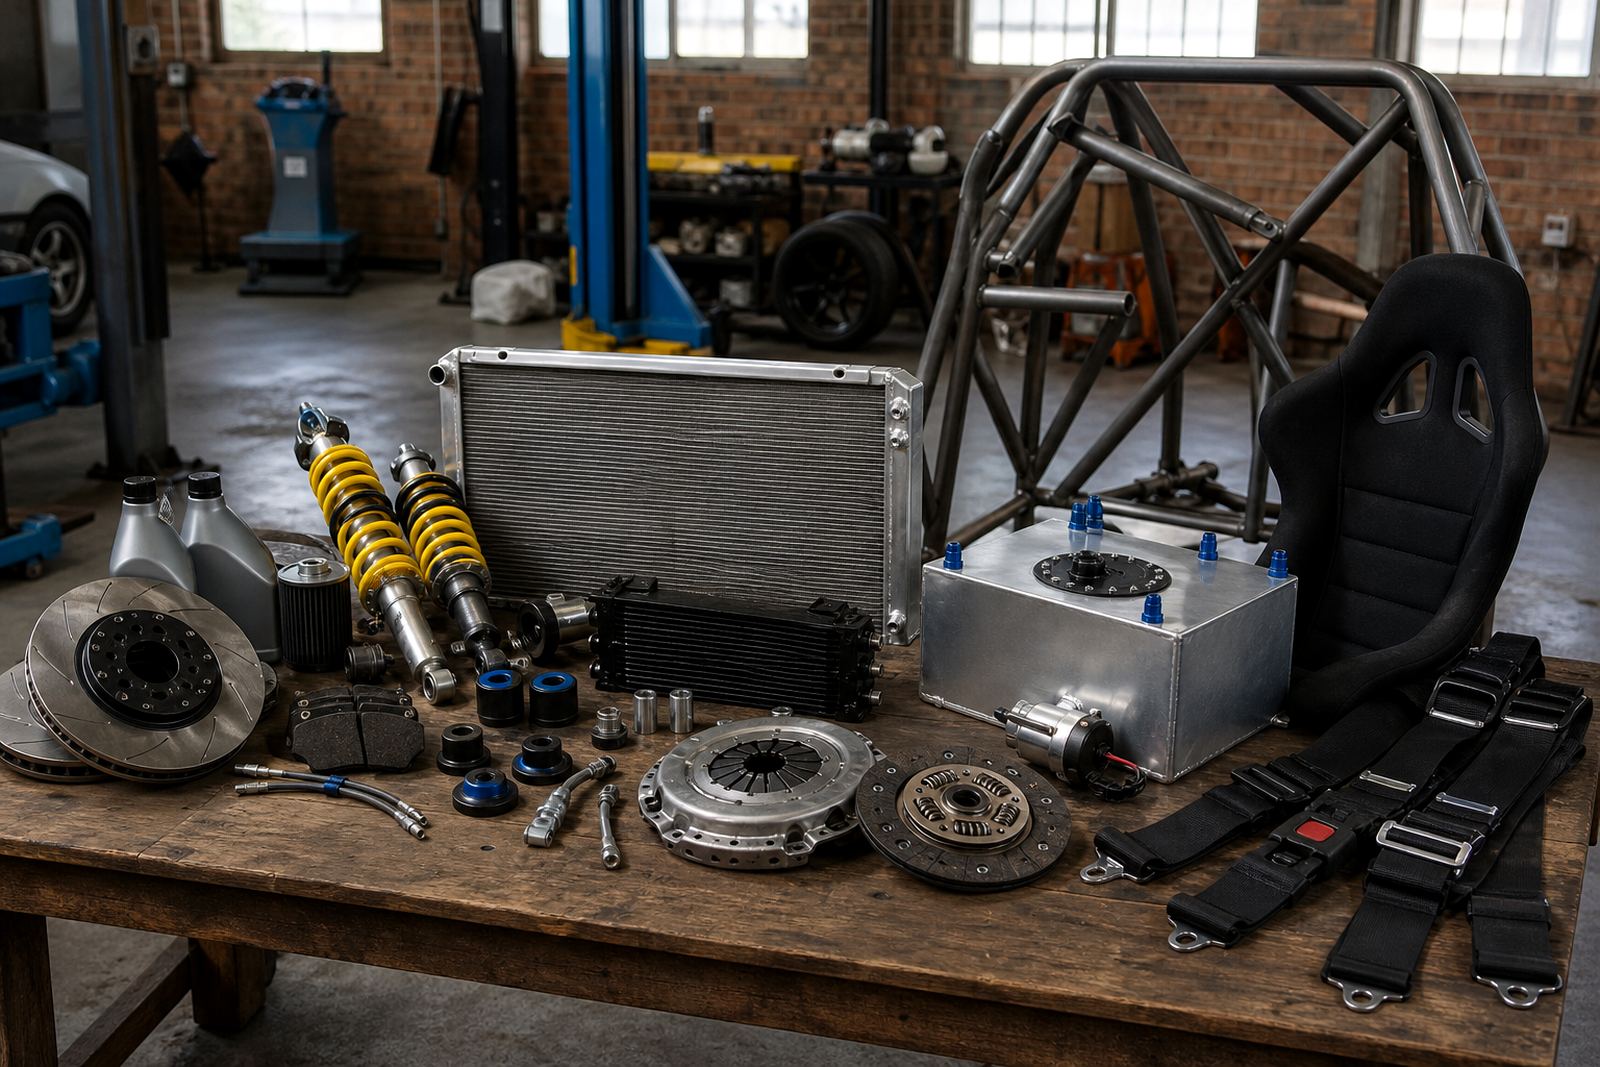
We usually treat replacement as part of the wider wheel and corner check. If the car also needs a cooling system check, a clutch and shift setup review or a seat and harness positioning check, the stud issue is folded into the full preparation list. That keeps the car honest before it sees another session.
Use a replacement plan when you see:
- Visible thread damage that runs more than a light surface mark.
- Studs that pull differently from corner to corner.
- Repeated nut galling on the same wheel position.
- Evidence of movement at the hub face.
- Signs that a spacer or wheel fitment has overstressed the stud length.
It is easier to replace one suspect stud than to keep gambling on a wheel that has already started to loosen its own future.