
Start With The Numbers That Matter
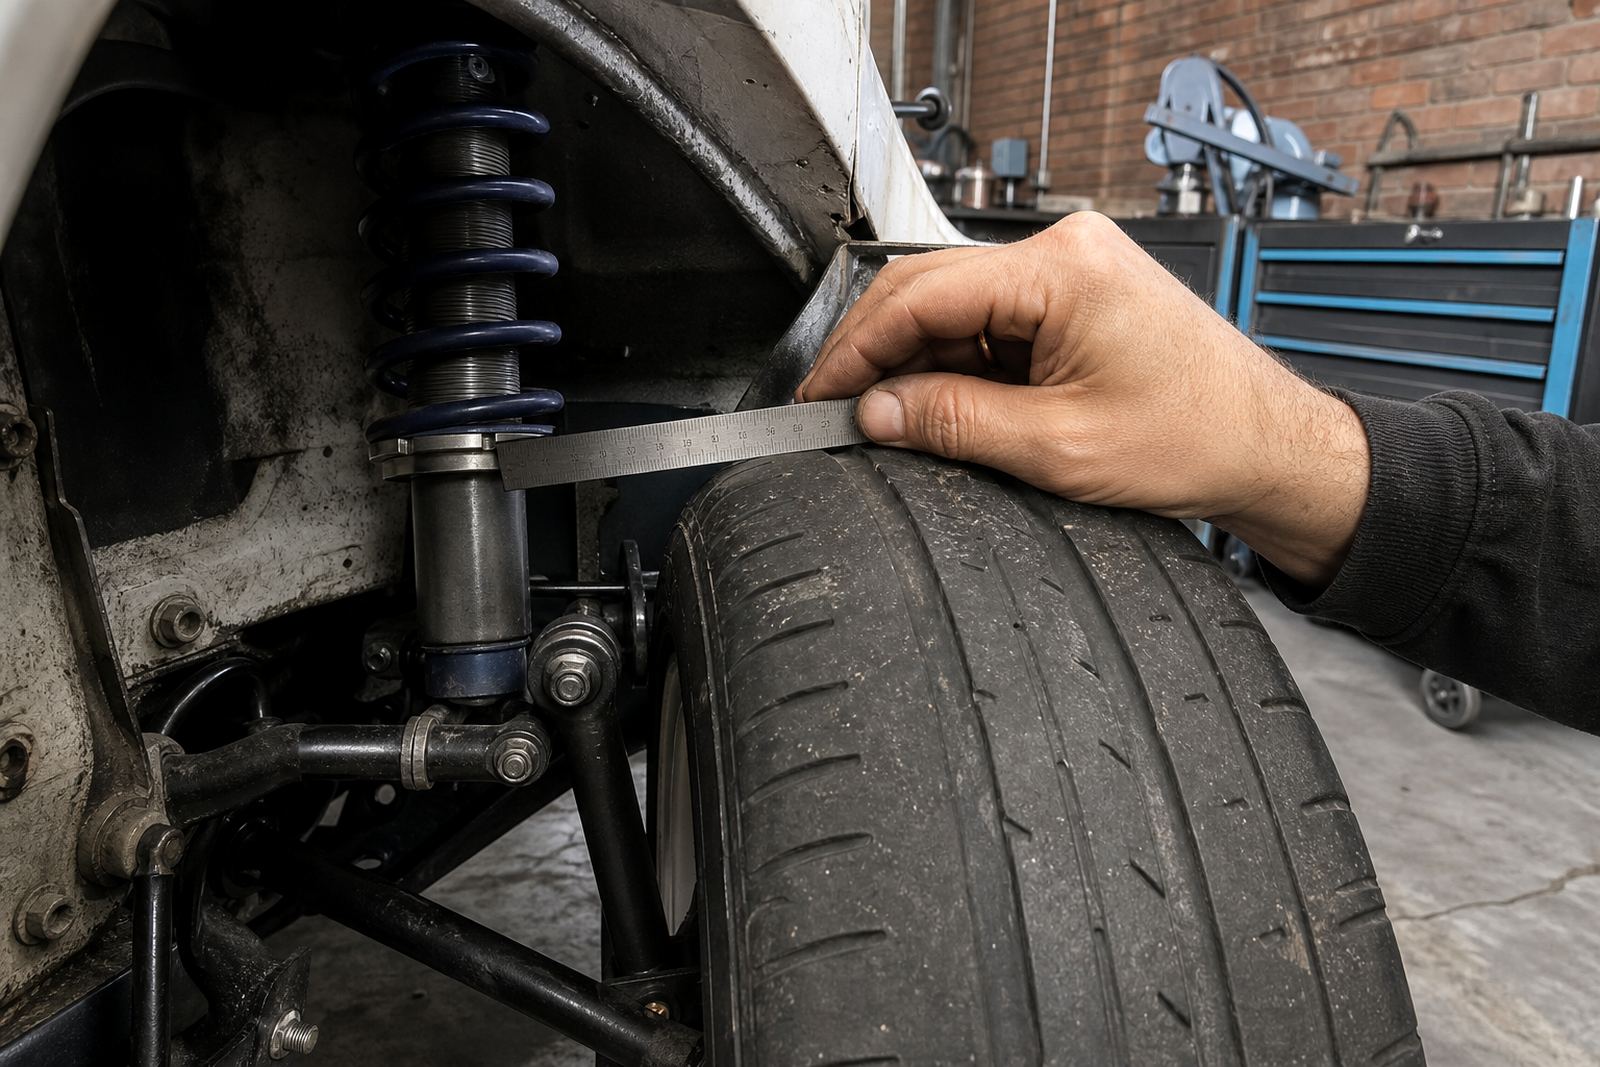
Before fitting a spacer, measure the wheel barrel to strut gap and the tyre sidewall to arch gap with the car on level ground. Do the same with the steering on full lock, because the front wheels can move closer to liners, spring seats and inner guards when you turn in.
A tape measure is useful, but a steel ruler and a straight edge give a cleaner reading. Check both sides of the car, since older shells, repaired arches and different tyre brands can leave each corner slightly off. On a Midrand workshop floor we often see one side sit tighter after a previous alignment or a small bend in a rim.
- Measure at static ride height, not with the car lifted.
- Record the tightest point on each corner.
- Check wheel nuts or studs still have proper thread engagement.
- Match spacer thickness to the smallest safe gap, not the biggest one.
Wheel To Strut Clearance Under Steering Load
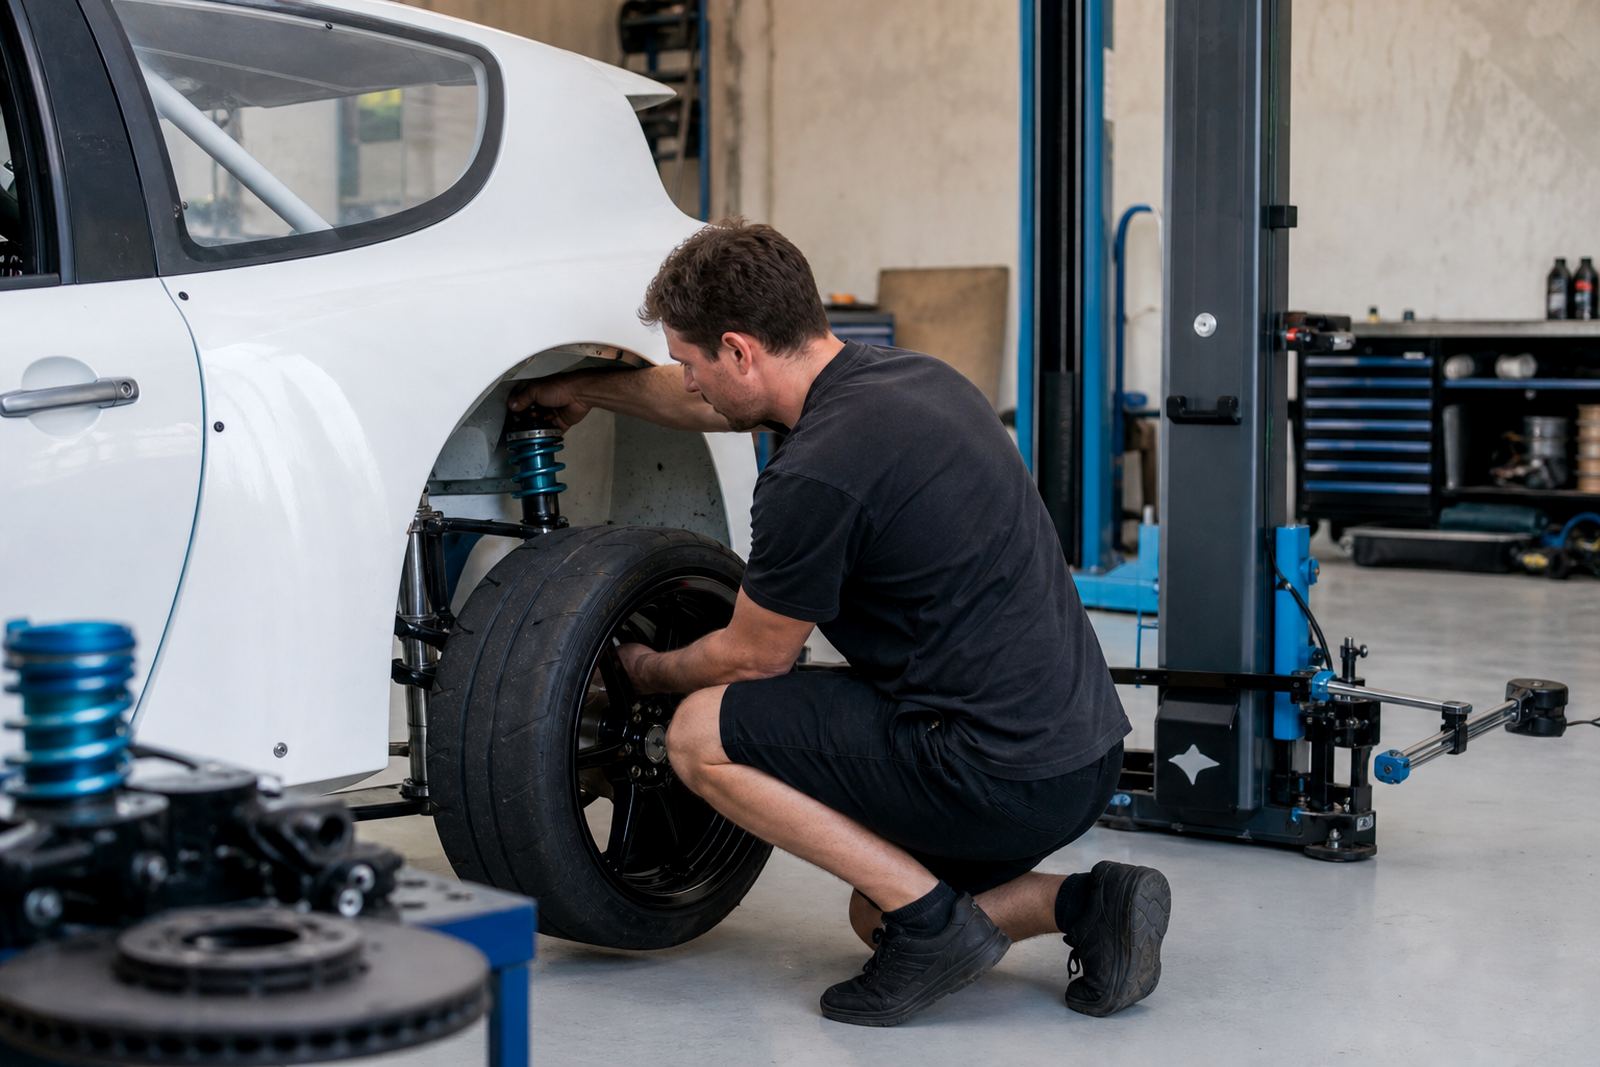
The wheel-to-strut gap is the one that catches people out after a wider track change. A 3 mm or 5 mm spacer can clear the inner barrel, yet still leave the tyre shoulder close to the spring perch once the car rolls in a corner. On coilover cars the body of the strut may sit closer than a standard setup, so the check has to be done with the actual suspension in place.
Turn the steering from lock to lock and look for fresh witness marks on the spring seat, damper body and inner liner. If the car has a lower offset wheel, the tyre can also move closer to the upright and brake hose area. Small scuffs on the first drive usually mean the spacing is too aggressive, or the wheel shape is not suited to that hub position.
- Polished patches mean something is rubbing.
- Check hose routing before a road or circuit run.
- Confirm the spacer sits flat on the hub face.
- Recheck after the first heat cycle and wheel removal.
Tyre To Arch Space On Compression
Arch clearance is not only a parked-car issue. The tyre grows slightly at speed, and it moves upward under compression when the car lands over kerbs or compresses through a fast corner. That means a setup which looks fine on the lift may rub once the suspension loads up.
Push down on each corner or use a proper setup day with corner weighting and alignment checks to see how the tyre sits in real load. Fresh paint inside the arch, polished inner liners and mud on the tyre shoulder can all reveal where contact happens. If the car runs on lower-profile tyres, the rim edge may clear while the sidewall kisses the arch lip.
Watch the rear too. Many drivers focus on front lock clearance, then find the rear tyre touches the arch on compression over a bump, especially with passengers, tools or fuel on board.
Spacer Size, Stud Length And Fastener Safety
Spacer thickness changes the load path through the hub, so the fastener setup must suit the new position. A thin spacer may still leave enough stud engagement, while a thicker one often needs longer studs or a proper hub-centric solution. If the wheel is clamped on the thread tips only, movement can start long before any obvious noise appears.
Check that the spacer sits squarely and that the wheel locates cleanly on the hub pilot. If the car uses bolts rather than studs, the available thread depth becomes even more important. A car that sees track kerb use, rally stages or repeated wheel swaps needs a simple torque check after fitment and after the first few sessions.
- Do not assume one spacer size suits every wheel design.
- Check thread engagement with the wheel fully seated.
- Use the correct torque pattern, then verify it again.
- Keep hub faces clean of rust, grease and old paint.
What A Midrand Fitment Check Usually Covers
At our Midrand base, spacer clearance checks often sit alongside brake upgrade planning, alignment checks, coilover setup and corner weighting. That matters because a wheel that clears on paper can shift once camber, ride height and toe are set for track use. A car set up for Kyalami may not behave the same way on broken Gauteng roads or a tighter club circuit.
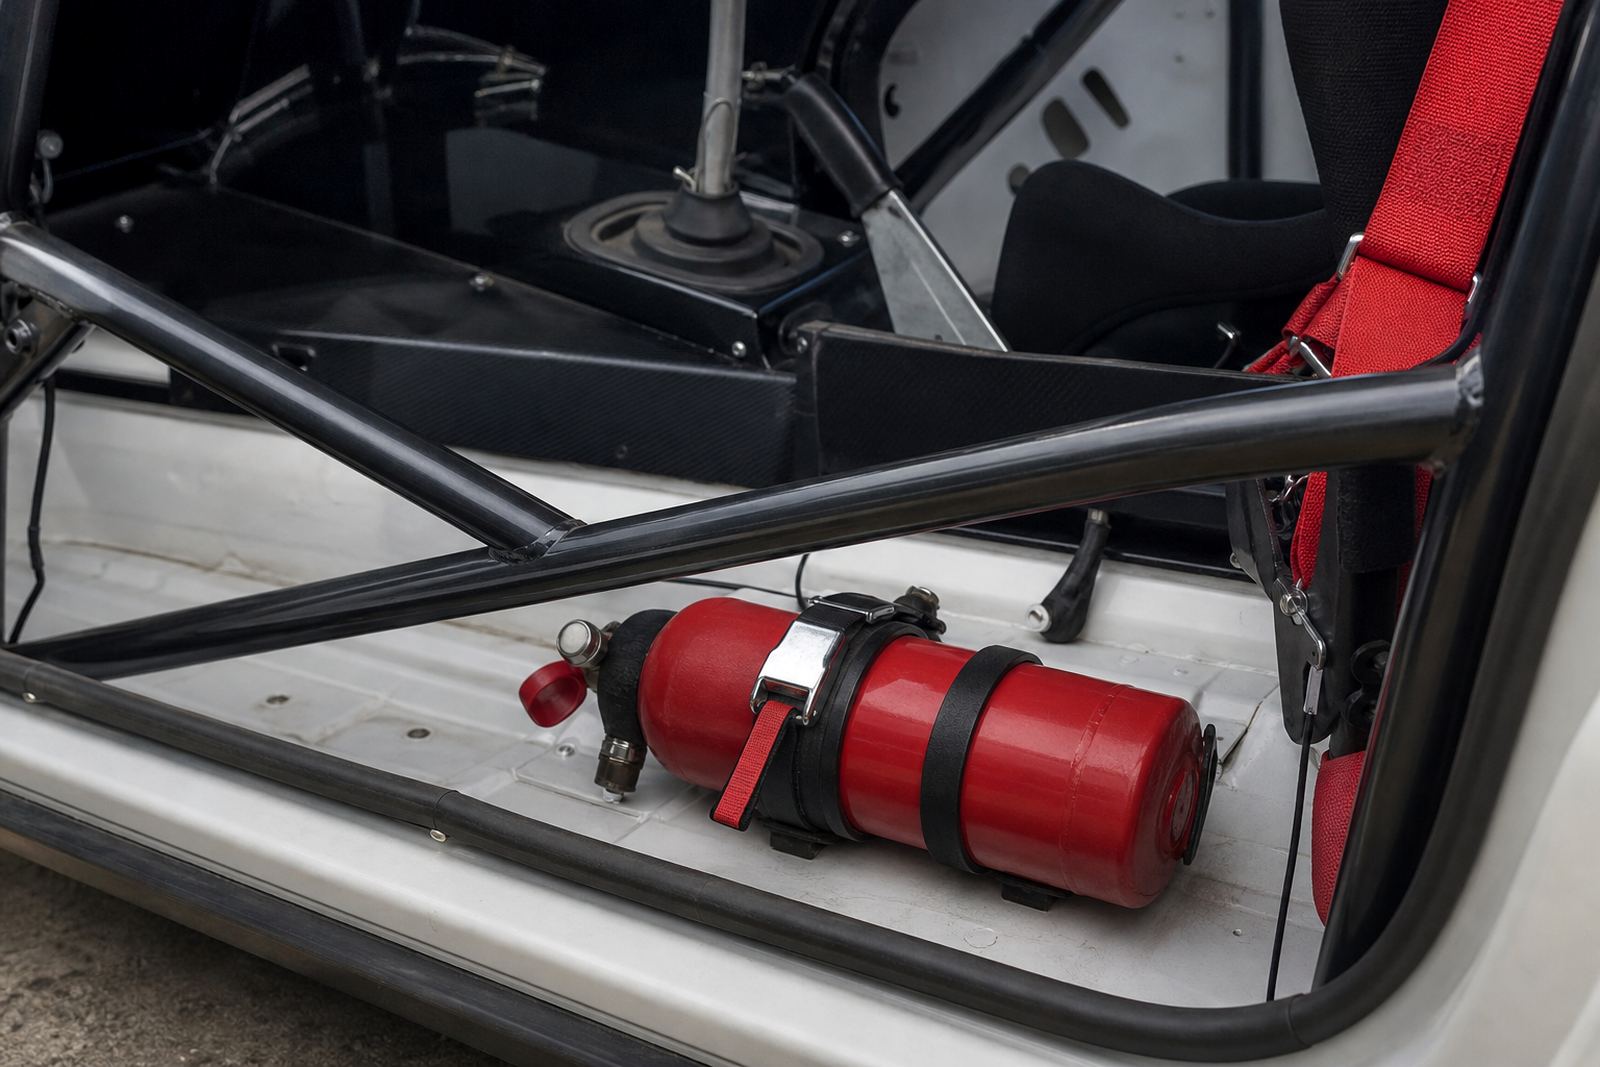
A practical check starts with the wheel off, then moves to the wheel fitted, then to the car loaded and turned. If there is a fuel cell, roll cage, harness mount or other interior change, the added weight distribution can change how the arch gap closes under load. Check spacer fitment with the full chassis setup, because a spacer that clears on the stand can still rub under load.