
Start With The Car Sits Level Enough To Work
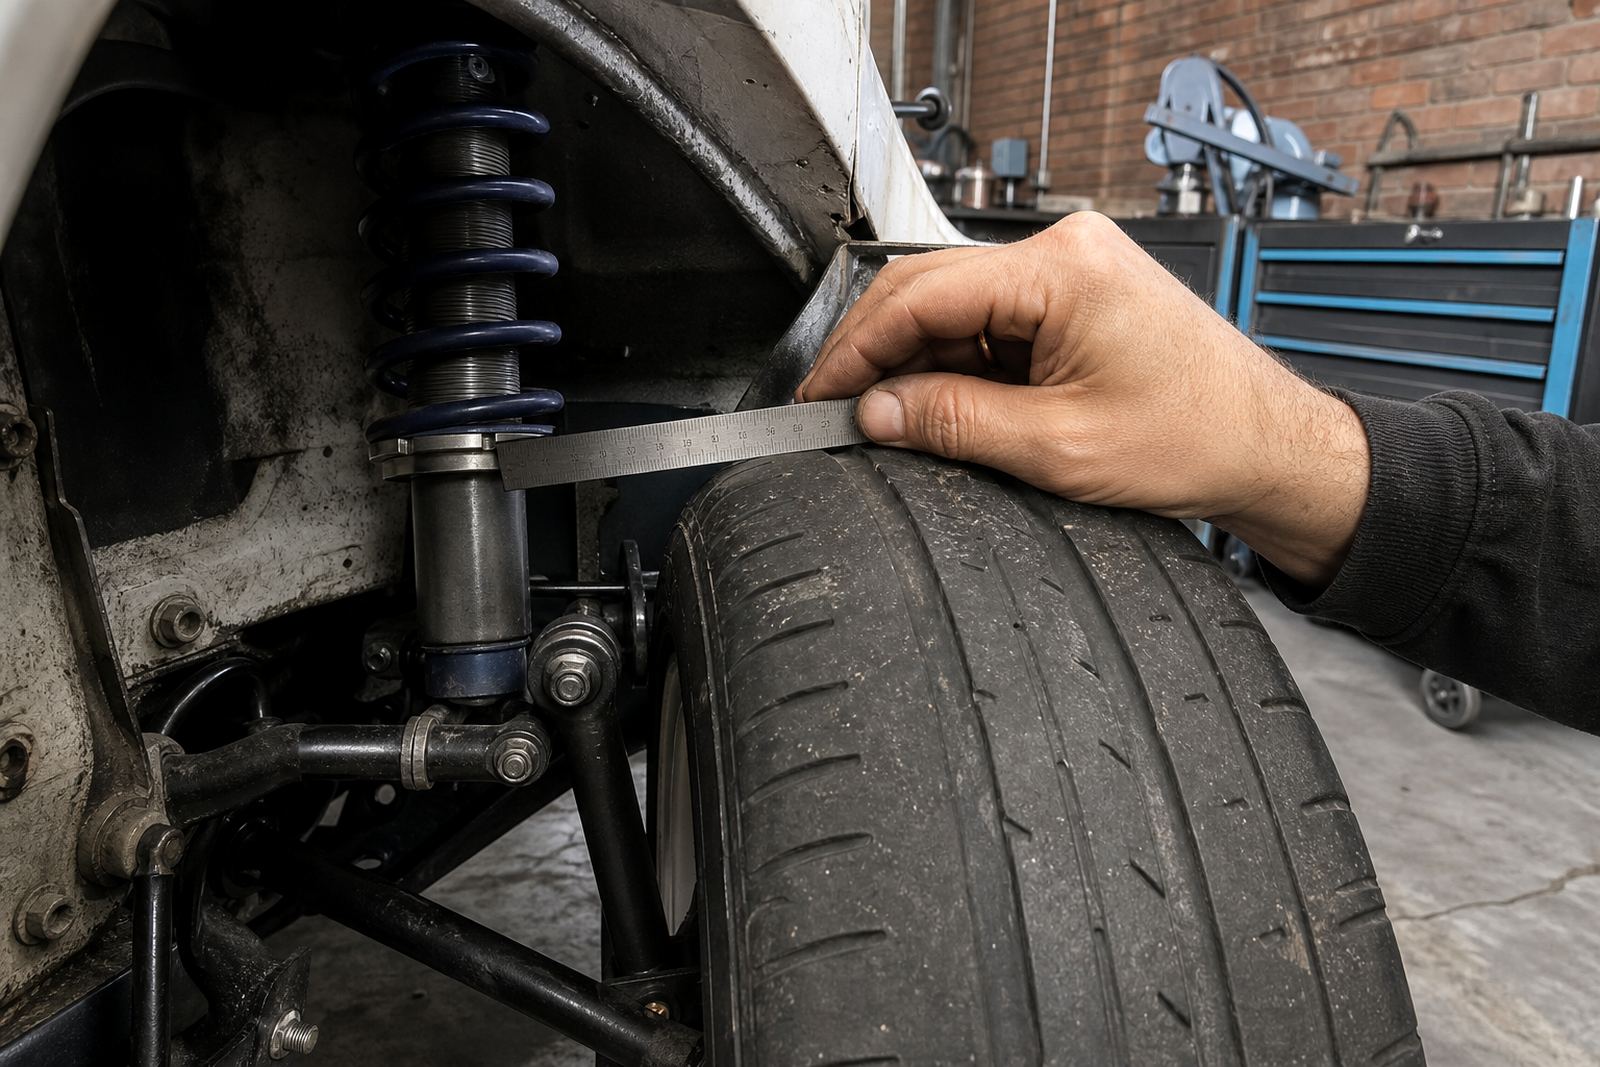
The first job after fitment is to find a sensible ride height that leaves room for travel, clears the tyres and keeps the car calm under weight transfer. Too low and the suspension runs out of room. Too high and the centre of gravity climbs, which makes the car feel lazy on direction changes and nervous under braking.
A practical baseline is not built on looks. It comes from tyre diameter, wheel offset, spring rate and the kind of surface the car sees most often. A Kyalami track car, a club racer in Midrand and a rally car that spends time on rough roads will not want the same starting point. The car must sit square, with enough bump travel for kerbs, crown in the road and the odd pothole near a paddock entrance.
Damping Numbers Matter Less Than Balance
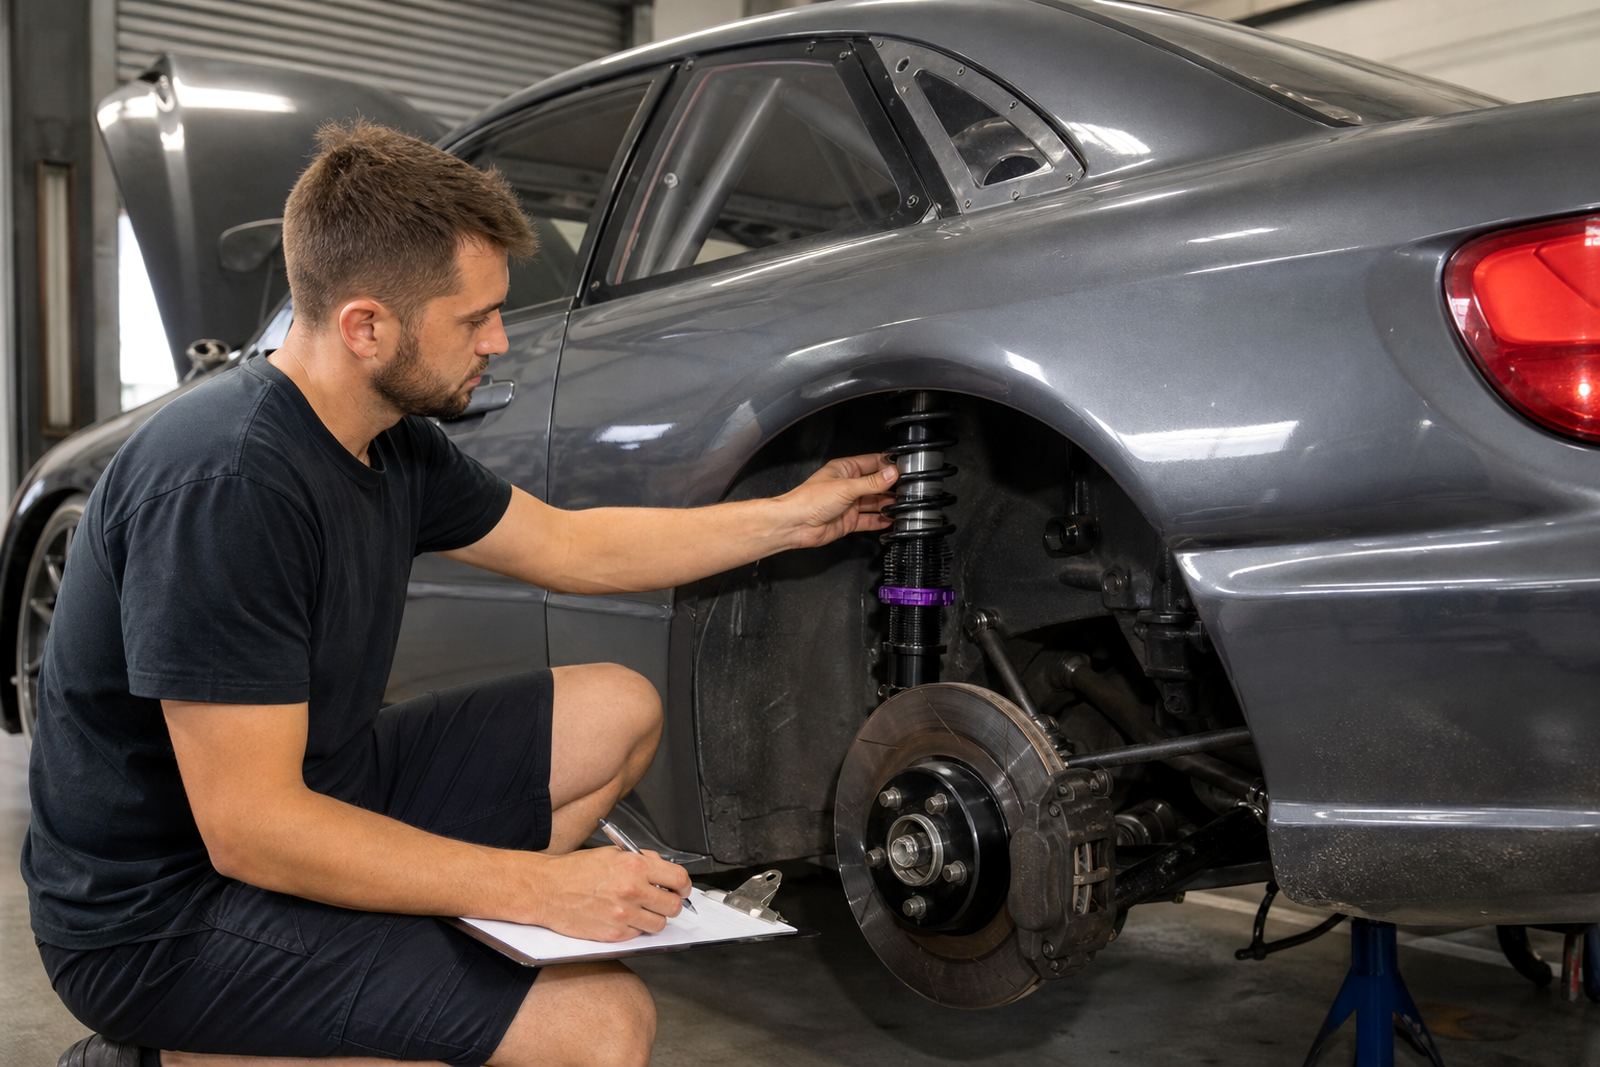
Damping should begin from a middle setting and move one step at a time. The aim is to feel what the chassis is doing without making three changes at once. If the front still dives hard on braking, or the rear takes a long time to settle after a quick lane change, the settings are too far from the mark.
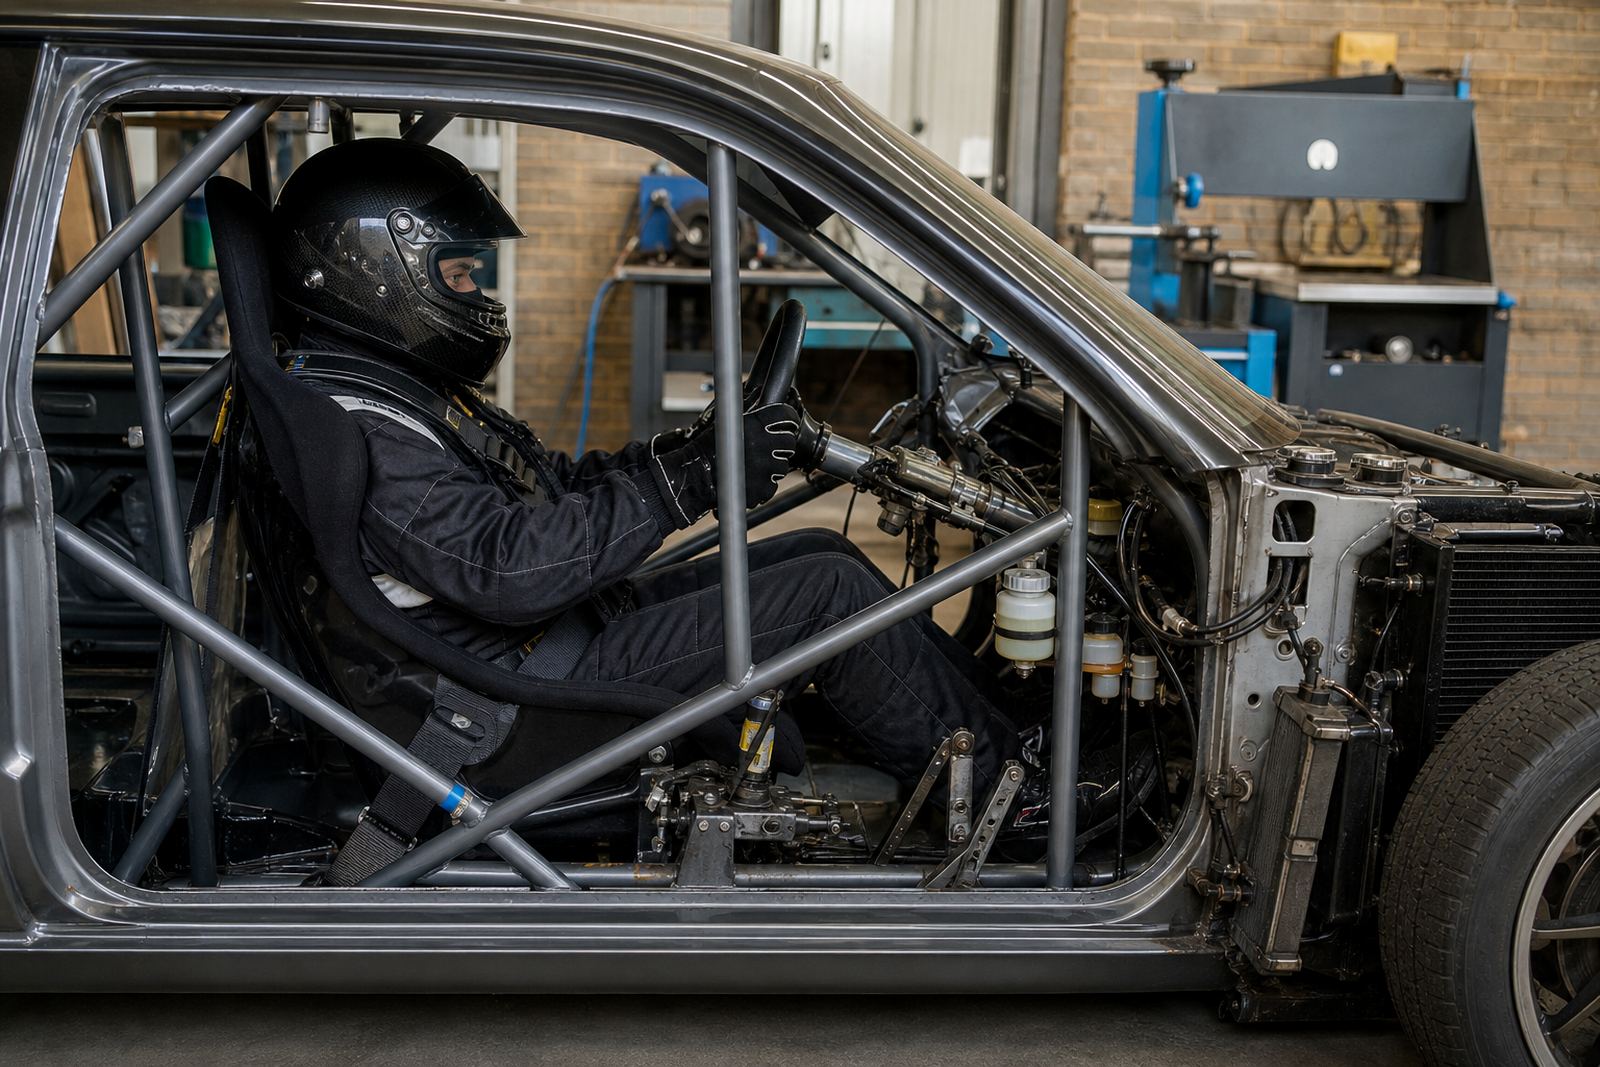
On the first day out, focus on the shape of the response rather than chasing a perfect lap time. A car that feels tied down but still moves cleanly over surface changes usually gives the driver more confidence than one that is stiff everywhere. That is where setup days earn their keep, because small notes from the driver, tyre wear and corner weight figures tell the story together.
- Begin with even settings left to right unless the car has a known weight split
- Make one click or one turn at a time, then test again
- Write down each change so the baseline does not disappear
- Watch tyre shoulders for signs of excessive roll or harsh rebound
Spring Rate, Tyres And Track Surface Must Match
A coilover can only do its job if the spring rate and damping suit the tyre and the surface. A softer spring with useful damping can keep contact on rough roads, while a firmer package may help a car settle faster through fast sweepers. The right answer depends on whether the car is chasing grip, tyre life or sharper turn-in for timed runs.
Tyre pressure, camber and toe all shape the result. If pressures are too high the car skips across the surface and the suspension reads as though it is too stiff. If toe is aggressive on the front axle the steering may feel keen at first, then wear the outside edges of the tyres too quickly. A baseline only works when the rest of the setup is close enough to support it.
- Check the tyre type before adjusting spring rates
- Set pressures before making damping changes
- Look at kerb use and rough patches on the chosen circuit
- Keep road and track settings separate if the car does both
What A Midrand Setup Session Usually Reveals
In Midrand, a car can leave a workshop floor feeling neat and still need a second pass once it has been driven hard. We see this often with cars that run to Kyalami for testing or head out to Pretoria for a local series meeting. The first drive reveals whether the rear is too eager, whether the front bites hard enough and whether the chassis settles in a straight line after a quick stop.
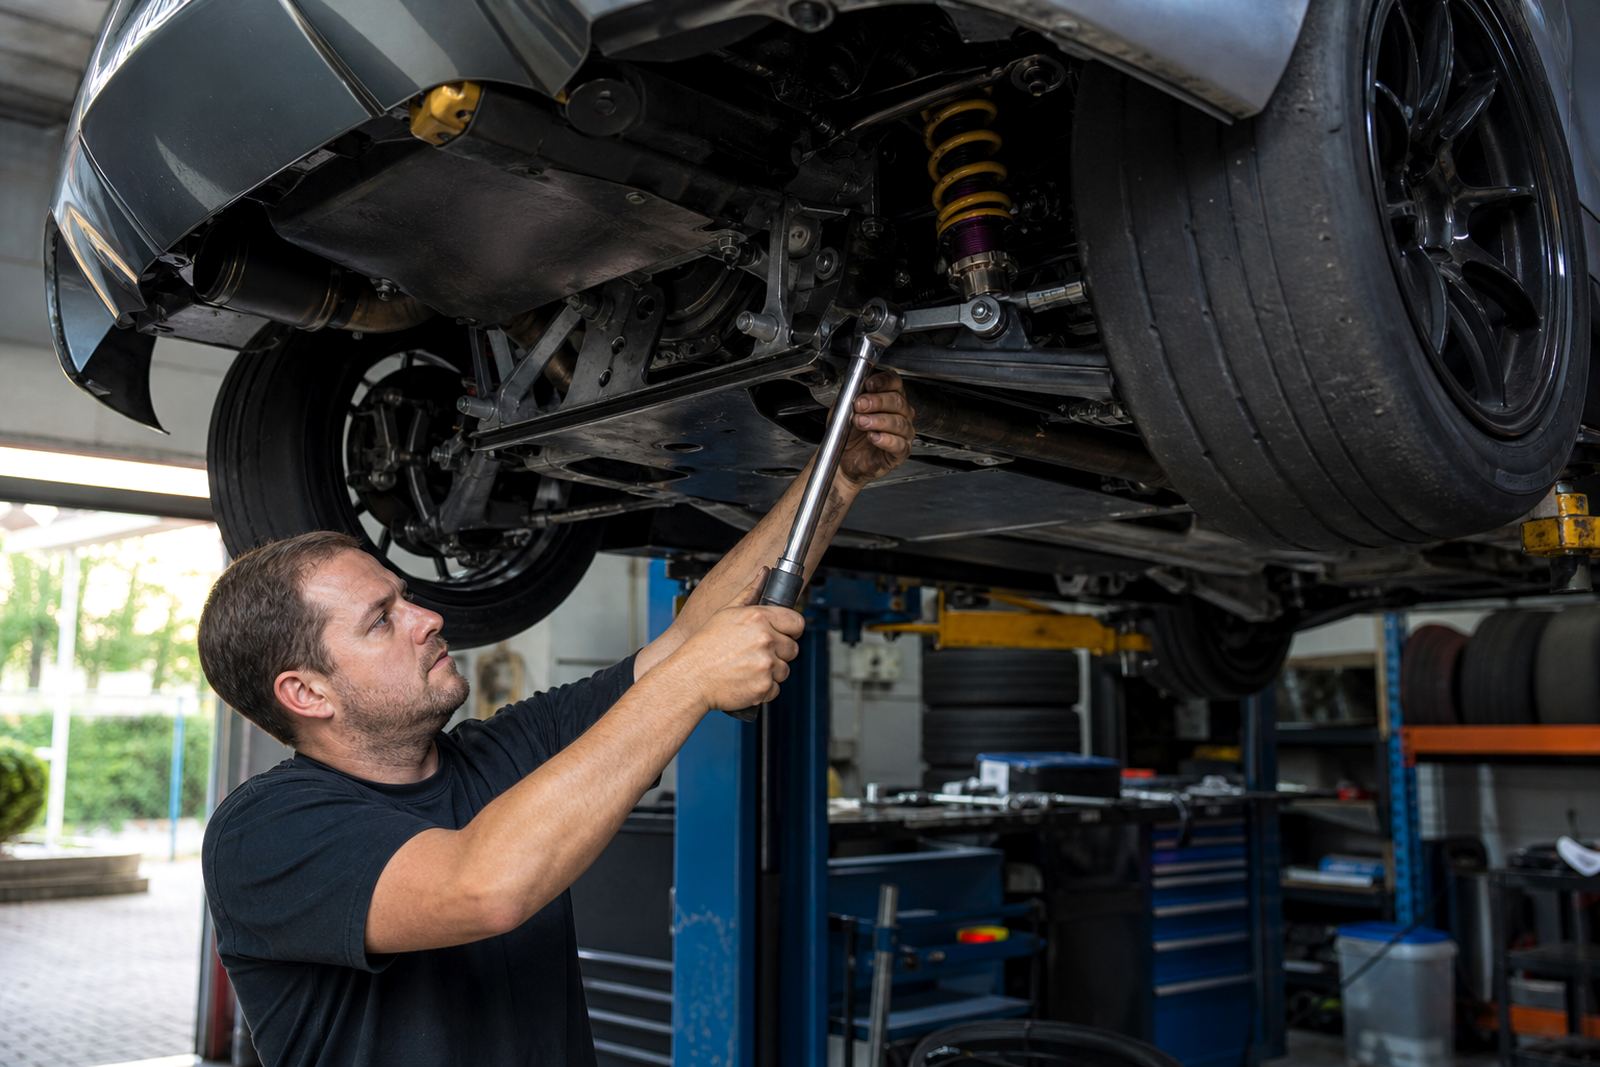
One useful example is a club car that arrives with new coilovers, fresh bushes and a set of road legal performance tyres. The starting point may look close, yet corner weighting can show one corner carrying more load than the others. That is when a slight ride height change and a small damping shift bring the whole car into a neater window, with better balance through the middle of the corner.
How To Read The Car Without Chasing Feel Alone
Keep the notes plain and tied to the track surface, tyre condition and weather. Coastal humidity in Durban can change grip feel, while a hotter surface in Gauteng may alter pressure and balance by the afternoon. Small shifts like that do not mean the setup is wrong. They mean the baseline needs to be read in context.
- Note fuel load before and after each run
- Record outside temperature and surface feel
- Compare tyre wear across all four corners
- Use the same driver if possible during the first test block
From First Turn To Proper Direction
A sensible coilover starting point is not the finish line. It is where the car stops guessing and starts speaking clearly. Once ride height, damping and alignment are close, the next step can focus on brake balance, corner entry and how the car puts power down on exit.
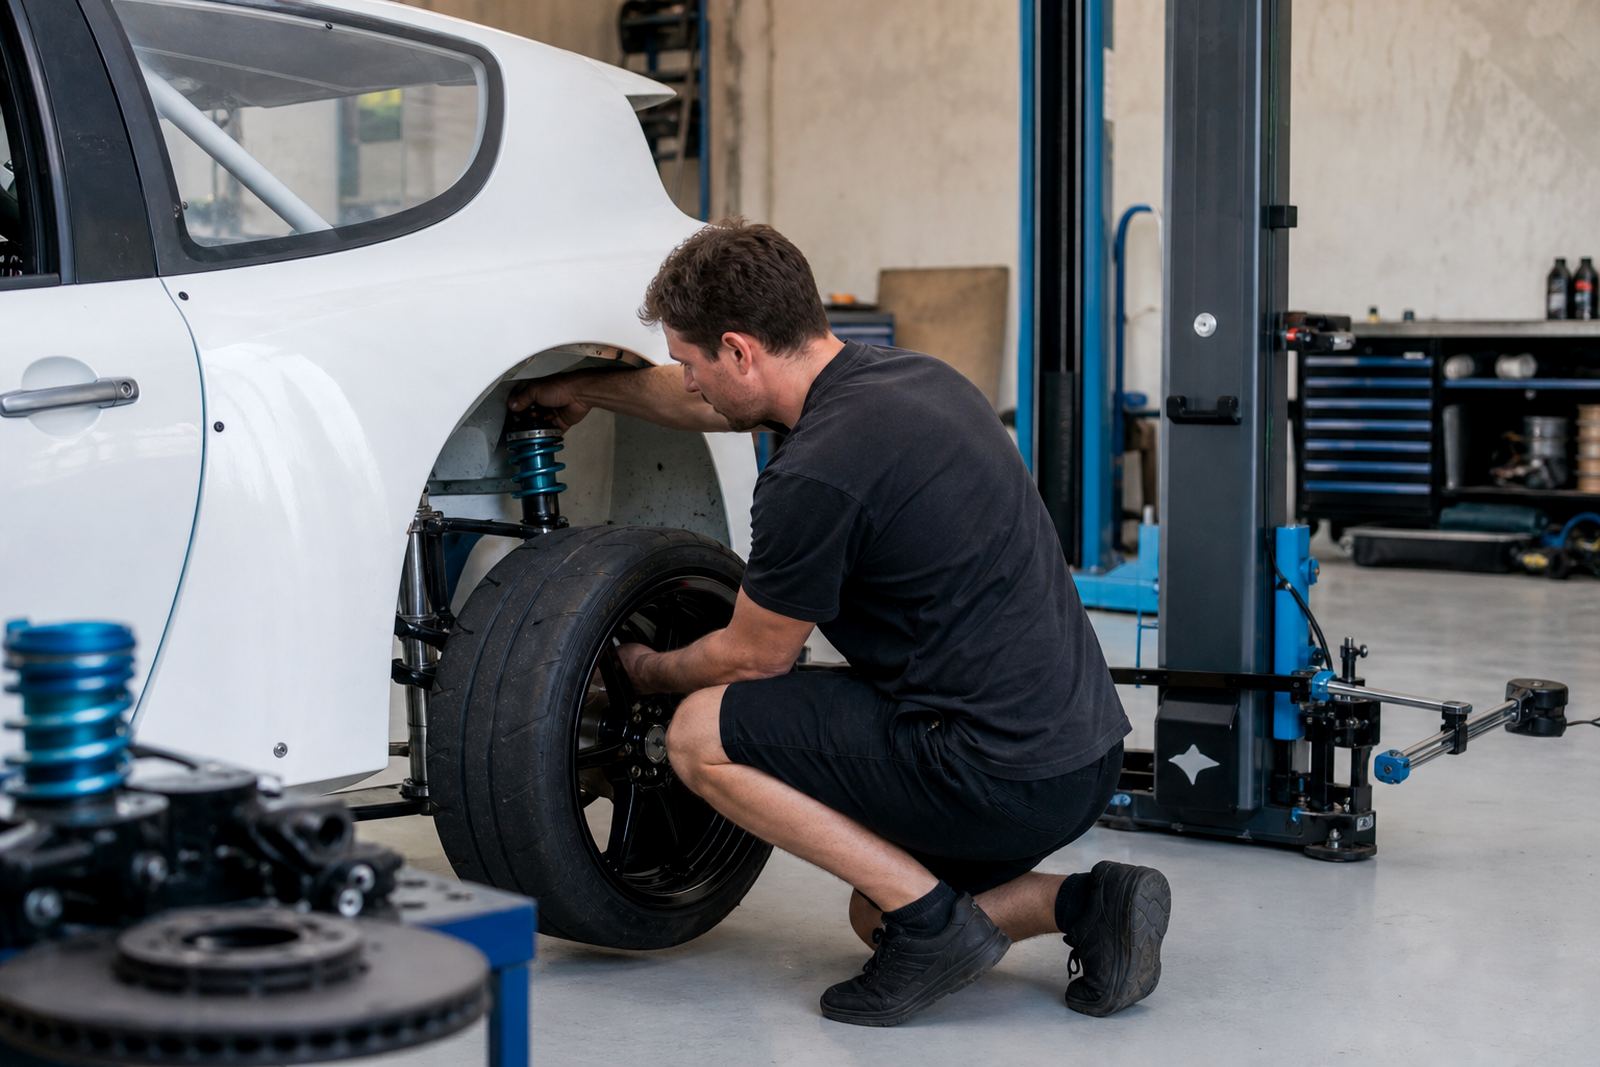
For track, rally and club racing cars across Johannesburg, Centurion, Durban, Cape Town and Port Elizabeth, that first baseline should be practical and repeatable. A clean starting point saves time on later testing and gives the driver a car that feels organised rather than random. That is the aim every time the suspension comes off the jig and onto the road or circuit.