
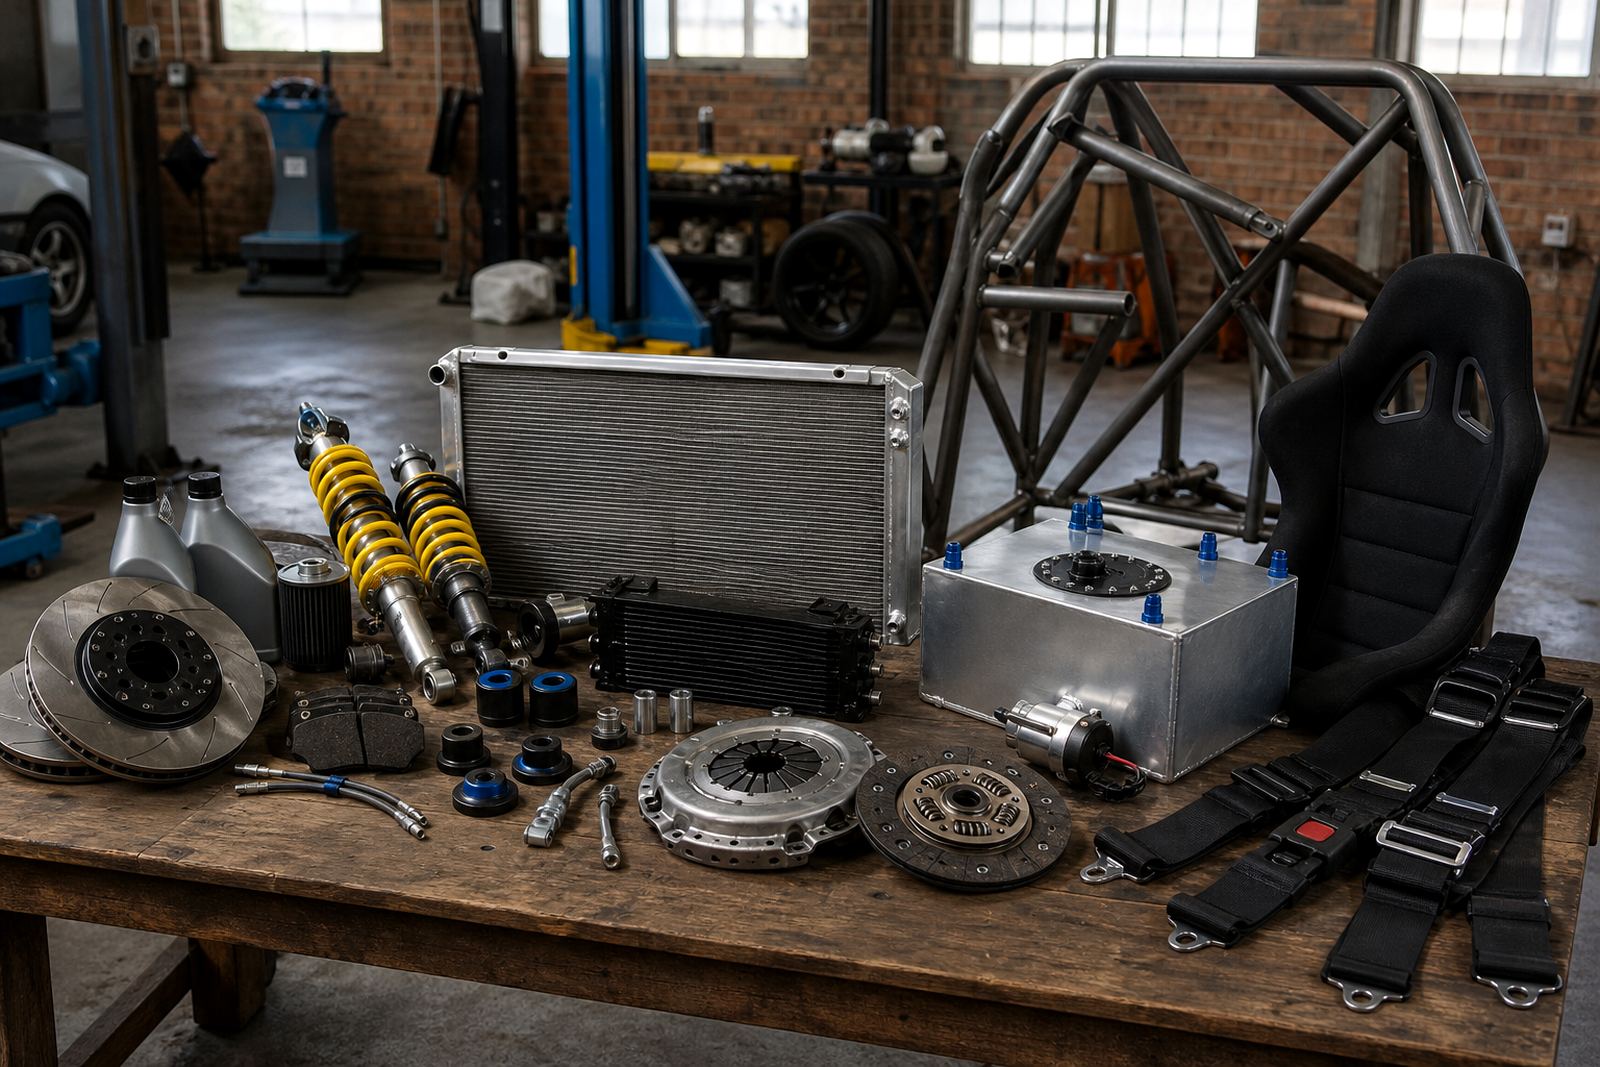
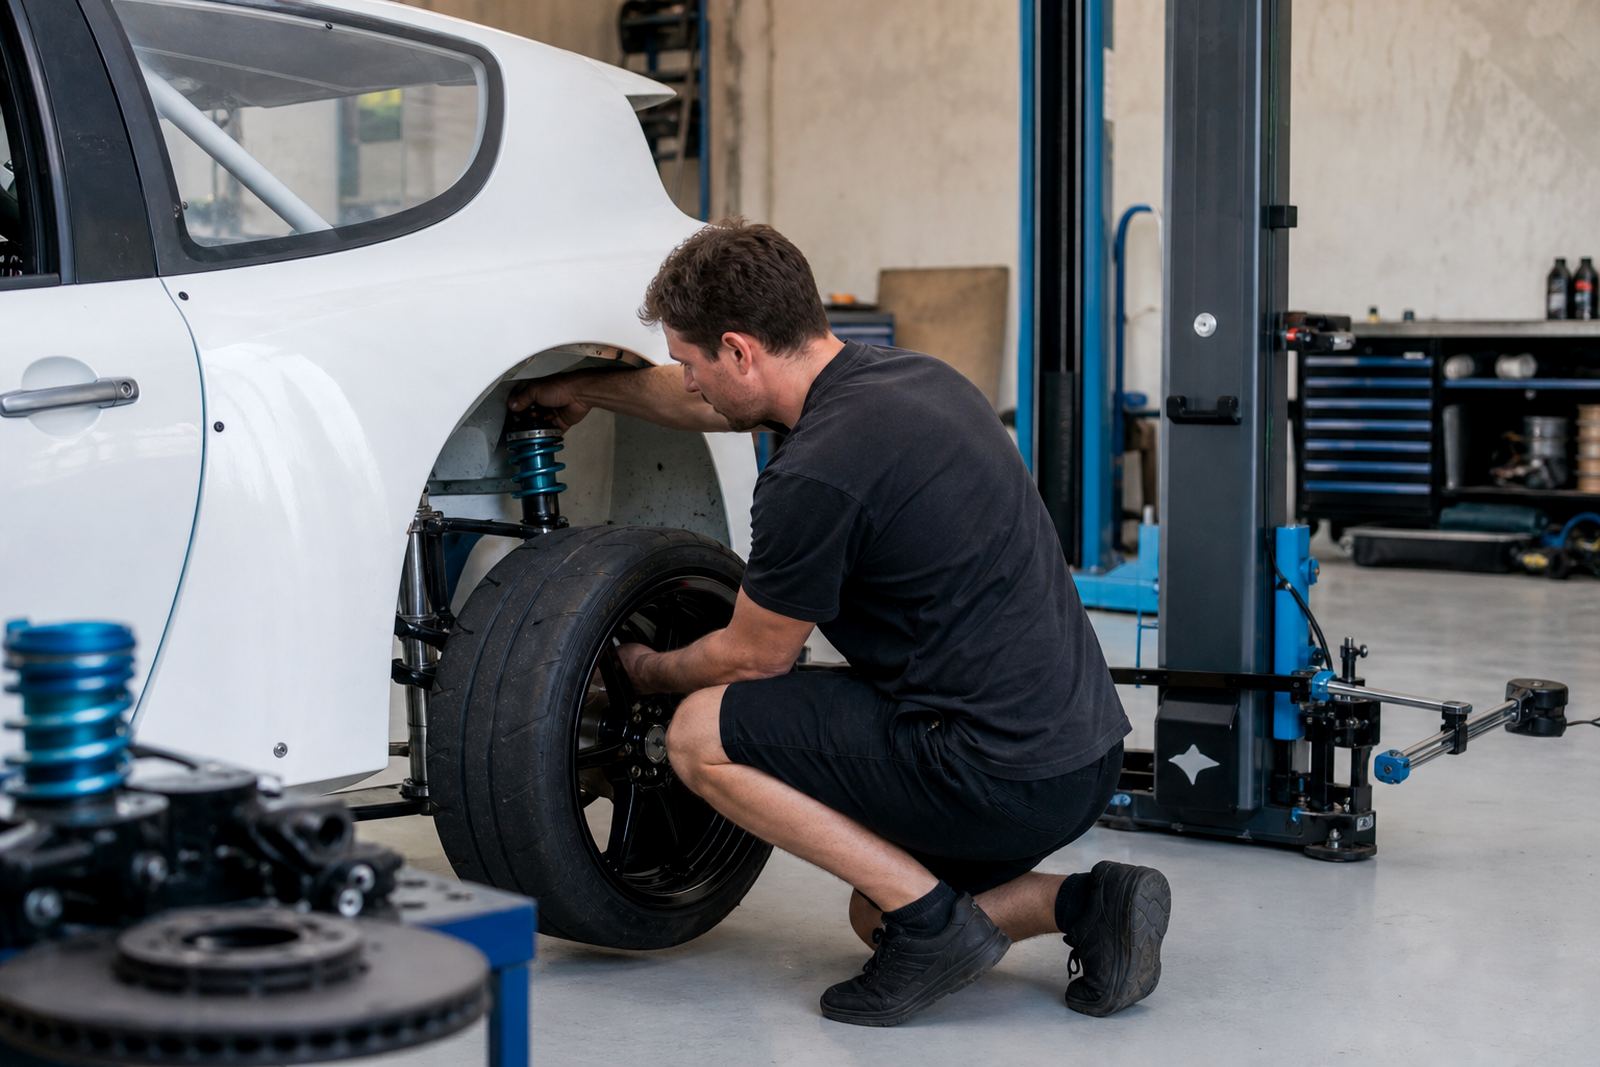
What bedding is really doing on the disc
Bedding is not a box-ticking exercise. It is the process of moving pad material onto the rotor face in a controlled way, so the brake compound can work against a stable surface rather than biting into bare metal and making uneven hot spots.
When that first layer goes down properly, the pedal feels steadier and the car stops with less drama. If the transfer is patchy, the pad can glaze, the rotor can show bands, and the driver ends up chasing a long pedal or a pull under braking.
- Fresh pads need heat cycles, not repeated panic stops.
- New rotors should be clean and free of oil or packing residue.
- The aim is an even transfer film on both sides of the disc.
Before you start, make the brakes worth bedding
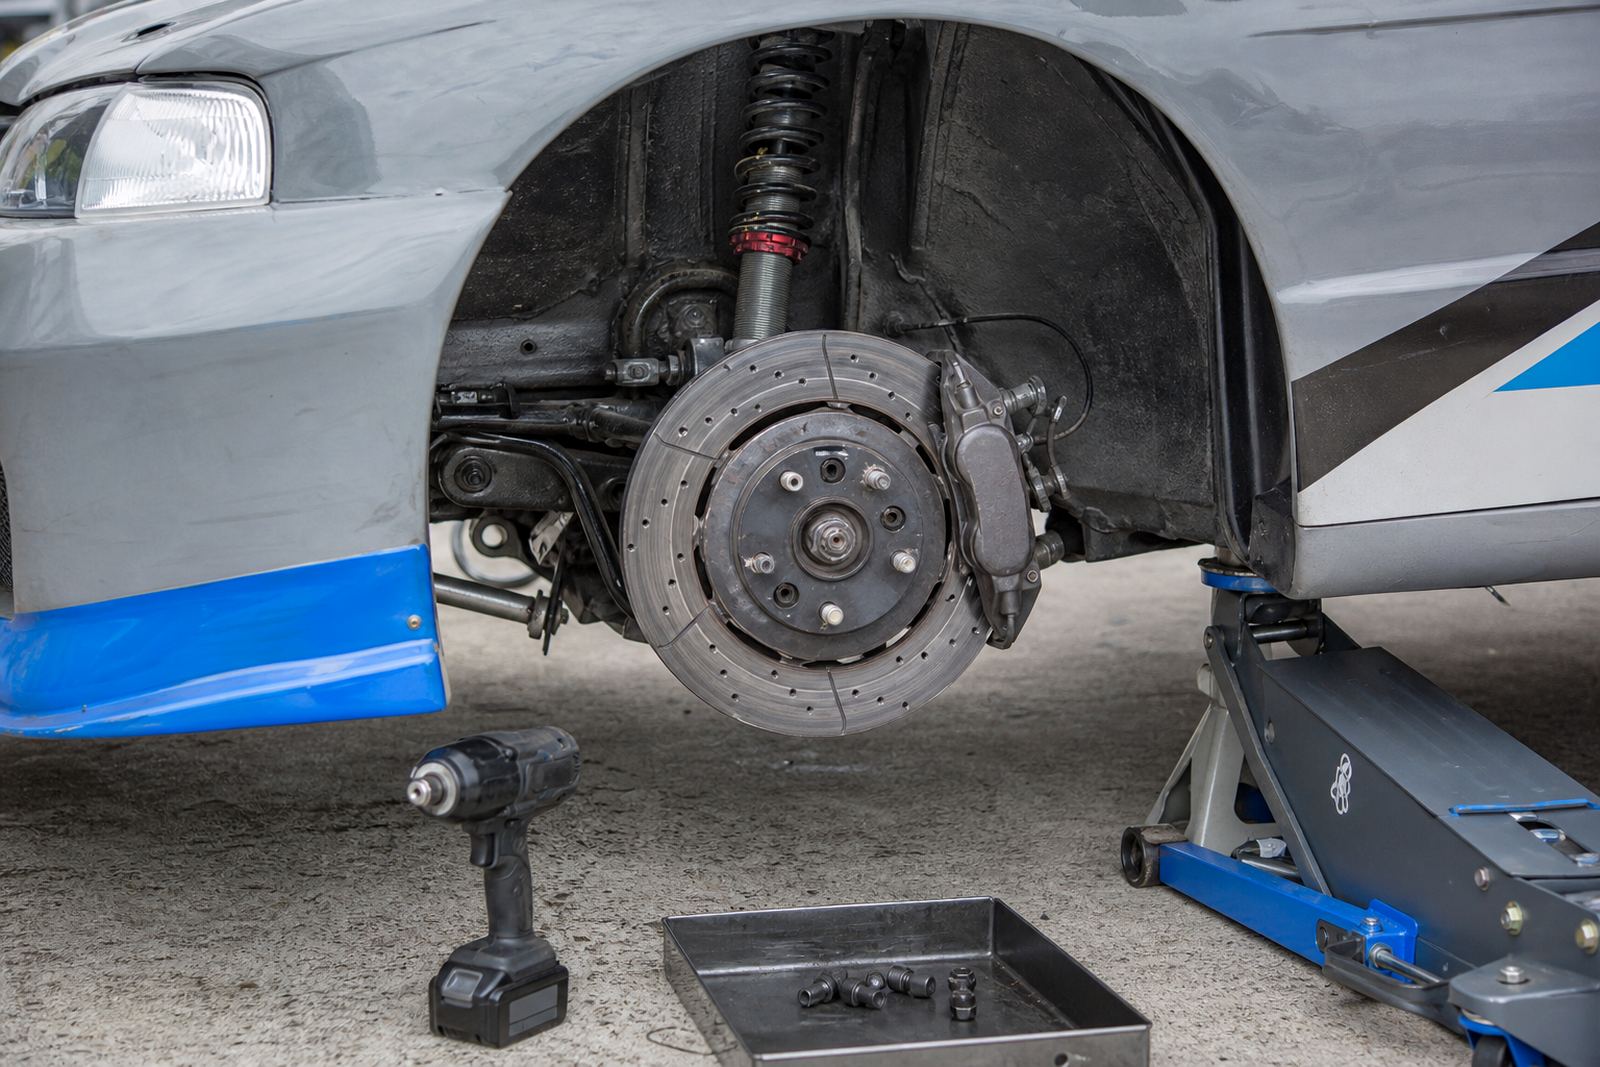
Good bedding starts before the car rolls out. Check that calipers move freely, pad backing plates sit flat and the brake fluid is fresh enough for hard track use. A tired hose, sticky slider or old fluid can spoil the whole run, even if the pads are decent.
Rotor faces should be wiped clean and torqued correctly. If there is grease on the disc, fingerprints on the friction face or a mismatch between pad shape and caliper pocket, the first heat cycle will not save it.
- Confirm pad fitment and rotor direction where relevant.
- Bleed the system until the pedal feels firm and consistent.
- Make sure wheel nuts and caliper hardware are torqued properly.
A sensible bedding sequence on a quiet road
The first part of the process should build temperature gradually. Use a safe stretch with light traffic, then make a series of moderate stops from low to medium speed without sitting on the pedal at the end of each stop. That keeps the pad from imprinting one hot patch onto the rotor.
After that, step up the heat with firmer braking, then let the brakes cool while the car is moving. Parking straight after a hard stop can leave a pad print on one spot and create vibration that shows up later at Kyalami or on a fast road section near Midrand.
- Use several medium stops before any hard braking.
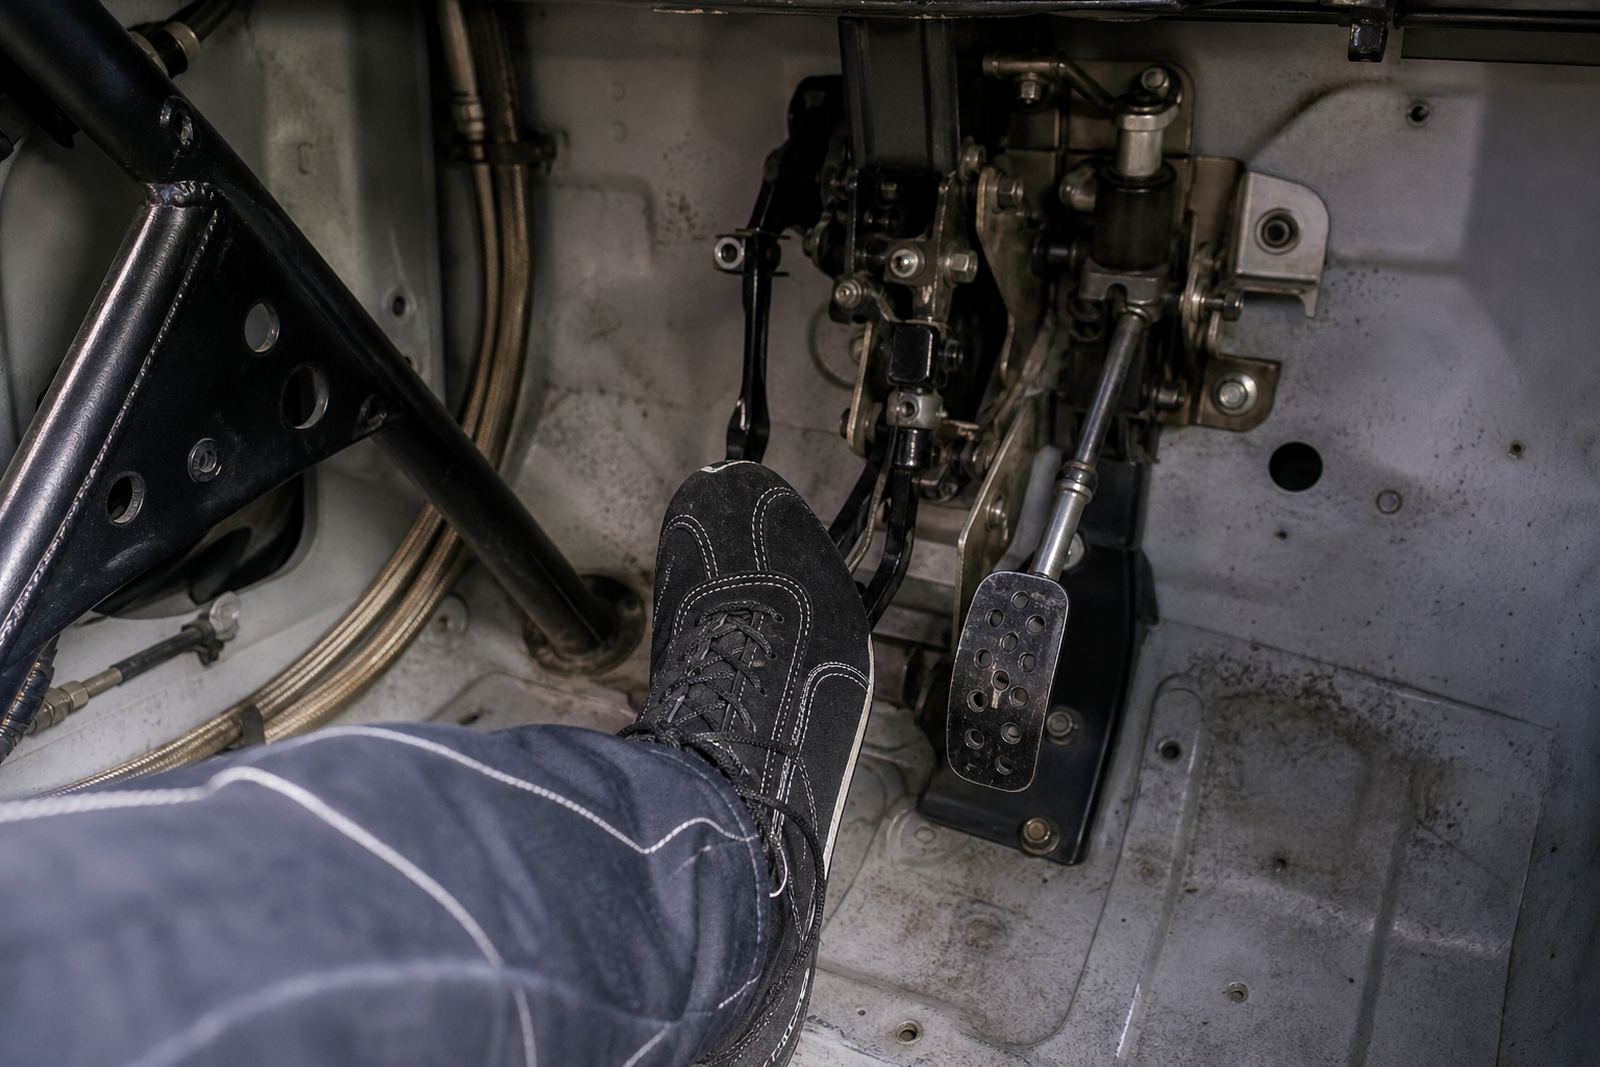
- Do not hold the pedal down while the brakes are very hot.
- Allow moving airflow to cool the discs between sets.
What glazing sounds and feels like on track
Glazing usually starts with a brake pedal that feels vague before it feels sharp again. The driver may also notice squeal, reduced bite and a shiny surface on the pad face. On some compounds, the car can feel normal in one stop and weak in the next, which is often a sign that the friction layer is not even.
Uneven transfer can show itself as a pulsing pedal, steering wheel shake or one wheel doing more work than the others. That is common when the bedding was rushed, or when the rear brakes were not brought up to temperature in the same way as the fronts.
- Shiny pad faces often point to glazing.
- Judder can come from patchy transfer or disc runout.
- A front rear imbalance can make the car feel unstable on turn-in.
Track day habits that protect the new setup
On the first session, treat the brakes like fresh tyres. Build pace in layers, use the pedal with feel rather than force, and leave room for cooling laps between harder runs. A driver who dives into heavy braking straight away can cook the surface before the pad has laid down properly.
Midrand customers often arrive with a car ready for a Saturday test day, then head out toward Kyalami or Zwartkops with a new pad compound fitted. That is when a calm first session matters most, because the car has to settle into the setup before anyone starts chasing lap time.
- Use the early laps to confirm pedal feel and balance.
- Watch for smoke, smell or pulling under braking.
- Inspect the pads and discs after the first hard session.
When bedding goes wrong, fix the cause not the symptom
If the brakes glaze, the usual answer is not to sand one corner and hope for the best. The better move is to inspect the fluid, pads, discs and setup as a system. A mismatch in compound, an old rotor surface or poor cooling can keep the problem alive even after a clean-up.
For club racers, rally cars and track cars across Johannesburg, Pretoria, Durban and Cape Town, brake bedding should match the way the car is used. A heavier car, a bigger tyre and a more aggressive circuit all change the heat load. That is why fitting advice and setup days matter, because the brake package has to suit the real run, not a neat paper spec.
- Check the brake balance after any pad or rotor change.
- Revisit the bedding process after a new fluid flush.
- Look at cooling ducts and rotor condition if fade keeps returning.