
Start with the shell, not the tubes
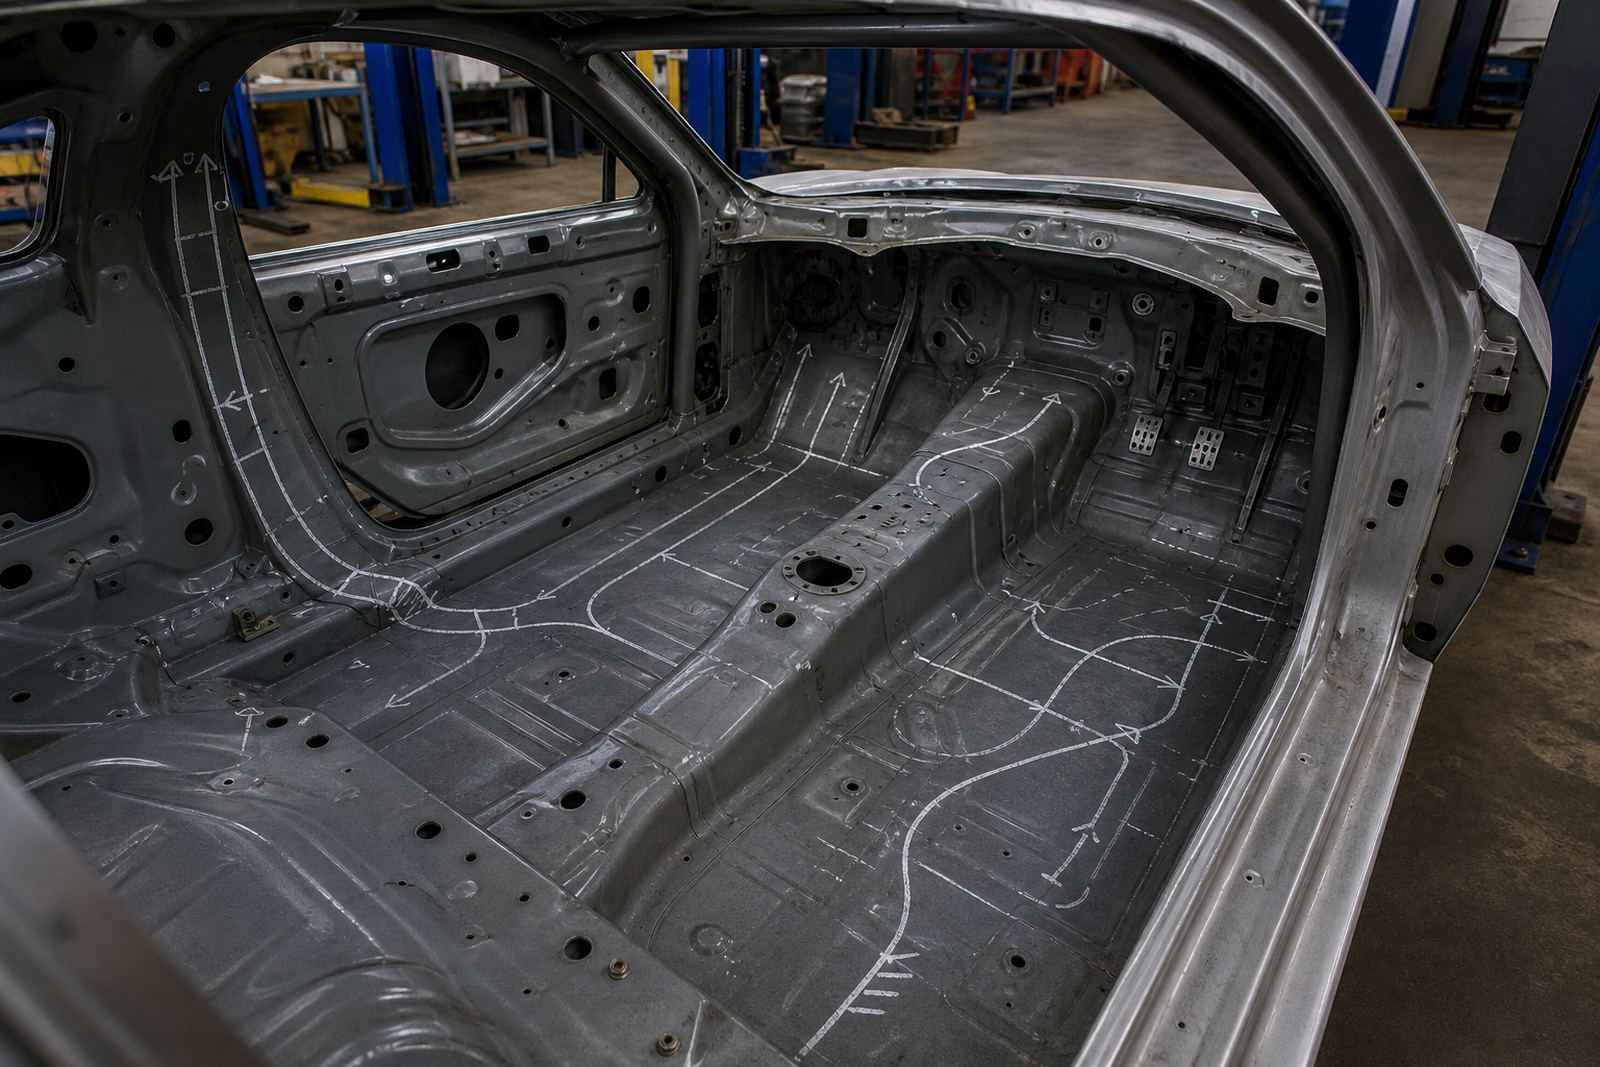
A cage plan should begin with the bare shell in front of you. Look for crash repairs, rust around seams, waviness in the floor and sill panels, and old seam sealer that hides weak metal. In Midrand, cars that have spent time in coastal areas often show more surface corrosion than the owner expects, so the mounting points deserve a close look before any layout is finalised.
The shell needs to suit the job. A club racer used for sprints and track days will not always need the same bar set-up as a rally car that sees rough roads, kerbs and repeated diagonal loads. Door bars, rear stays and front legs all affect how easy it is to get in and out, and how much room is left for pedals, steering and the dash top.
- Check the floor, sill tops and A pillar bases for rust or patch repairs.
- Confirm whether the shell has been stripped for welding and measuring.
- Map out existing holes, brackets and old mounts before planning new ones.
- Think about where the seat, helmet and steering wheel will sit in relation to the main hoop.
Rules, class limits and scrutineering details
Before any cage layout is approved, the class rules need to be read with care. Tube size, bend count, leg placement, gusset use and door bar style can all differ between track, rally and club racing. A neat looking cage can still fail scrutineering if the driver cannot see correctly, or if the structure blocks access to the release points and safety equipment.
Ask which governing notes apply to the car, then build around those limits instead of trimming the cage later. It is also worth checking whether the shell must retain interior trim in certain places, or whether extra plates and welds are allowed around the footings. That detail can change where the front legs land and how the harness bar is placed.
- Confirm the class rule set before cutting any metal.
- Check door bar requirements, especially for side impact protection.
- Confirm seat belt anchorage rules and harness bar height.
- Ask whether any panel trims or dash sections must stay in place.
Driver fit comes before tube count
The driver’s seating position decides a lot of the cage shape. A well planned cage must leave the helmet out of the roof line, keep the steering wheel in a natural reach, and allow the harnesses to pull straight across the shoulders. If the seat sits too high, the cage can feel cramped and the upper bar line becomes harder to work around.
Seat positioning, pedal reach and harness routing all matter at once. The main hoop should not force the driver to sit twisted or too close to the dash. In a car with limited cabin width, the side bars and seat mounts need to be planned together, not as separate jobs. Small changes in mounting height can make the difference between a tidy driving position and a car that feels awkward after three laps.
- Fit the seat first or mock it in its final position.
- Set the steering wheel height and reach before fixing side bars.
- Check helmet clearance to roof tubes and cross braces.
- Make sure the harness line runs cleanly through the seat openings or over the shoulder bar.
Door bars, rear stays and service access
Door bars do more than add strength. They affect how the car opens, how the driver exits and how much space remains for side padding and netting. A rally shell may need a different arrangement to a circuit car, especially where terrain and contact risk are different. If the car still needs regular access, the bar layout should not trap the battery, fuel plumbing or wiring behind a fixed wall of tubing.
Rear stays and gussets should support the hoop without boxing the cabin in too much. Think about where a fire extinguisher, master switch and seat net will sit. It is easier to plan those points before the tubes are welded in than to chase clearance later. A sensible design also leaves enough access for floor checks, harness bolt inspection and seat removal.
- Decide whether the side bars must suit left or right hand entry habits.
- Allow space for seat netting, extinguisher mounts and switch access.
- Leave room to inspect welds, floor mounts and harness bolts.
- Check rear stay angles against boot access and spare wheel removal, if needed.
Mounting plates, welds and shell preparation
The strongest cage in the world still depends on clean mounting points. Plates should sit on sound metal, not on filler, thick seam sealer or hidden rust. Once the shell is cleaned back, the fitter can see what the metal is really doing and where local repairs are needed before the cage goes in.
Weld quality matters, but so does preparation. A tight tube fit against the shell and base plates keeps the structure honest. If the car has been seam welded or repaired before, that history should be checked around the footings because old repairs can change the way heat travels through the panel. In humid parts of South Africa, untreated edges can start to rust very quickly if they are left bare after fabrication.
- Strip paint and sealer from all planned mount areas.
- Repair rust or cracks before placing the cage feet.
- Confirm plate size and weld access around each fixing point.
- Protect bare metal after fabrication with proper coating.
Cooling, safety gear and the rest of the package
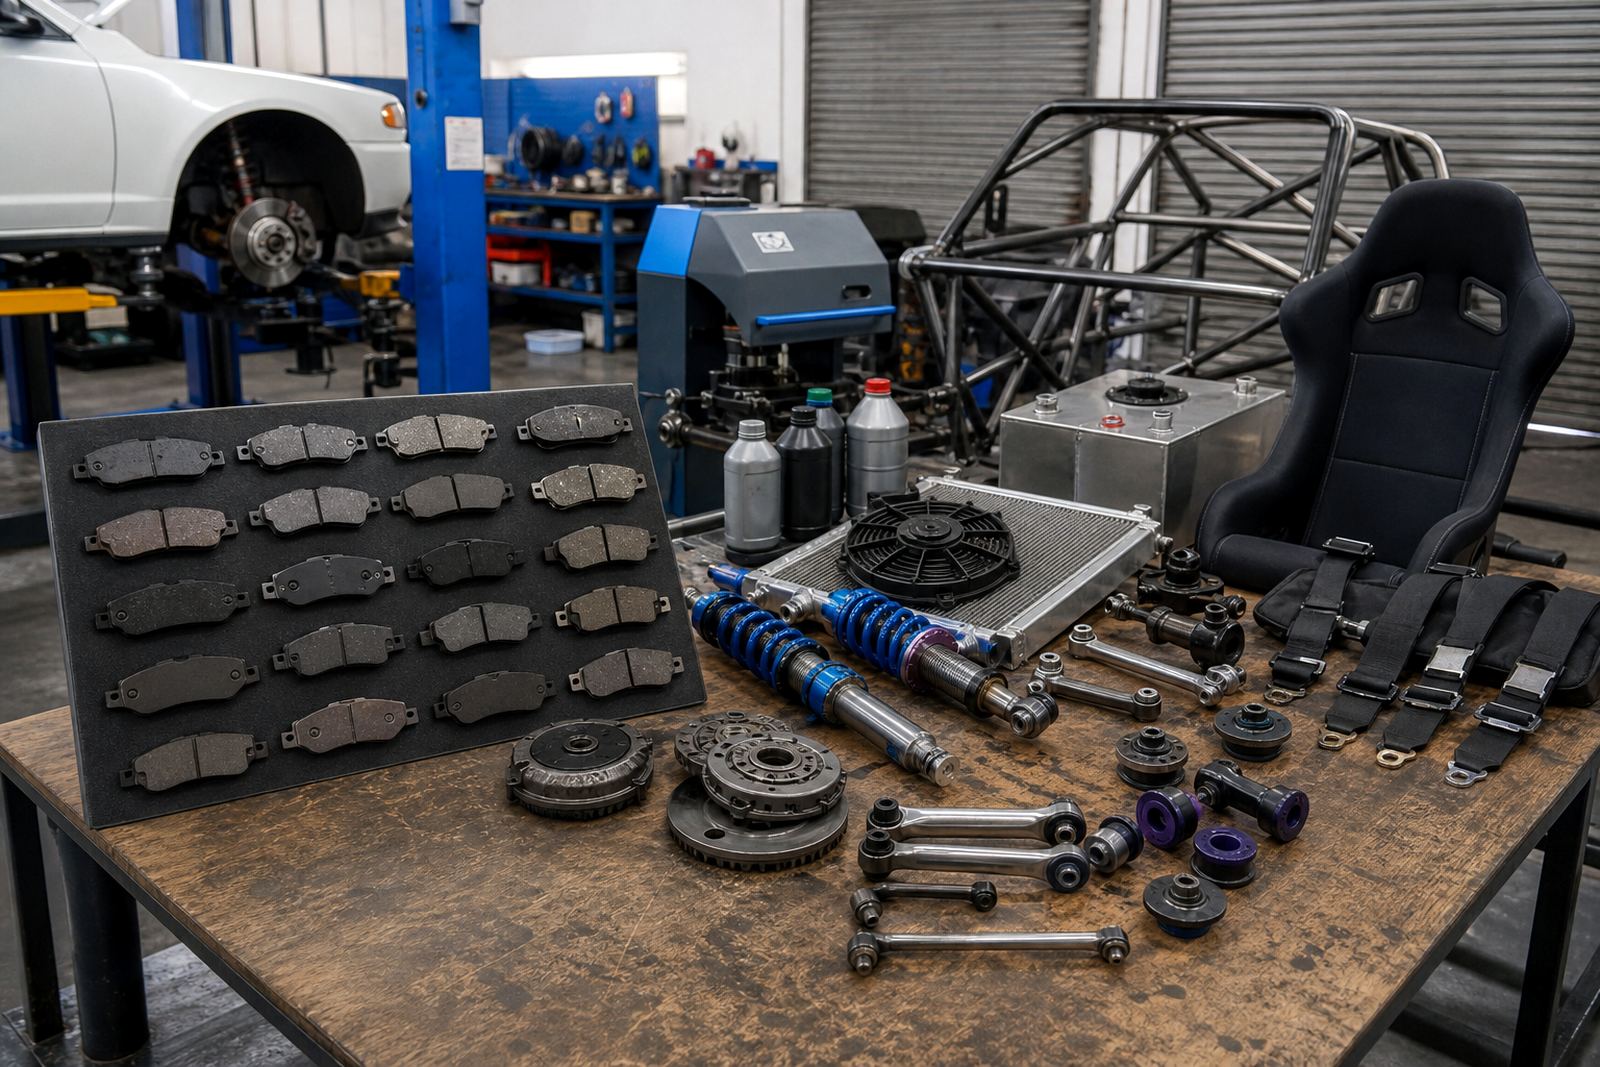
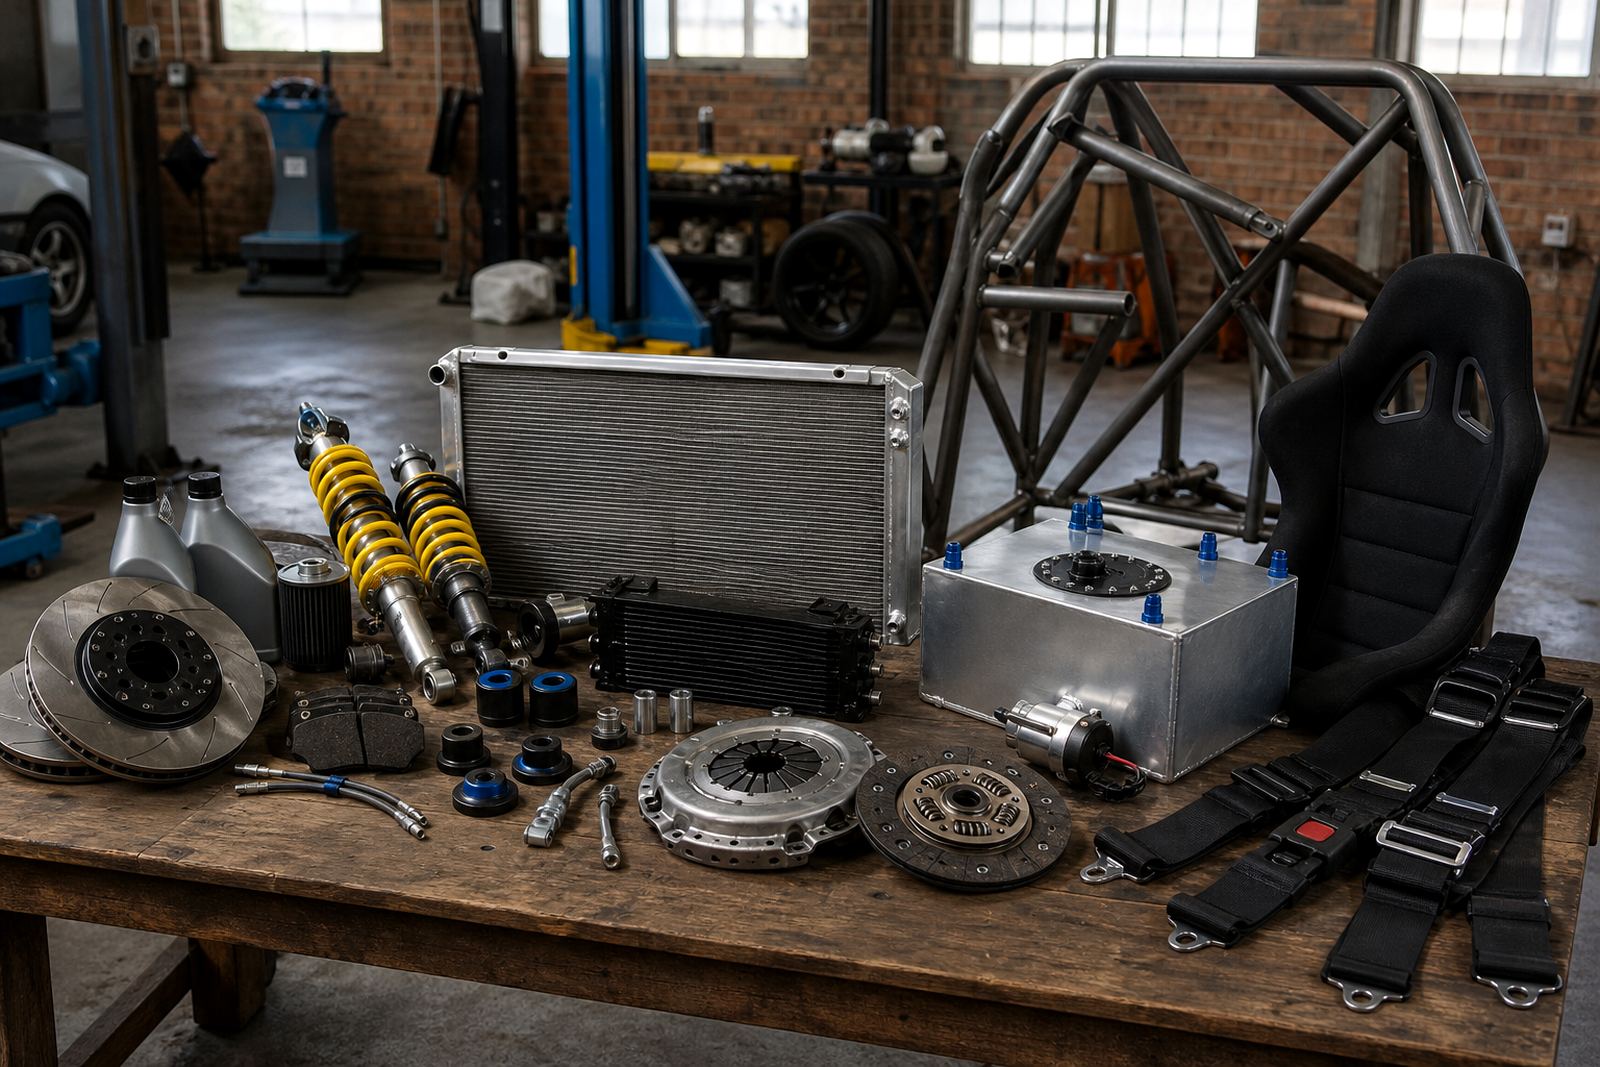
A cage does not sit alone in the car. Once the structure is mapped out, the rest of the safety package should be checked against it. Seat position, harness angles, fuel cell location, fire extinguisher access and clutch pedal clearance all need to work together. On some shells, the cage tubes can interfere with cooling hose routes or the way a radiator support panel is removed for service.
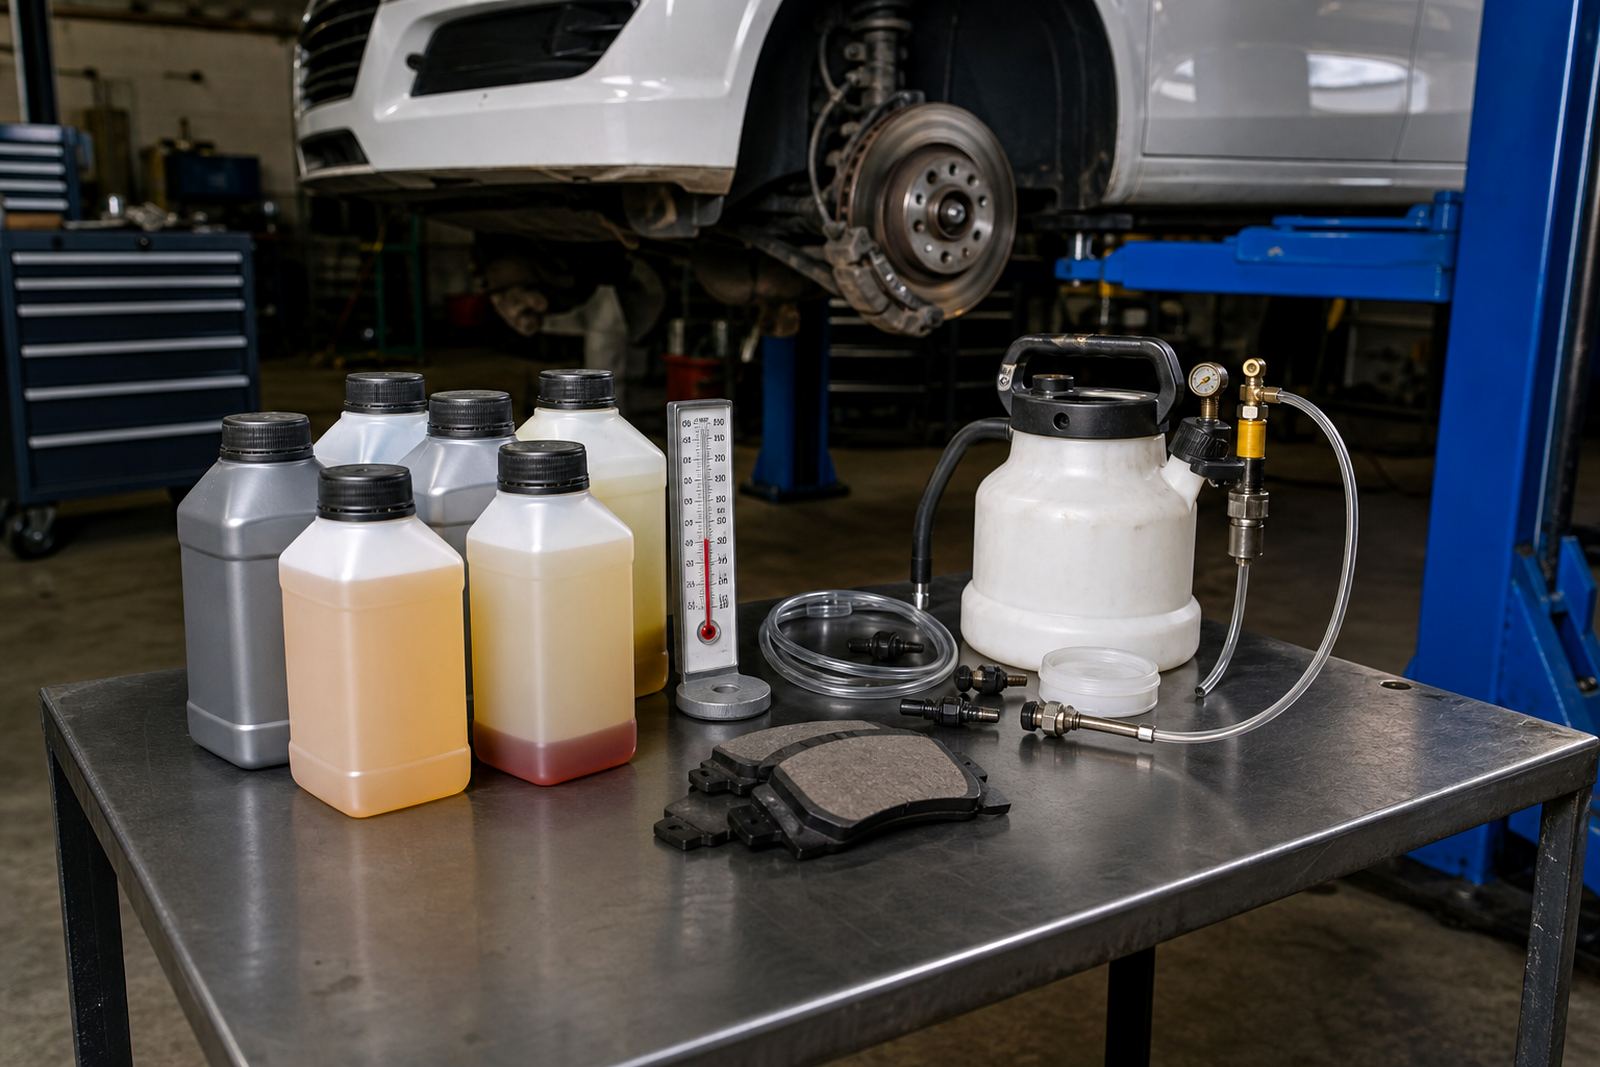
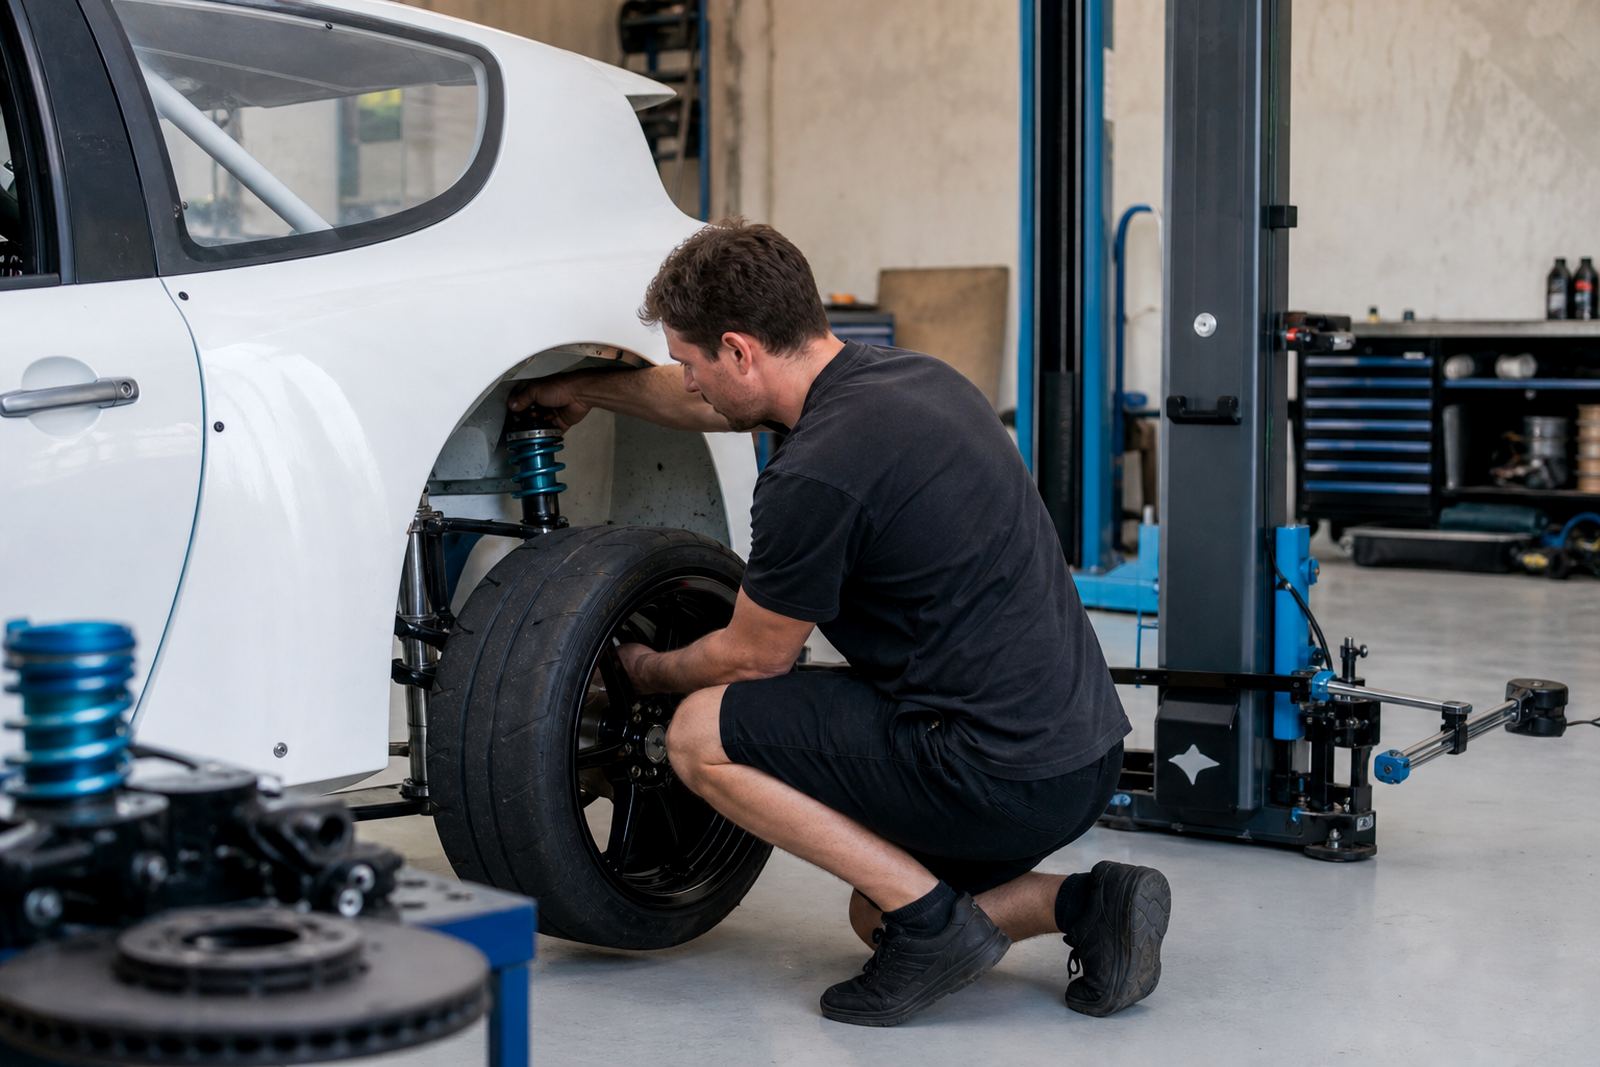
That is why setup days are useful on race cars that are still being developed. They let the team check how the shell, safety gear and mechanical parts share the same space. Brake balance, suspension height and corner weighting can also change the way the car sits on its mounts, so the cage plan should not ignore the final ride height and seat position.
- Check that the seat, harness and cage all line up in one driving position.
- Confirm fuel cell and extinguisher access with the cage fitted.
- Look at radiator, oil cooler and hose clearance near front legs.
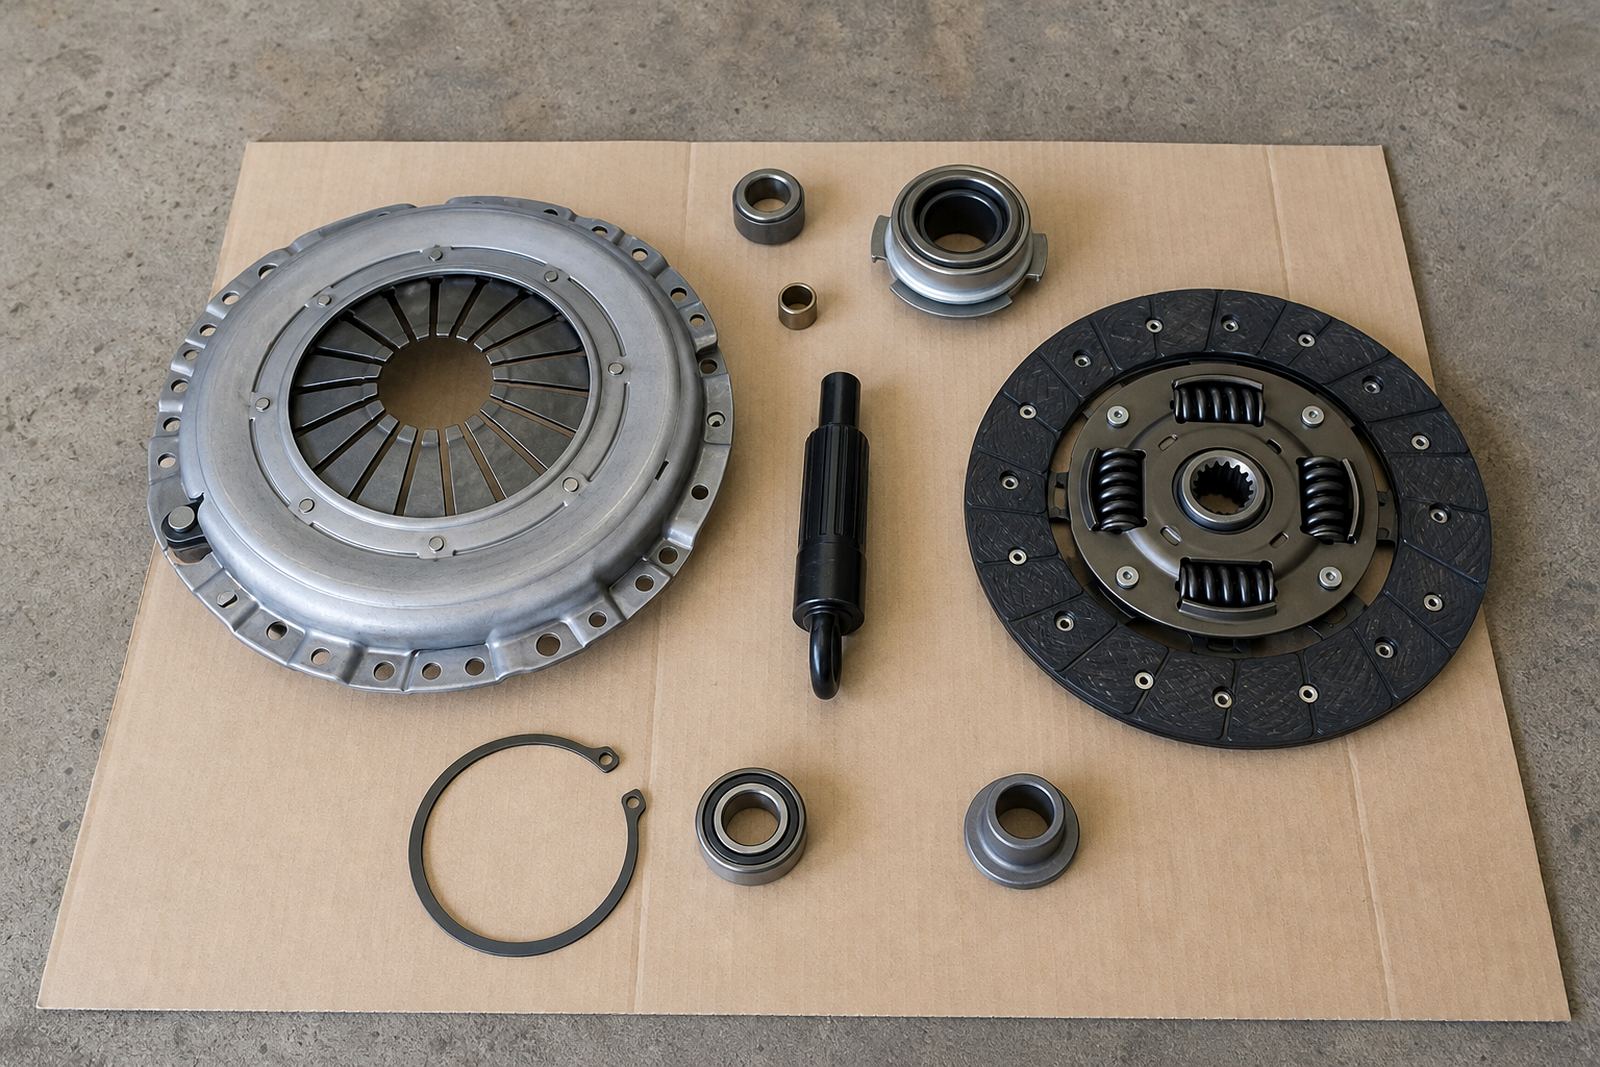
- Review pedal travel and clutch movement after the interior layout is set.
A practical planning list before metal is cut
Before committing to a layout, walk through the shell with the driver seated in place and the main measurements marked. That means checking door opening, roof clearance, harness angles, steering wheel access, gearbox movement and whether the cage blocks any service panels. It is a small effort compared with reworking a welded-in structure later.
For motorsport parts and performance upgrades in Midrand, Johannesburg, Pretoria, Kyalami, Centurion, Durban, Cape Town and Port Elizabeth, the planning stage is where the useful decisions happen. If the car is headed for track, rally or club racing, the cage should fit the way the car is actually used, not just how it looks on paper. Send the shell details, class notes and any fitment questions before the planning starts.
- Shell condition checked and rust mapped.
- Class rules and scrutineering notes reviewed.
- Seat, harness and steering position set.
- Door bars and exit path checked.
- Mounting plates and weld access confirmed.
- Fuel, cooling and service access reviewed around the cage plan.