
Cabin layout before any tube is cut
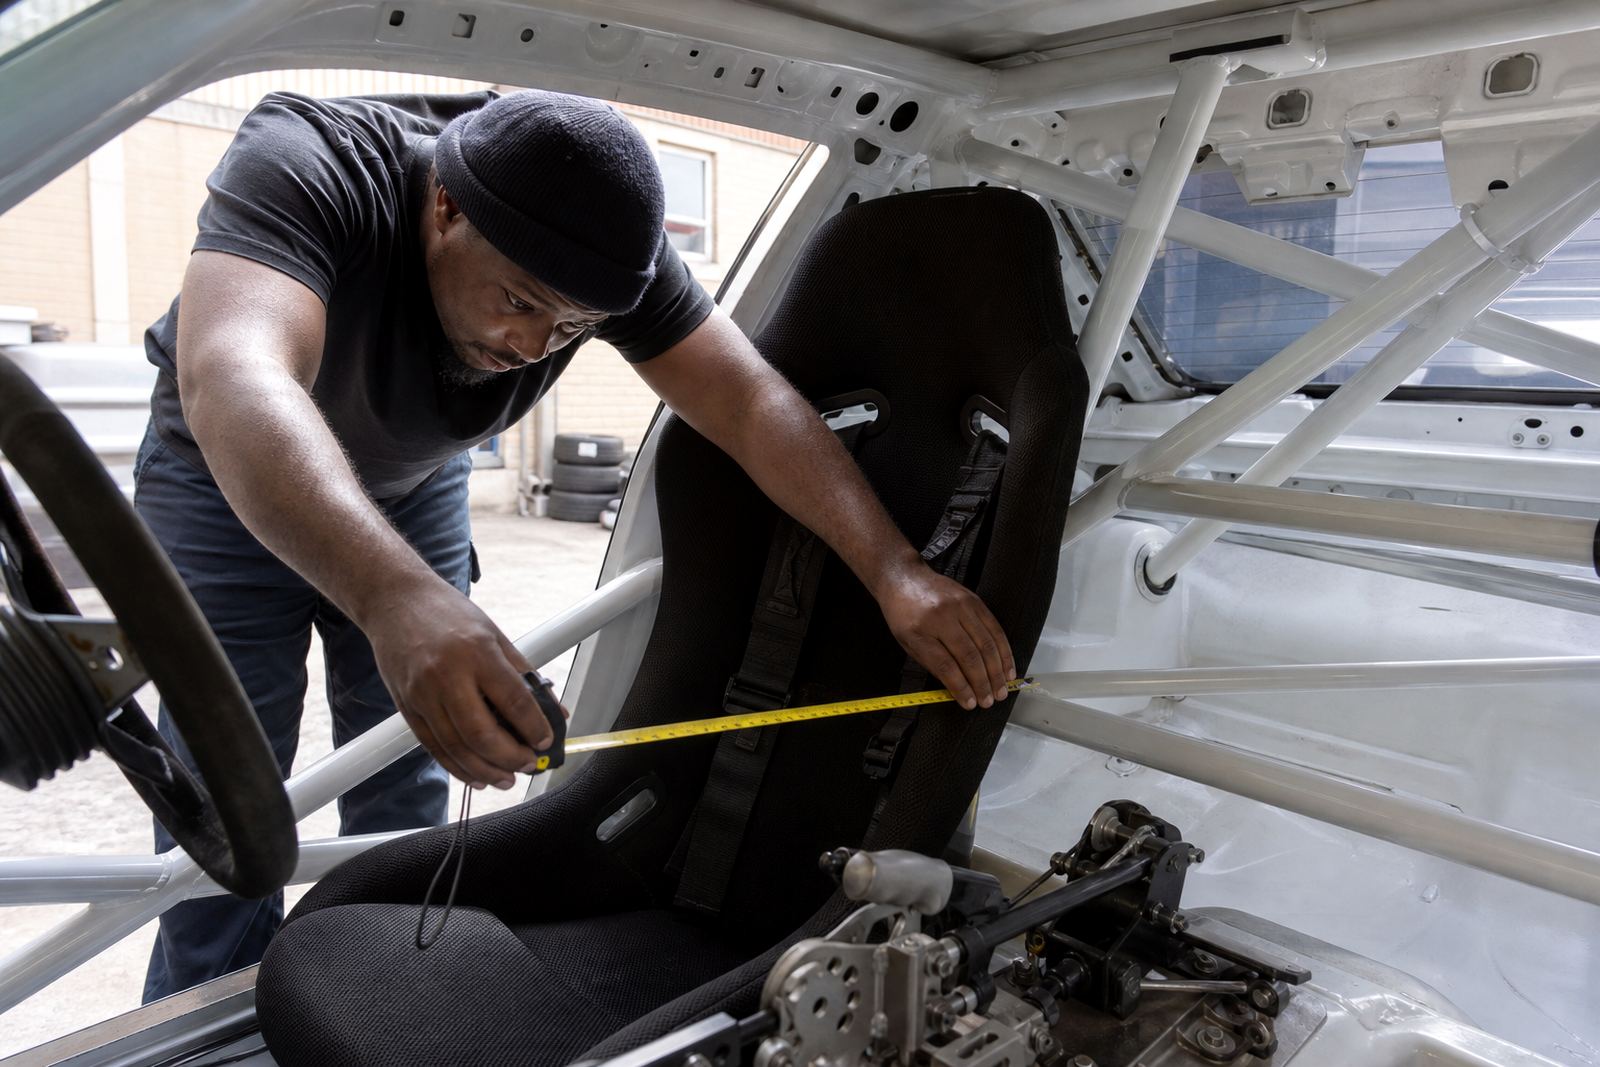
We start with the way the driver sits in the car, then work back to the cage. A proper fit has to leave room for the seat shell, helmet clearance, steering wheel movement and the angle of the harness straps. If the seat is too far forward or the main hoop lands in the wrong place, the car becomes awkward to drive and harder to inspect.
For track, rally and club cars, the goal is fitment that supports the car without making it a pain to use. We look at the tunnel, sill height, roof line, seat rails and how much access remains to the handbrake, belts, fire system pull and switchgear.
- Seat clearance around the main hoop and rear stays
- Door bar position relative to entry and exit
- Harness mounting height and strap line
- Access to service items after the cage goes in
What we check on a real cage plan
Every shell asks for a different answer. A hatchback, coupe or stripped sedan will not take the same door bar layout, and the practical route is often the one that keeps the seat usable and the side glass or net positions sensible. We check where the tubing will run around the dashboard, pedals and transmission tunnel before any final call is made.
We also look at service access. A cage that blocks brake master cylinder checks, harness bolt access or rear shock top mounts can cost time at the wrong moment. The fit advice covers those small details because they become the daily truth of the car.
- Main hoop position in relation to B-pillars
- Door bar shape for side intrusion support and entry room
- Rear stay angle and rear parcel shelf access
- Clearance for wiring, trim removal and seat removal
Specs that shape the fit advice
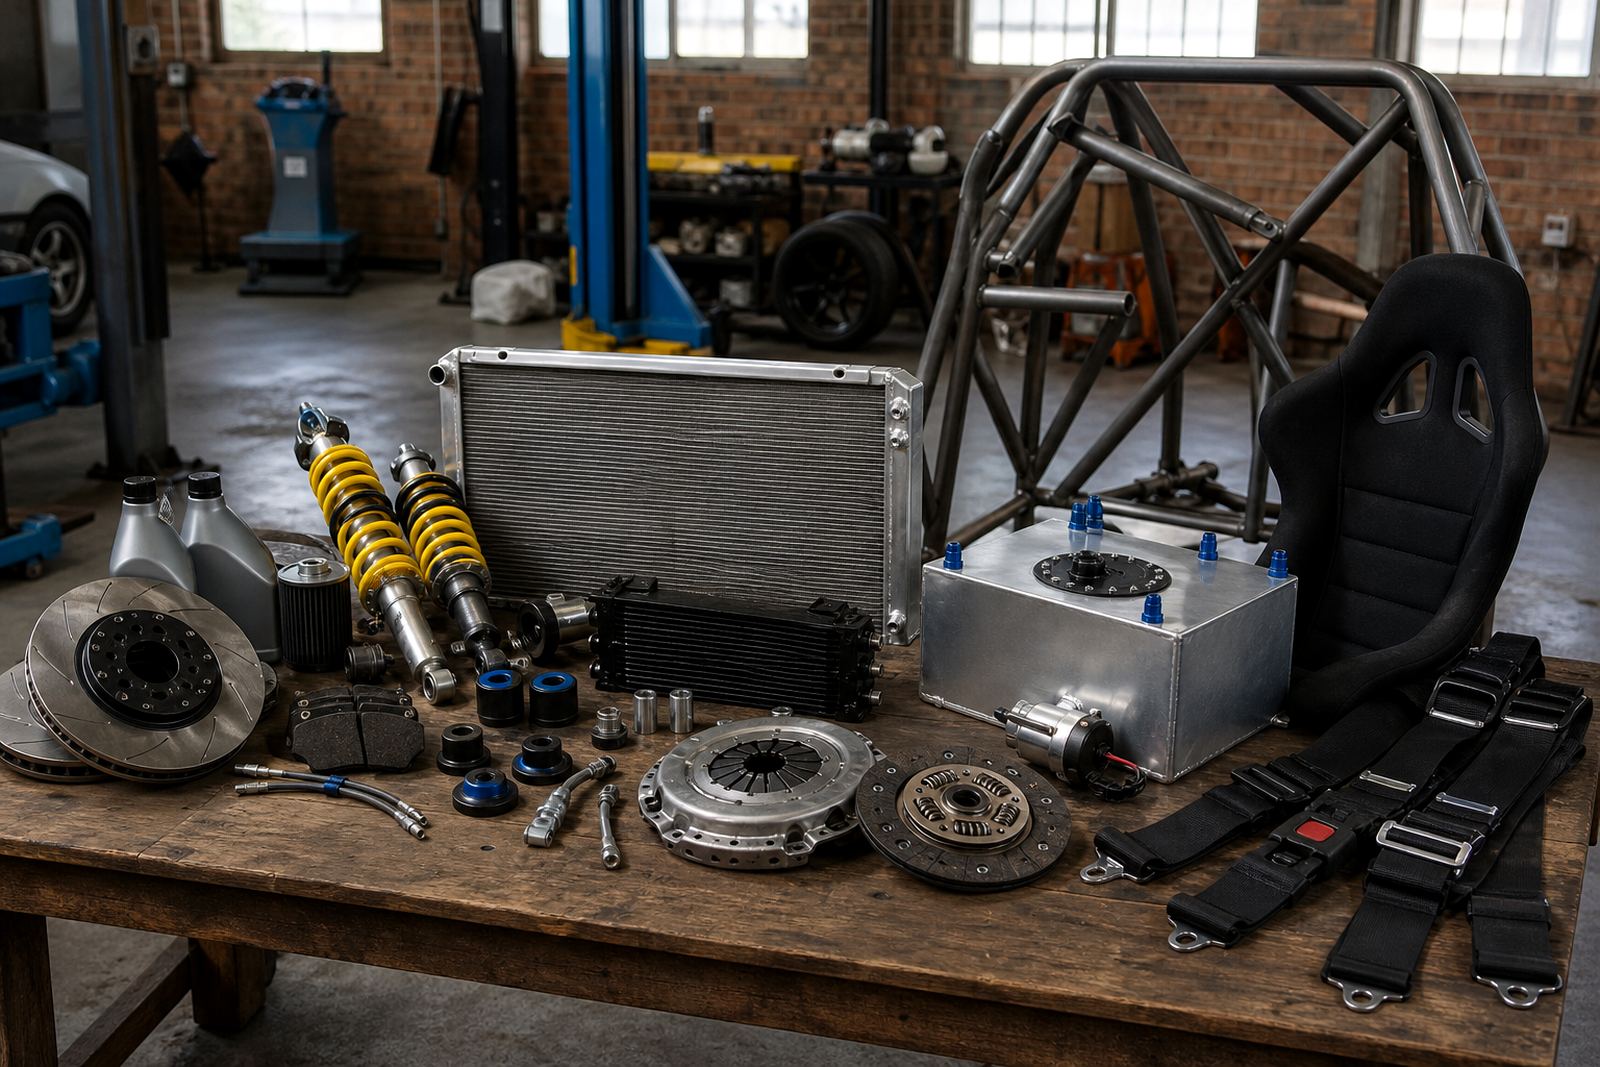
The cage spec depends on the level of use and the rule set the car is built around. We keep the advice practical and centred on the shell, the seat, and the driver. For many cars that means a welded-in structure with a main hoop, front legs, side protection, rear stays and diagonal bracing. Some builds also need a gusseted footplate, harness bar or removable door bar section where the class rules allow it.
Tube diameter and wall thickness follow the shell and the class rules. We can talk through common motorsport sizes, mounting points and brace locations so the fabrication plan does not end up fighting the interior.
- Welded-in or bolt-in cage layout guidance
- Main hoop, front legs and rear stay positioning
- Door bar styles for side impact protection
- Harness bar and seat mount compatibility
How the fit advice session runs
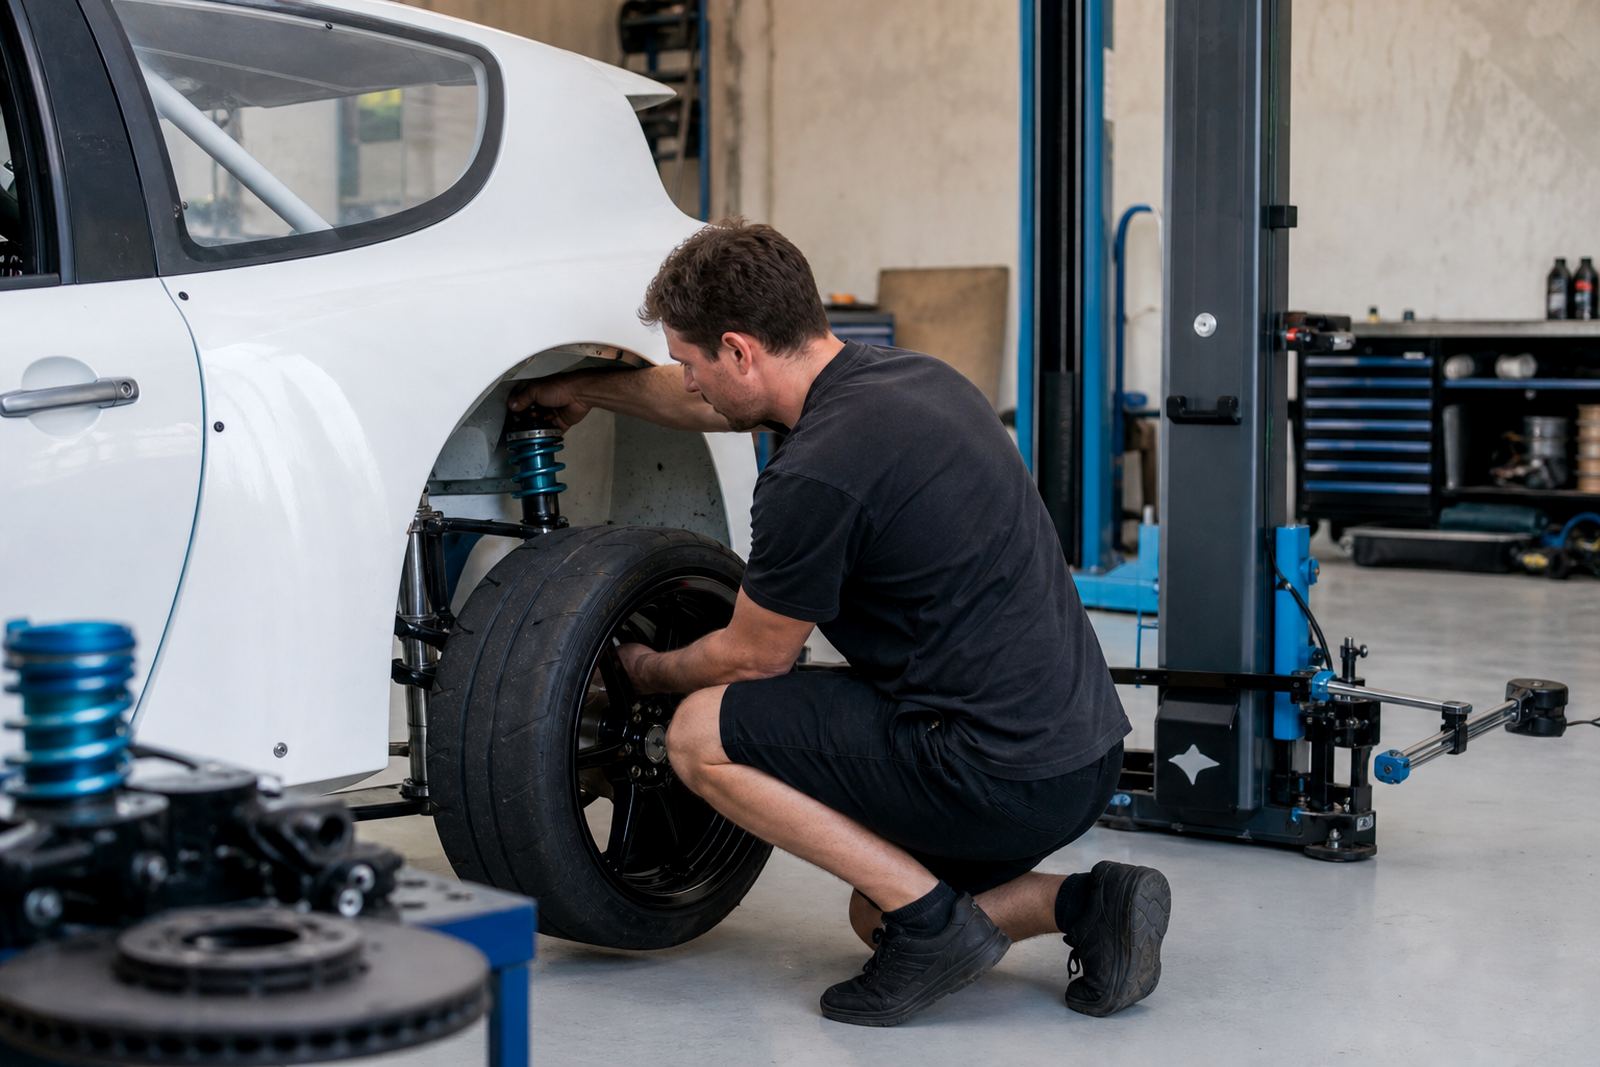
The process is measured and hands-on. We inspect the car, discuss the intended class or use, and map the cabin around the driver position. When needed, we work from seat placement first so the cage layout follows the person, not the other way round. That matters on cars with tight roofs, long pedals or limited sill width.
After the first check, we talk through the trade-offs. A tighter door bar can improve side protection but slow entry. A higher harness bar may help belt angles, yet it must still sit within the cage plan. You leave with a clear direction for fabrication, fitting or adjustment.
- Vehicle inspection and cabin measurement
- Driver seating position and harness line review
- Rule-aware layout discussion for class or event use
- Practical notes for fabrication and final assembly
Turnaround, pricing and what affects the cost
Turnaround depends on the car, the level of strip-down and whether the shell already has a planned cage route. A bare shell with a clear layout is quicker to assess than a fully trimmed interior with uncertain seat mounts or aftermarket parts already in place. If the car needs extra checks for door bars, harness anchor points or seat repositioning, that adds planning time.
Pricing is set around the amount of inspection and advice needed, not a one-size-fits-all line. Some cars only need a quick layout review, while others need a longer session with notes for a fabricator and a rethink of seat and steering position. We keep the cost approach clear before anything proceeds.
- Shell condition and level of strip-down
- Single-seat review or full cabin planning
- Need for belt, seat or steering changes
- Class requirements, if the build follows a rule set
Aftercare once the cage is in the car
After the cage fit, we help with the practical checks that keep the car pleasant to use. That includes looking at seat hardware, belt routing, door net placement if fitted, and whether the driver can still get out without catching on a bar or bracket. On cars used for rally or club racing, it is worth checking that the cage has not made routine inspection awkward.
If something feels tight after the first shakedown, we can talk through a better seat mount, a different harness path or a small change to the interior layout. The point is to keep the safety structure useful in real use, not only tidy on paper.
- Seat and harness position review after fitment
- Entry and exit checks with helmet and gear on
- Access review for service points and inspection items
- Notes for small layout changes after first use
Key facts
| Service area | Midrand workshop visits, with drawings sent to teams further away |
|---|---|
| Suitable for | Track, rally and club racing cars |
| Core focus | Seat clearance, door bars and service access |
| Common cage elements | Main hoop, front legs, rear stays, side protection and bracing |
| Fitment topics | Harness angles, seat position, helmet clearance and access to service points |
| Working format | Planning advice, measurement checks and fabrication notes for the build |