
A Randburg build with a clear race weekend brief
The owner was a private racer from Randburg running a lightweight hatch for track and club events around Gauteng. The car was already quick enough in a straight line, but the rear of the chassis moved around too much on turn in and the brake pedal felt long once the pace picked up. The brief was not about chasing power first. It was about making the car predictable through fast direction changes, improving driver support, and getting the braking package ready for repeated heat cycles.
That meant looking at the parts that change feel most on a front wheel drive package. Worn bushes can soften the whole car, poor seat mounting can leave the driver bracing against the wheel, and a small brake package can fade fast when the laps get longer. We worked through the car as a complete setup instead of treating each item on its own.
- Front and rear suspension bushes checked for movement and uneven wear
- Seat base and mounting points measured for driver position
- Brake package reviewed for pad choice, fluid condition and heat control
- Alignment and corner balance planned after hardware changes
Parts selected for grip, support and repeatable braking
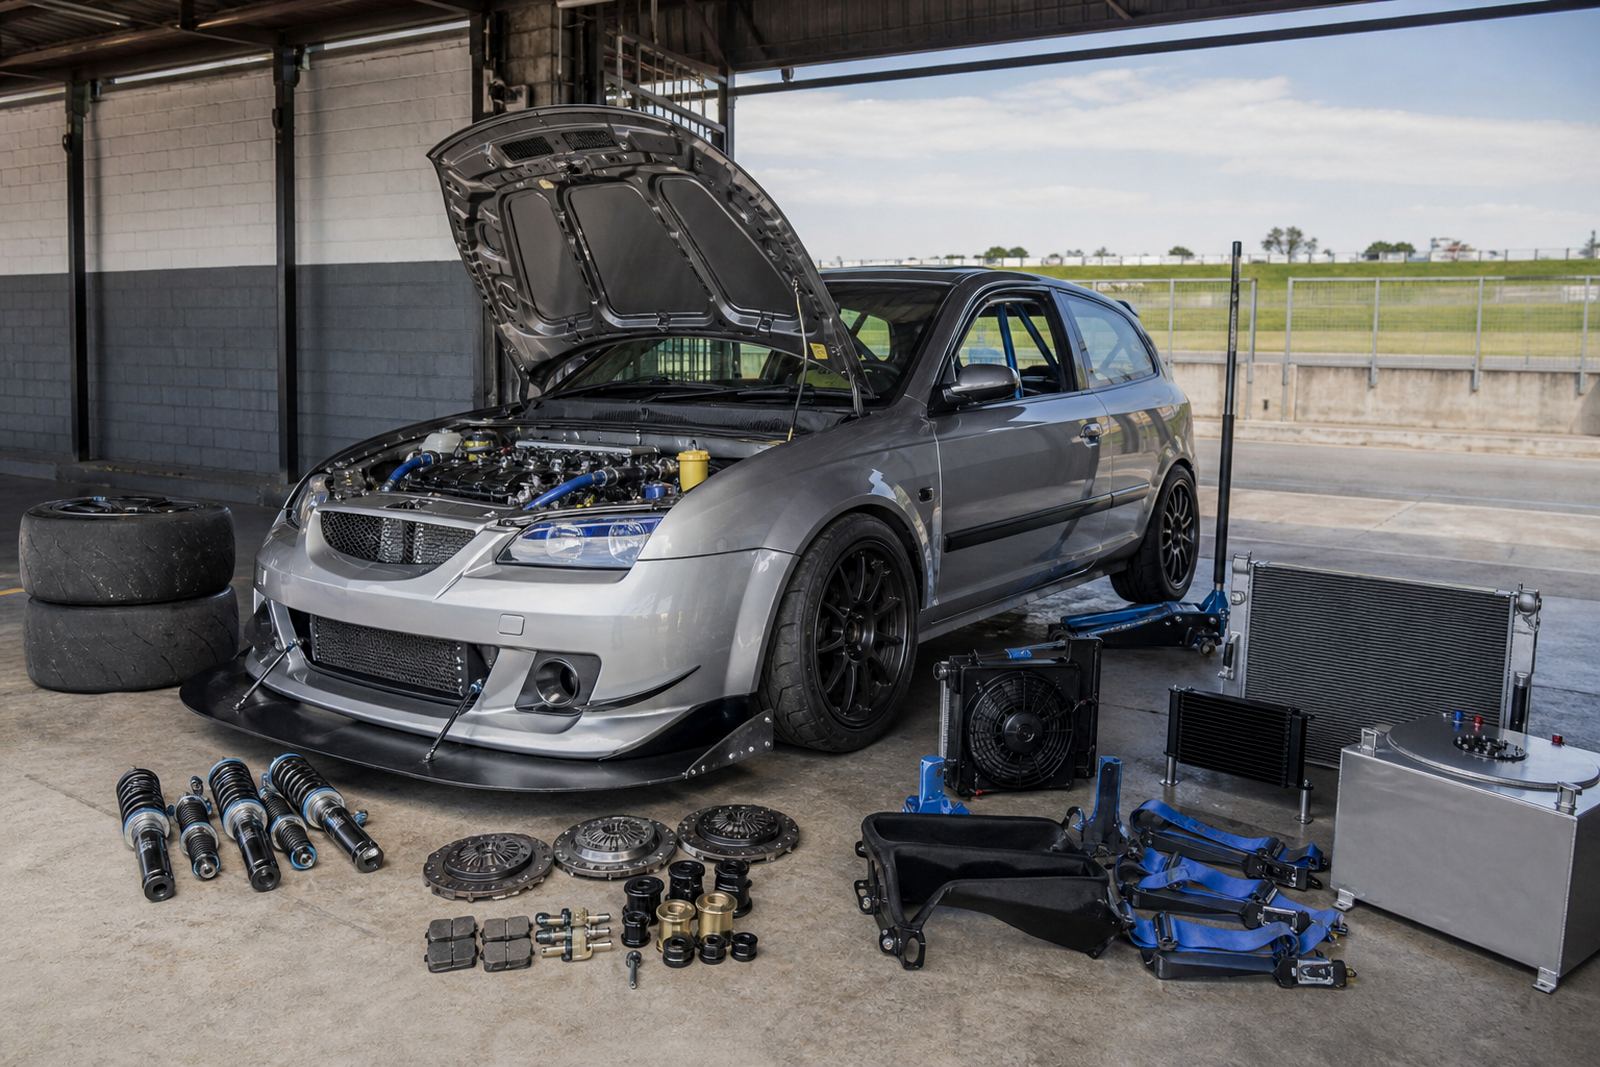
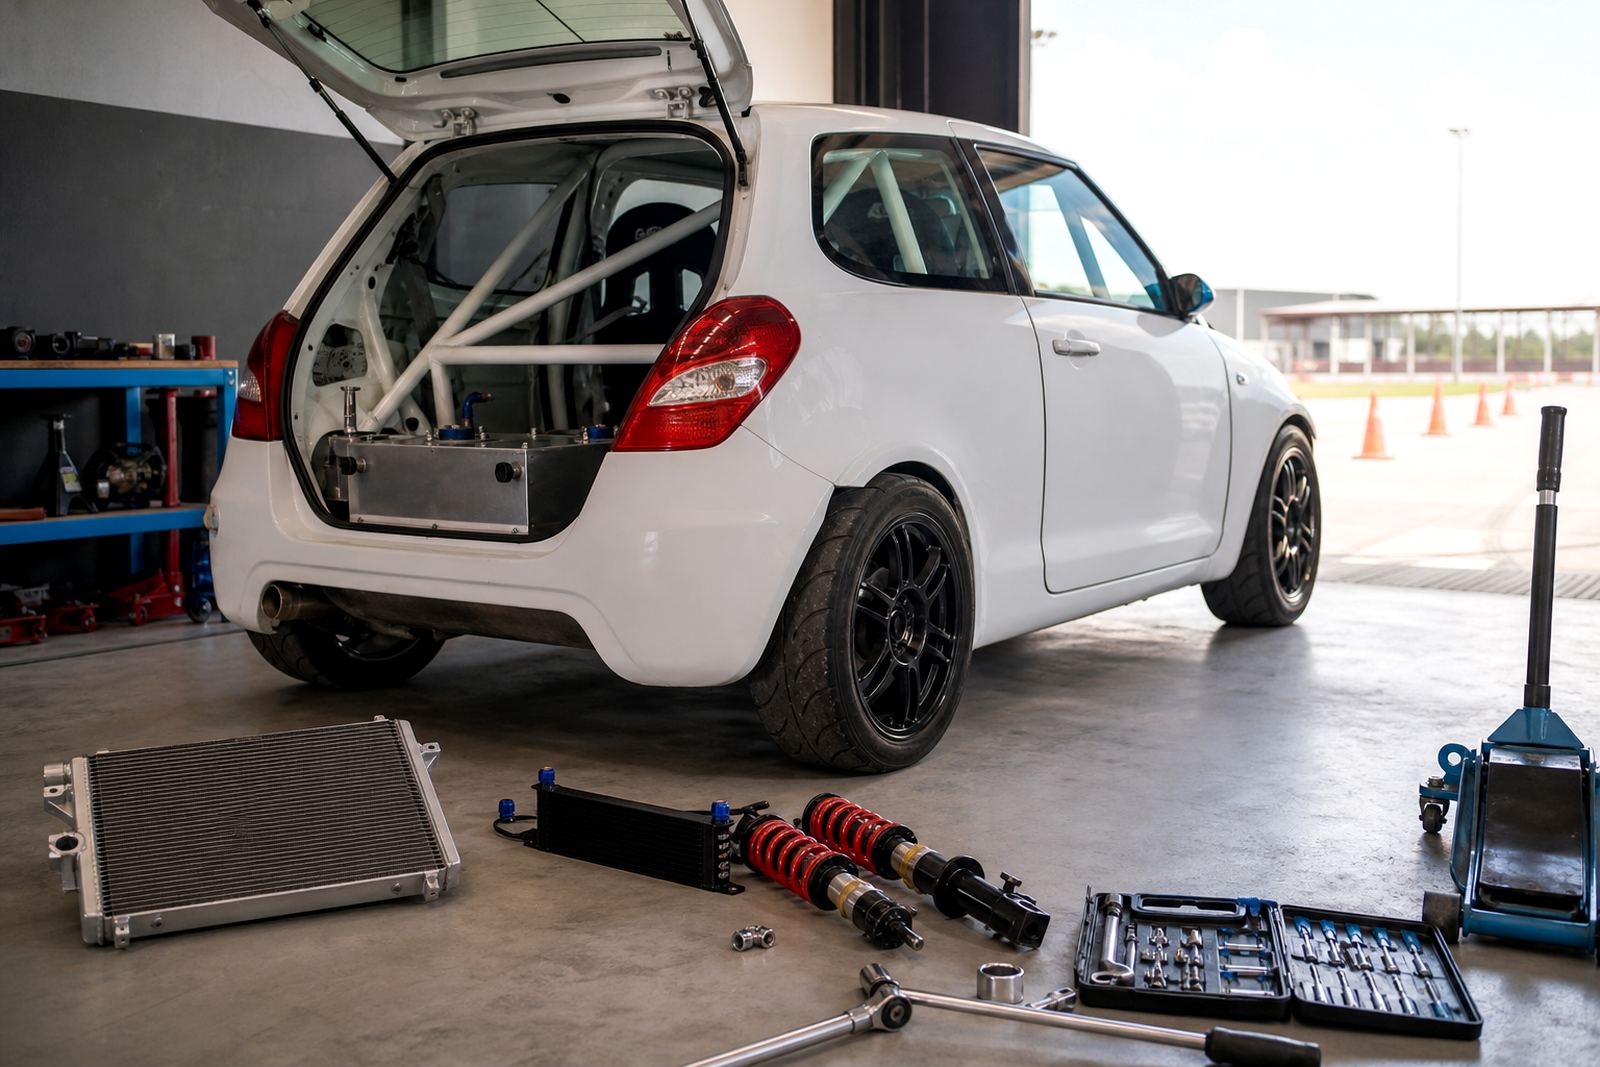
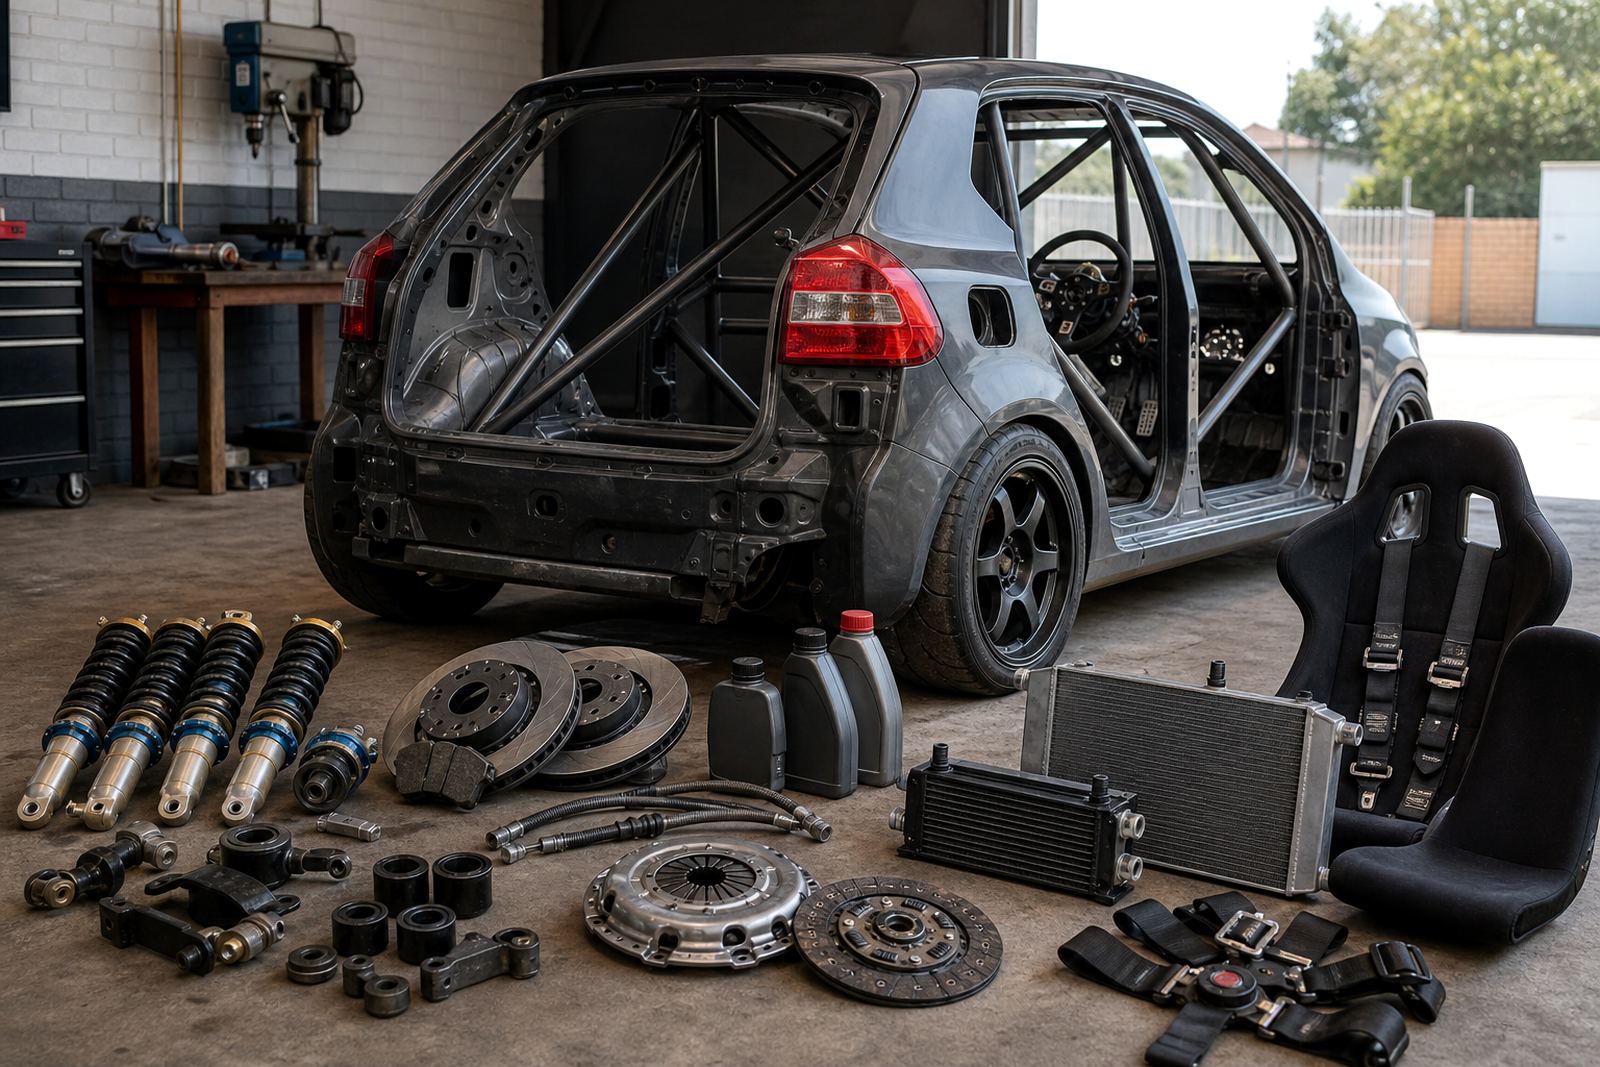
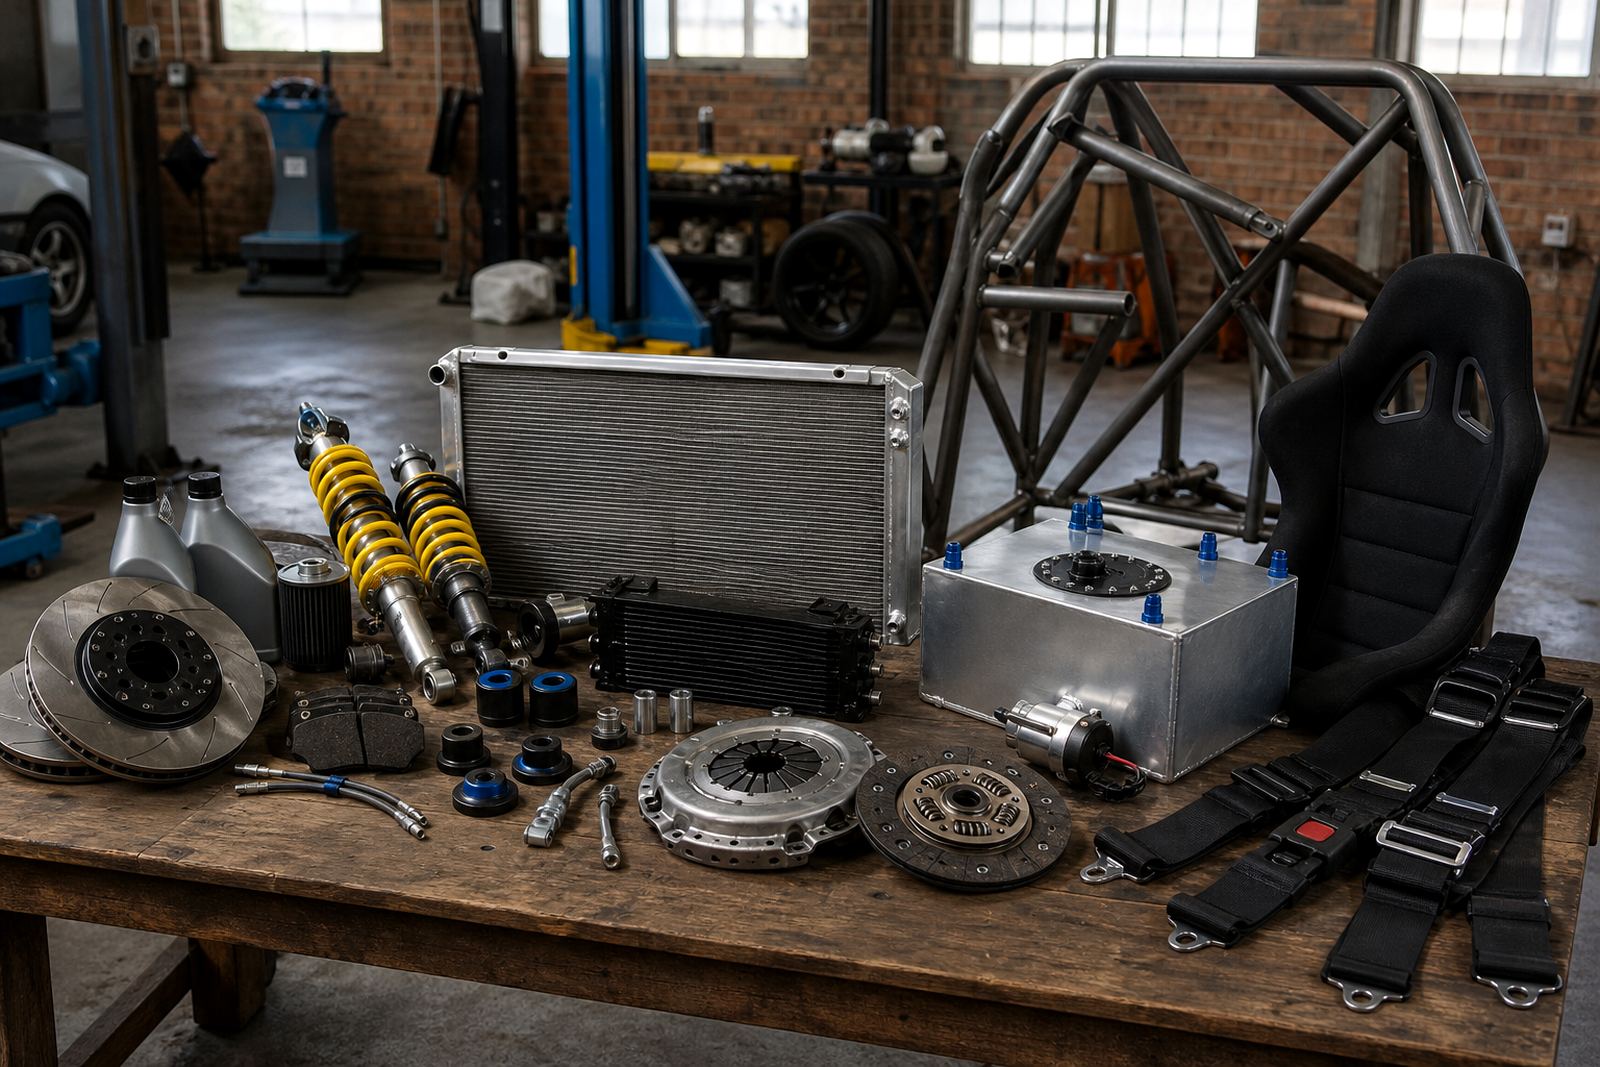
The parts list focused on the areas the driver feels every lap. We supplied replacement suspension bushes for the worn locations, then fitted seat mounts that placed the shell lower and tighter in the cabin. Brake upgrades included stronger pads for track use, fresh high temperature fluid, and hardware changes that helped the pedal stay firm under repeated stops.
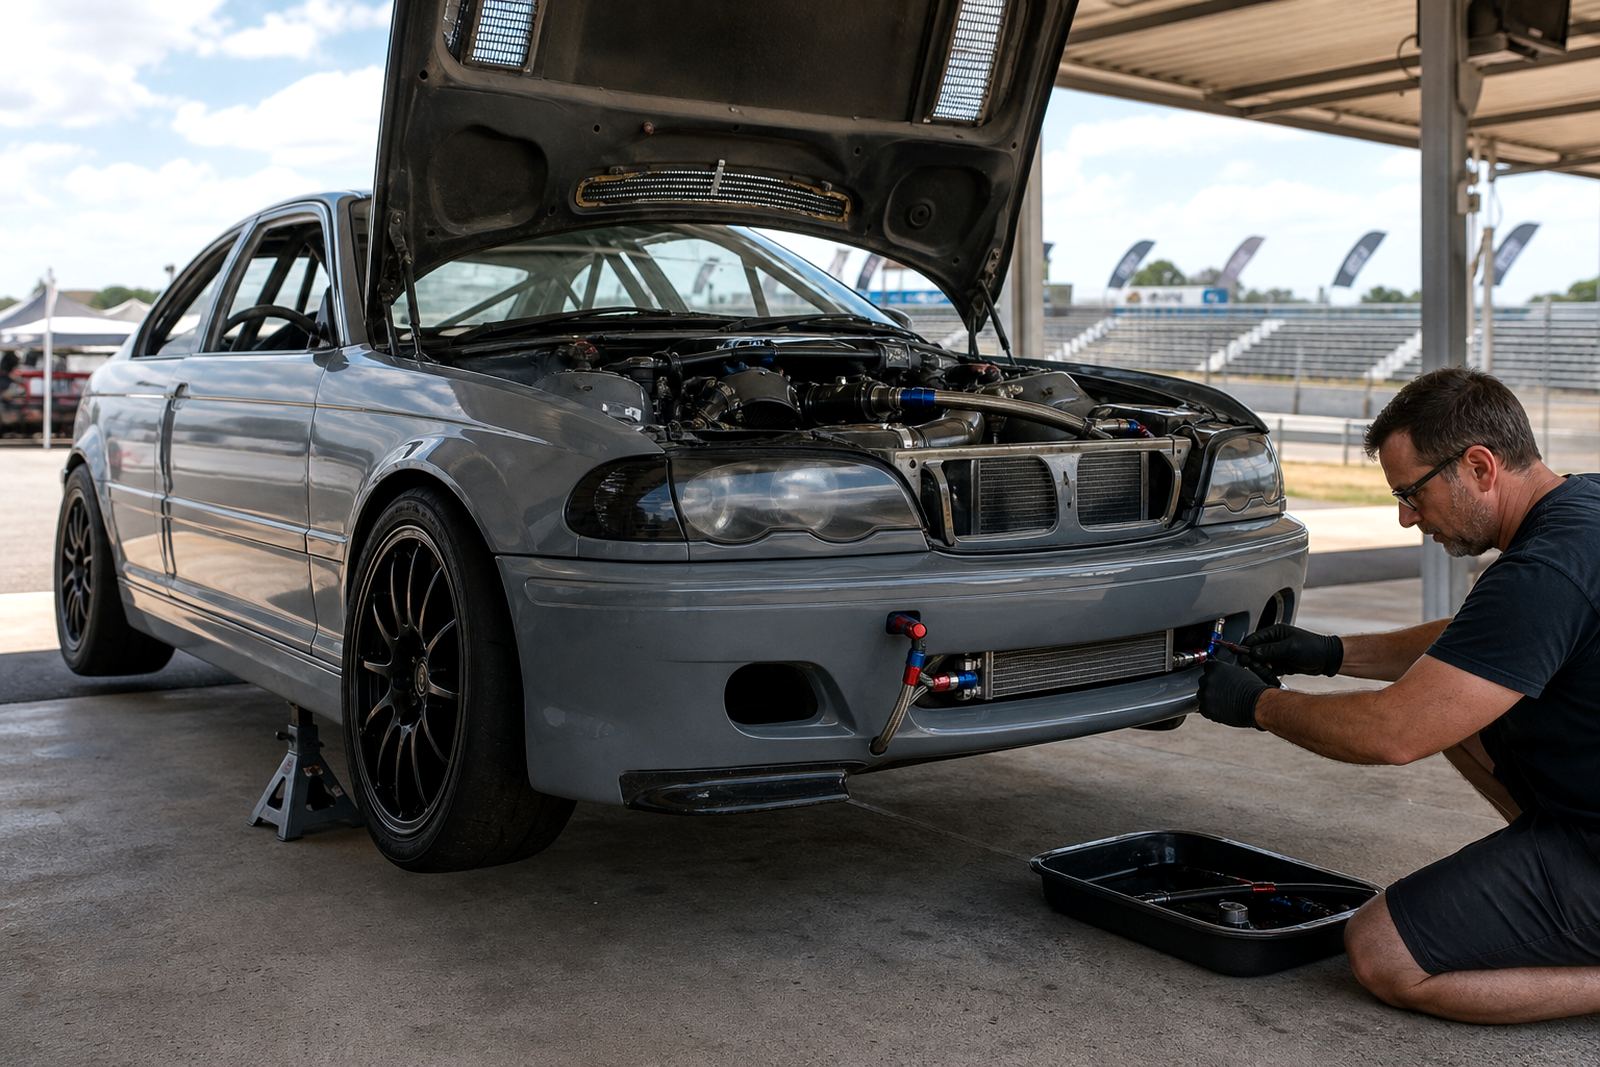
Cooling for the front of the car was also checked because a hot hatch running hard in Gauteng traffic and then at a circuit can build heat quickly. The owner did not need a full engine rebuild or an oversized power figure, just a package that could handle sessions without drifting out of shape. We kept the choices practical and matched to the car's weight, tyre size and front axle load.
- New suspension bushes to reduce slack in the front end
- Seat mounts set to improve driving position and helmet clearance
- Track suitable brake pads and fresh brake fluid
- Brake hardware inspected for uneven wear and contact issues
- Cooling and front bay airflow checked before final setup
Workshop work and fitting detail
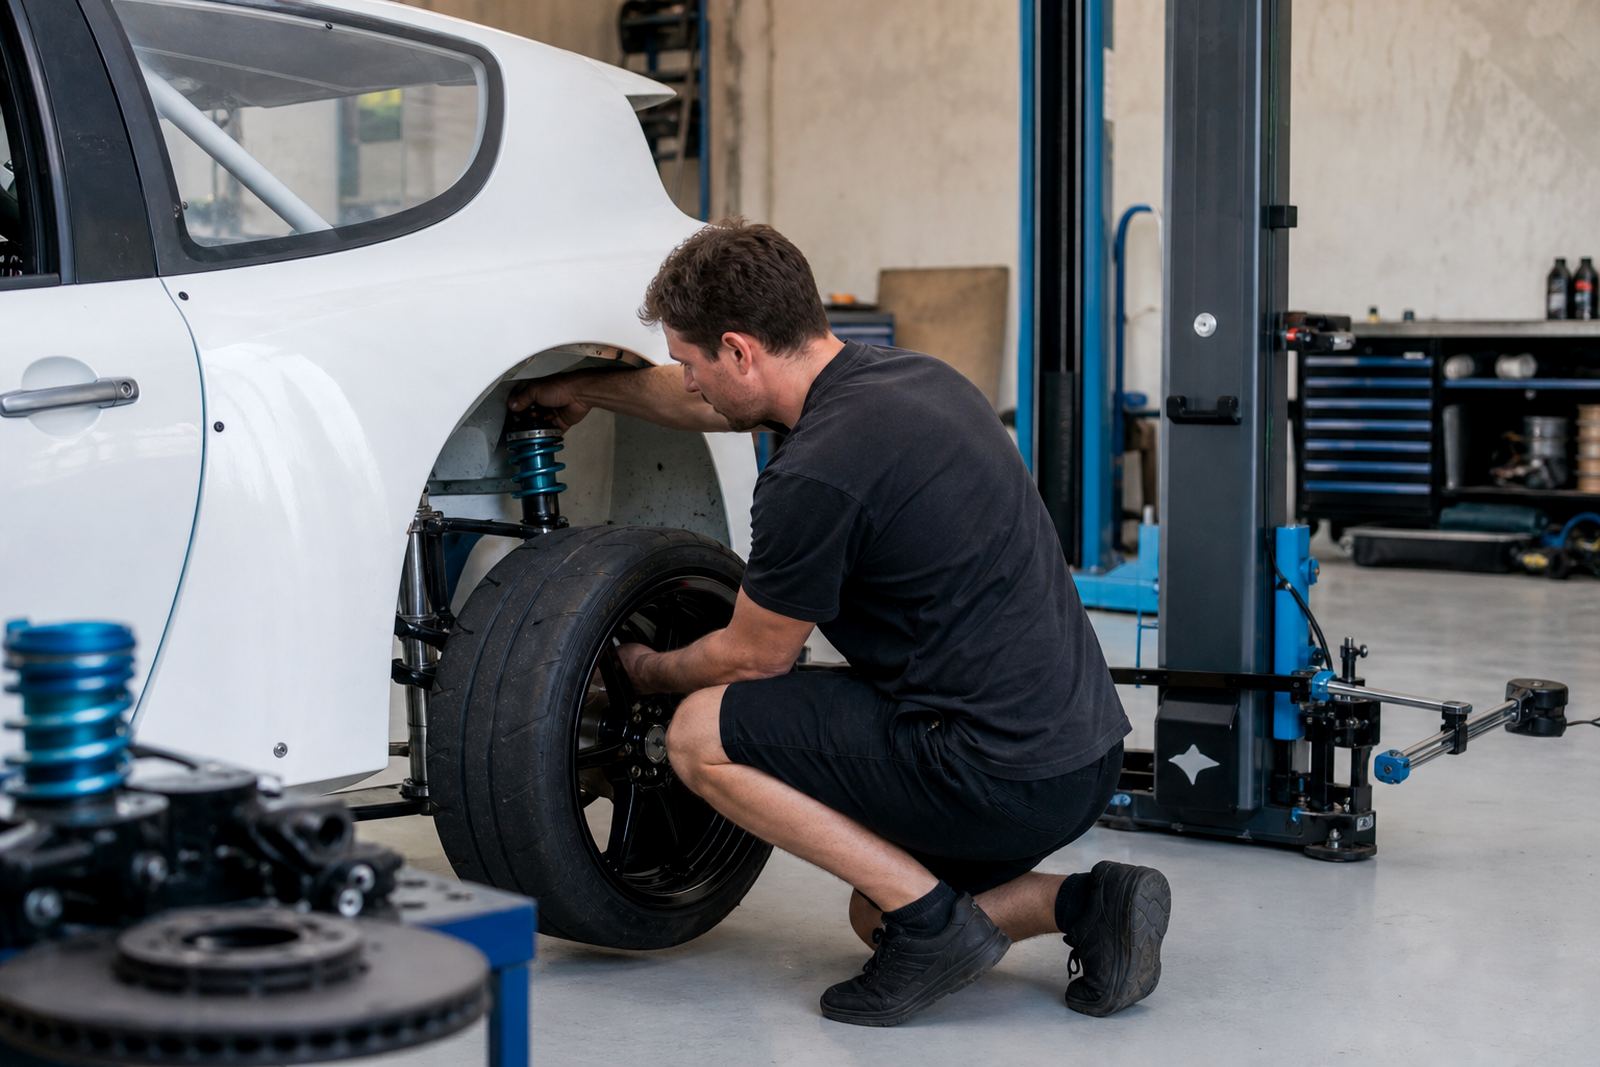
Once the car was in the workshop, Johan and the fitment team stripped the areas that mattered most for the job. Morne handled the suspension side and checked the bush locations for play, split rubber and uneven loading. The seat position was then built up in stages so the driver could sit low enough for better feel without knocking knees or forcing a bad steering angle. That part sounds small, but in a hatch racer it changes how confidently the driver can trail brake and place the car into a corner.
Lerato checked the brake package after fitment and made sure the line routing, fluid condition and pedal feel were all consistent. Brake bleeding was done carefully because a soft pedal can make a good setup feel wrong even when the parts are right. We also checked fasteners, clearance around moving suspension points, and the way the seat mounts sat under load. Nothing was left to guesswork.
- Suspension bushes pressed in and inspected for alignment
- Seat mounts adjusted for lower seating and firmer lateral support
- Brake system bled and checked for pedal consistency
- Clearances confirmed around the front suspension and cabin mounts
Two weeks of setup work and track prep
The Randburg hatch spent a fortnight on our floor, stripped on the first day and signed off on the last. The first stage covered inspection, parts selection and removal of the worn components. The second stage covered fitment, bleeding, seat positioning and a full round of alignment checks. After that we did corner weighting and a final road feel check so the car could be taken to a circuit with a stable base line instead of a guess.
That order matters on a hatch racer. If the seat is mounted before the chassis is settled, the driver can end up compensating for poor position rather than feeling the car honestly. If the brakes are changed without rechecking balance, the pedal may feel good but the car can still pitch badly under threshold braking. We tied the whole package together before release.
- Week 1: strip down, inspection and parts planning
- Week 1 to 2: bush fitment, seat mount work and brake upgrade
- Final stage: alignment checks, corner weighting and setup confirmation
What changed on the car after the refresh
The difference showed up in the first part of the drive and became clearer once the car was pushed harder. Turn in felt cleaner because the front suspension no longer had the same amount of slack, and the rear of the car settled more cleanly under braking. The driver also sat with better support, which meant less bracing through the hands and more confidence when feeding the car into a bend.
Under repeated stops, the brake feel stayed more consistent and the pedal gave a clearer signal. The car was not turned into something artificial or over stiff. It remained a hatch racer, just one that gave the driver a better read on weight transfer and tyre grip. For a front wheel drive car, that balance makes a real difference on lap after lap.
- Sharper initial turn in and better front end response
- More stable brake feel during repeated hard stops
- Improved driver support through the seat and mounts
- Cleaner weight transfer under corner entry and braking
What we would keep in the same package
For a similar hatch at the Midrand workshop, we would follow the same work order: check the chassis first, set the driving position next, then complete brakes, alignment and corner weighting. That sequence keeps the car honest and avoids stacking problems on top of each other. On a front wheel drive car, small changes in bush condition or seat height can alter how the whole package behaves.
We would also keep the brake upgrade measured to the car rather than overspecifying it. A useful setup is one that fits the weight, tyre size and event type. For this Randburg build, the mix of bushes, seat mounts and brake work gave the driver a proper base line for future changes without needing to undo good work later.
- Begin with chassis condition, not shiny parts
- Set seating and control position before final alignment
- Match brake hardware to the actual event use
- Leave room for future suspension tuning
Key facts
| Project | Randburg Hatch Racer |
|---|---|
| Car type | Front wheel drive hatchback |
| Work focus | Suspension bushes, seat mounts and brake upgrades |
| Setup work | Brake bleeding, alignment checks and corner weighting |
| Timeline | 2 weeks |
| Use case | Track days and club racing |
| Base area | Midrand, Gauteng |